
I think it's a definite staple for every home cook to know how to make their own stock. In the fall/winter, I make so much soup, stew, etc. that we literally buy cartons upon cartons of the grocery store variety. With the recent arrival of Jay's new pressure cooker (which I, of course, quickly stole and learned how to use), I figured I should probably start making my own. Armed with a couple of chicken carcasses left over from roasting, and a basic knowledge of how not to kill myself with the pressure cooker, I have to say I'm really pleased with how it turned out!
Folks in the Paleo world would call this "bone broth". I had a good friend point out to me recently that this sounds disgusting. If you went to a friend's house and they offered you a mug of their "homemade bone broth", would you want to drink it? I'm going to hazard a guess here and say... no. Why call it that, though?
Traditionally, stock is mildly flavored and unspiced. It's also highly filtered so it's perfectly clear.
Broth is spiced, and not clear-- and it's also more likely that you'd reach for a cup of broth to sip than stock. Sooo I'm calling this chicken broth. It's delicious, seriously. (You could also use it like stock though, no problem, since the spices used are pretty universal and not overpowering.)
I unfortunately don't have pictures for the beginning of the process, because I was
a) sick (I really just wanted chicken soup/broth.)
and b) unsure how this was going to turn out, never having done it before. Rest assured, though!! This will be great!
What you'll need
2 chicken carcasses with a fair amount of meat left on the bones (I used what was left from two 4lb chickens)
2 tsp apple cider vinegar
3-4 bay leaves
1-2cups celery, roughly chopped, with leaves
1-2 cups baby carrots (or normal carrots, peeled and roughly chopped)
1 tbsp kibbled mushrooms (optional, but it gives the broth a great flavor)
salt to taste (I usually use at least 1 tbsp, I love salt)
freshly ground black pepper to taste
filtered water to cover
Step 1: Place the chicken carcasses in the bottom of a 6-quart slow cooker, and press down if necessary to keep all of the pieces-parts well below the top edge of the pot.
Step 2: Splash each set of bones with a tsp or so of apple cider vinegar. This won't affect the flavor, but it will help bring out the minerals from the bones (very, very good for you!).
Step 3: Dump the remaining ingredients around the bones, and fill with enough water to just cover everything.
Step 4: Cook on low heat for 12-24 hours, depending on the kind of time you have. The benefit of a slow cooker is that you can walk away!
To modify this recipe for your pressure cooker**:
1) Complete Steps #1-3 above, and be sure that the liquid level does not exceed the maximum allowed for your pressure cooker model (or really even come close to it). For example, the maximum level for my pressure cooker is 12 cups, so I only fill to 10 cups.
2) Cook on high pressure for 1 hour. How you achieve this will depend on what type/ model of pressure cooker you own. Since my pressure cooker is electric, I set it and just go about my business. With a pressure cooker, it's always best to be nearby/ in the house, though, just in case something goes wrong.
(**Huge disclaimer: I only know how the settings work for MY pressure cooker, and I am not an authority on how to modify them for yours. PLEASE read your pressure cooker's instruction manual carefully, and NEVER exceed the maximum liquid level for your model. This recipe will probably need to be modified for your pressure cooker.**)
Step 5: Once the broth has finished cooking, allow to cool slightly. Carefully strain everything through a fine mesh sieve, and discard all solids (chicken, bones, vegetables, bay leaves, etc.)
Step 6: Place in a class or ceramic container, and pop it in the fridge overnight. (I LOVE quart-sized mason jars for this, and can usually get 2.5 - 3 full jars from this recipe.)
Okay, time for pictures!
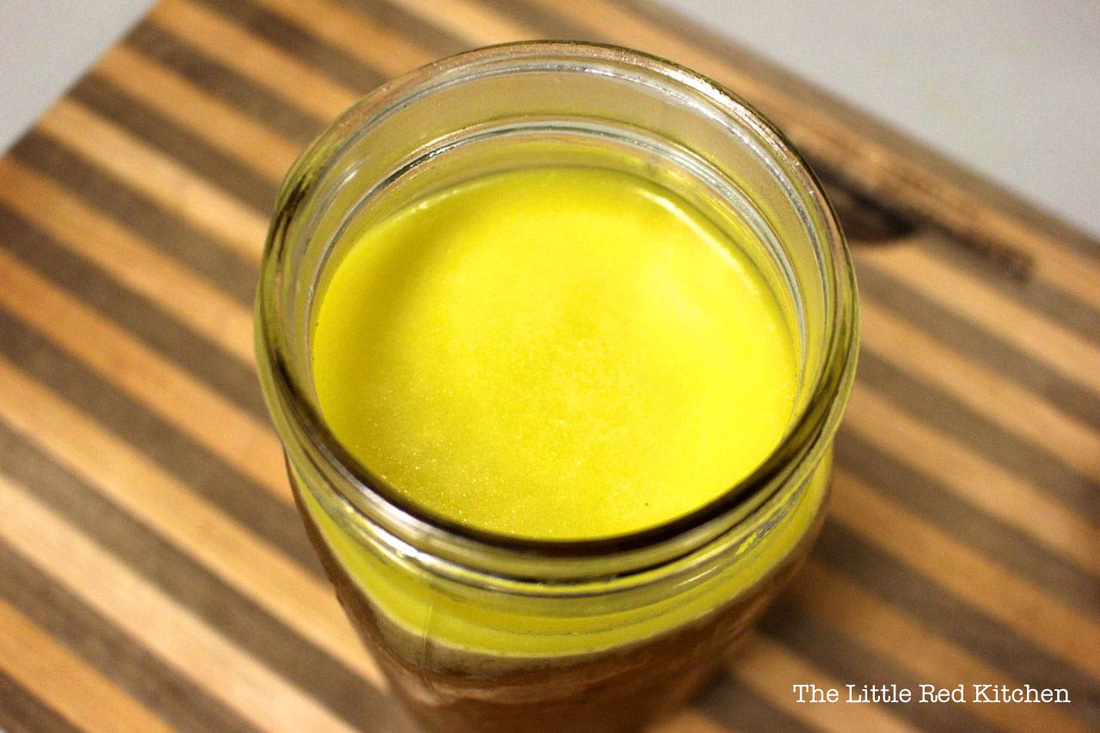
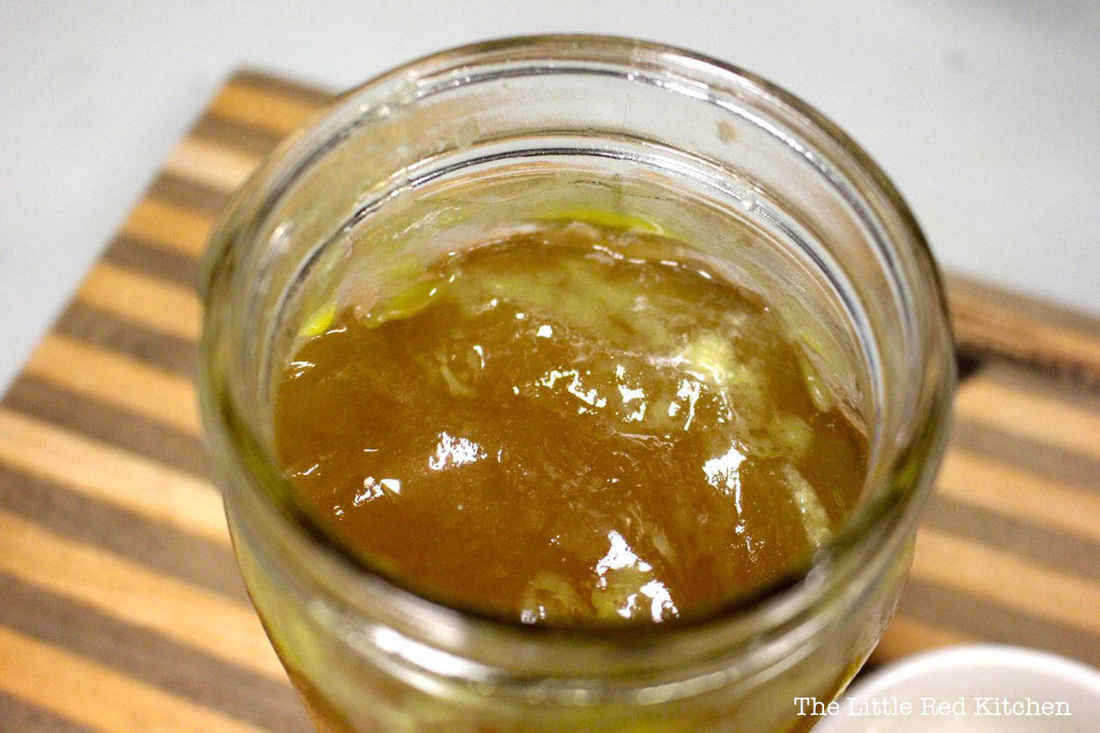
Step 7: In the morning, once the broth has cooled, you'll notice that a layer of fat has accumulated at the top of the container.
Folks in the Paleo world would call this "bone broth". I had a good friend point out to me recently that this sounds disgusting. If you went to a friend's house and they offered you a mug of their "homemade bone broth", would you want to drink it? I'm going to hazard a guess here and say... no. Why call it that, though?
Traditionally, stock is mildly flavored and unspiced. It's also highly filtered so it's perfectly clear.
Broth is spiced, and not clear-- and it's also more likely that you'd reach for a cup of broth to sip than stock. Sooo I'm calling this chicken broth. It's delicious, seriously. (You could also use it like stock though, no problem, since the spices used are pretty universal and not overpowering.)
I unfortunately don't have pictures for the beginning of the process, because I was
a) sick (I really just wanted chicken soup/broth.)
and b) unsure how this was going to turn out, never having done it before. Rest assured, though!! This will be great!
What you'll need
2 chicken carcasses with a fair amount of meat left on the bones (I used what was left from two 4lb chickens)
2 tsp apple cider vinegar
3-4 bay leaves
1-2cups celery, roughly chopped, with leaves
1-2 cups baby carrots (or normal carrots, peeled and roughly chopped)
1 tbsp kibbled mushrooms (optional, but it gives the broth a great flavor)
salt to taste (I usually use at least 1 tbsp, I love salt)
freshly ground black pepper to taste
filtered water to cover
Step 1: Place the chicken carcasses in the bottom of a 6-quart slow cooker, and press down if necessary to keep all of the pieces-parts well below the top edge of the pot.
Step 2: Splash each set of bones with a tsp or so of apple cider vinegar. This won't affect the flavor, but it will help bring out the minerals from the bones (very, very good for you!).
Step 3: Dump the remaining ingredients around the bones, and fill with enough water to just cover everything.
Step 4: Cook on low heat for 12-24 hours, depending on the kind of time you have. The benefit of a slow cooker is that you can walk away!
To modify this recipe for your pressure cooker**:
1) Complete Steps #1-3 above, and be sure that the liquid level does not exceed the maximum allowed for your pressure cooker model (or really even come close to it). For example, the maximum level for my pressure cooker is 12 cups, so I only fill to 10 cups.
2) Cook on high pressure for 1 hour. How you achieve this will depend on what type/ model of pressure cooker you own. Since my pressure cooker is electric, I set it and just go about my business. With a pressure cooker, it's always best to be nearby/ in the house, though, just in case something goes wrong.
(**Huge disclaimer: I only know how the settings work for MY pressure cooker, and I am not an authority on how to modify them for yours. PLEASE read your pressure cooker's instruction manual carefully, and NEVER exceed the maximum liquid level for your model. This recipe will probably need to be modified for your pressure cooker.**)
Step 5: Once the broth has finished cooking, allow to cool slightly. Carefully strain everything through a fine mesh sieve, and discard all solids (chicken, bones, vegetables, bay leaves, etc.)
Step 6: Place in a class or ceramic container, and pop it in the fridge overnight. (I LOVE quart-sized mason jars for this, and can usually get 2.5 - 3 full jars from this recipe.)
Okay, time for pictures!
Step 7: In the morning, once the broth has cooled, you'll notice that a layer of fat has accumulated at the top of the container.
This is GREAT, because you can just grab a spoon and...
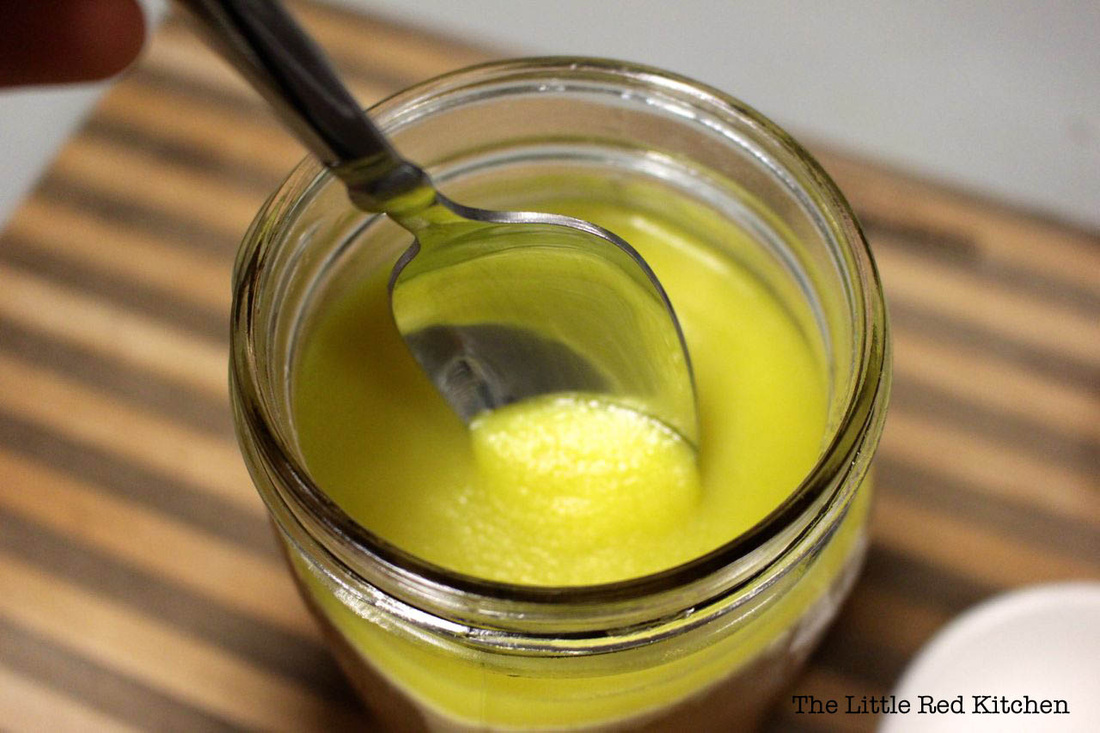
...scoop it right out!

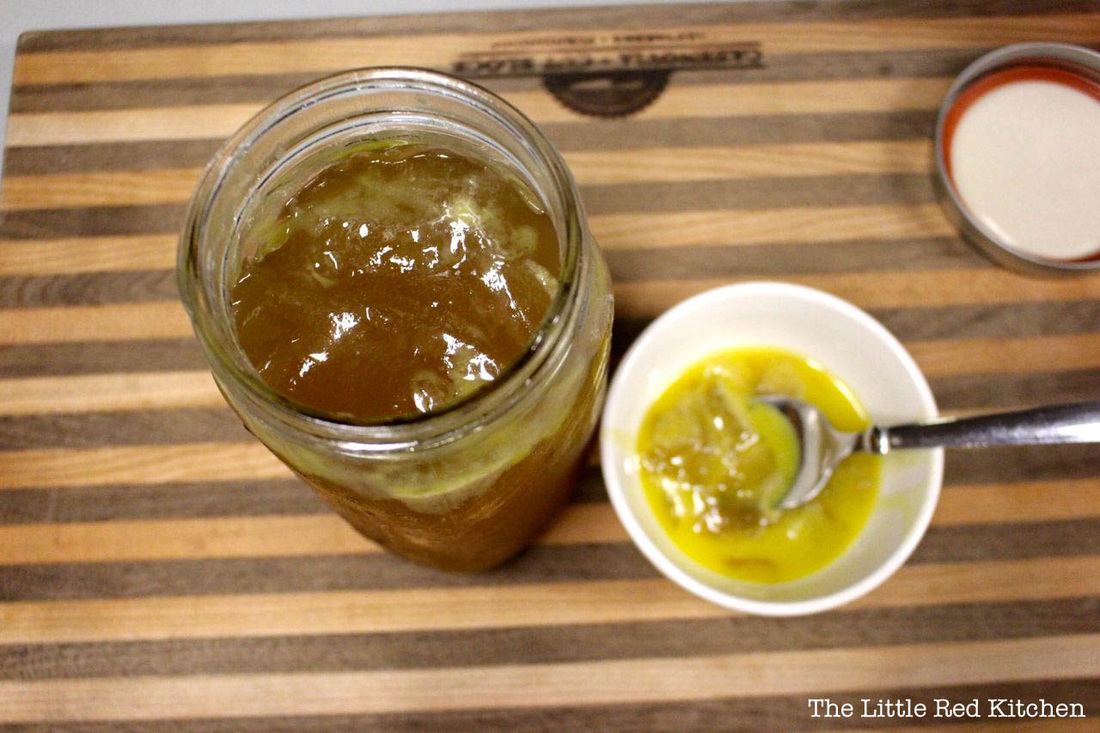
You should also notice that the broth isn't really... broth, it's more like gelatin. This is also great!
Did you know? The gelatin forms because the collagen from the carcasses-- a protein that makes up a significant portion of our bodies-- has cooked. This nutritional powerhouse of a drink also contains a ton of minerals that our bodies need, including calcium! You can read more about the benefits of cooking with bones here.
In this case, "you are what you eat", is literal. Consuming these kinds of nutrients is great for your body, because they're what your body is made up of.
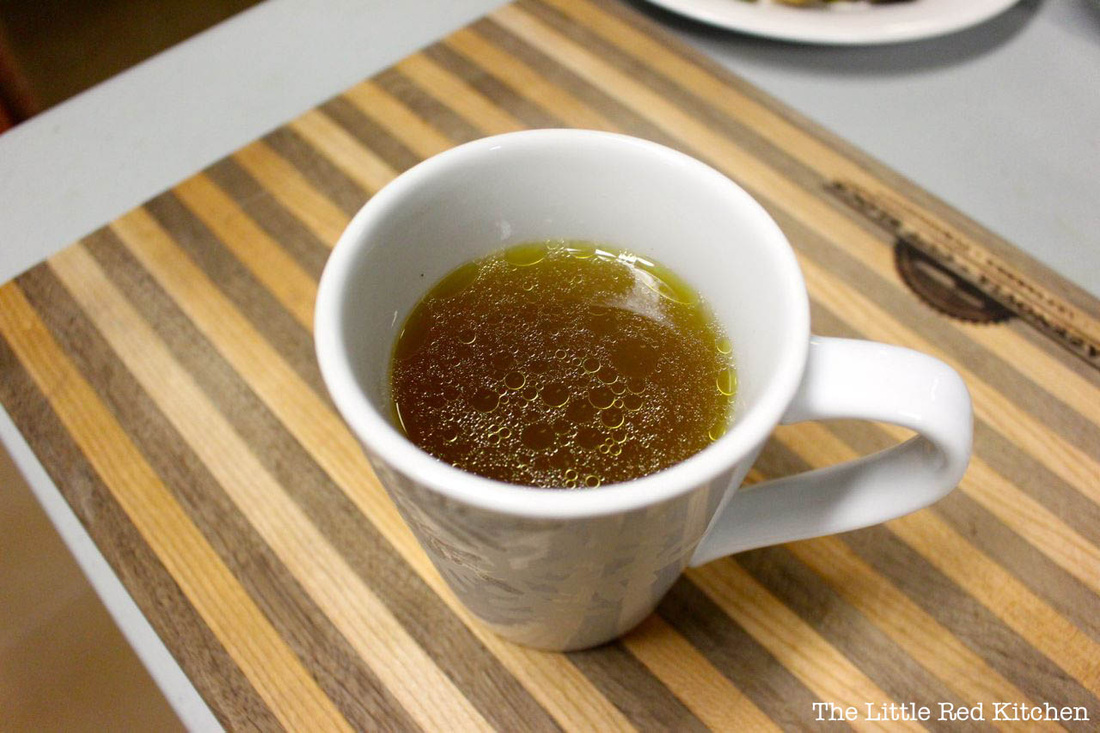
Once the fat is all gone, you're left with lovely broth.
Simply scoop into a mug...
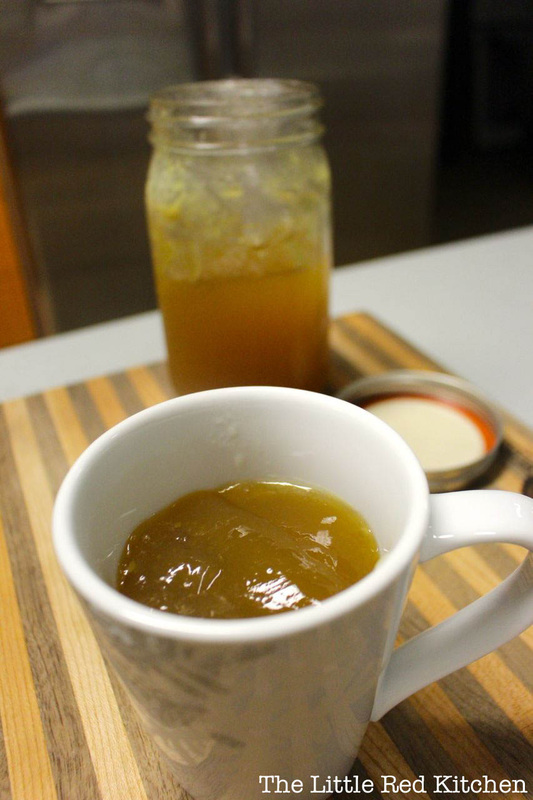
...microwave, and enjoy!

Thanks for reading!
- Kaitlin
- Kaitlin

 RSS Feed