You know what they say about invention being the product of necessity? Well, I had a pound of ground beef, and some sorry-looking vegetables that were on their way out the door. Something told me that a meatloaf was in order!
Meatloaf can be wonderful, homey, comfort food that you just dig into and feel satisfied beyond words after eating.
Or, it can be dry, bland (or overly seasoned), chewy, tough, and about a dozen other unappealing adjectives. I tried to solve all of these issues with my recipe and I think I did a pretty good job! You will have to make it to see for yourself.
Ingredients:
Meatloaf:
1 lb ground beef (80/20 is preferable, but definitely no leaner than 85/15)
1 large carrot, diced fine
1 large rib of celery, diced fine
1 medium onion, diced, you guessed it, fine (Yellow or red is fine)
1 clove of garlic, minced
1 tsp dried thyme
1 piece of white sandwich bread, crusts removed
1/4 cup milk
1 large egg
1 tbsp. Worcestershire sauce
1 tsp Dijon mustard
1 tsp tomato paste
1/2 cup panko breadcrumbs
1 tsp oil
1 tsp butter
salt and papper
Glaze:
1/4 cup plus 2 tbsp. ketchup
1.5 tbsp. cider vinegar
1/4 tsp salt
1 tbsp. brown sugar
pinch of cayenne pepper
**I know these ingredient lists look long, but if you actually take a look at what's on them, it's almost all things that you have on hand already.
Because I know the importance and value of leftover meatloaf, I will tell you that this recipe makes enough for 2 with leftovers, or enough for 3 or 4 without. It's a little guy; hence, the little red meatloaf! I'd wager that you could easily double this recipe, but you may have to adjust your cooking times.
Step 1:
Pre-heat the oven to 350 degrees. Line a rimmed baking sheet with parchment paper.
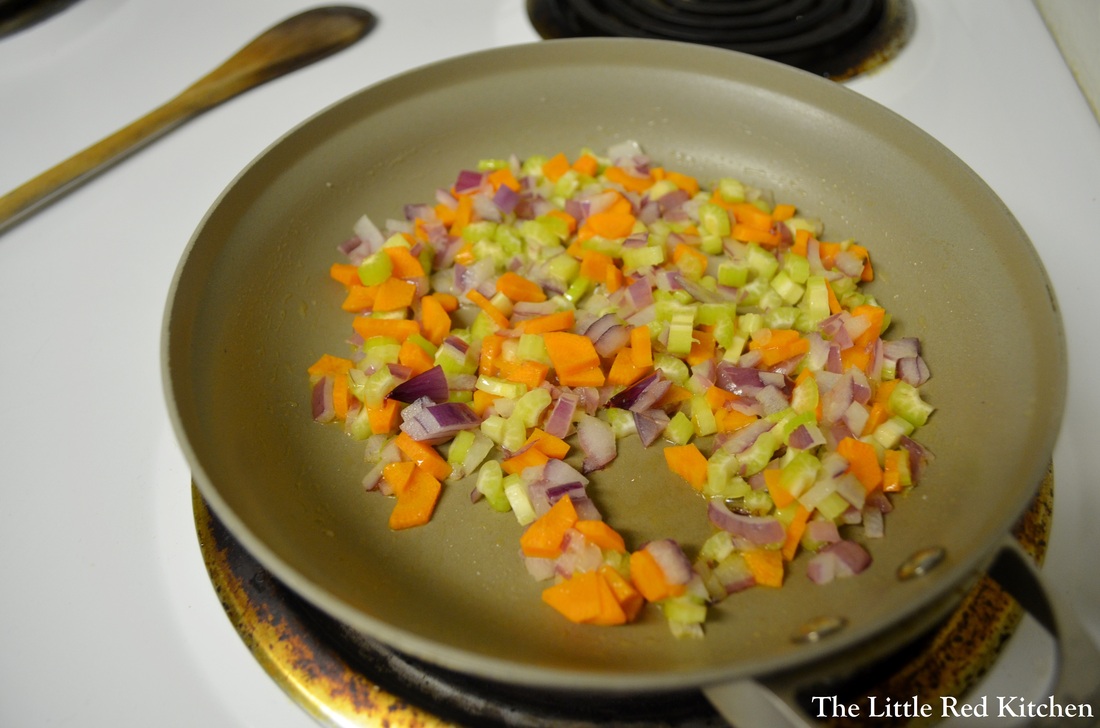
Melt the butter and oil together over medium-low heat, then sauté the carrot, onion, and celery with a tsp of salt for 6-7 seven minutes, until they are softened and translucent. We're not looking to brown here.
Then add the garlic and thyme and cook for 30 seconds, until fragrant. Remove from the heat and set aside. Step 2:
Put the piece of bread in a large bowl and pour the milk over it. Mash this up with a spoon or fork. Looks gross and unnecessary, doesn't it? Well, this mixture is called a panade, and as that milk-soaked bread distributes throughout the meatloaf, it's going to ensure that it stays moist. It's just as effective in meatballs too!
To this bowl, add the egg, Worcestershire, tomato paste, Dijon mustard, 1/2 tsp salt and 1/2 tsp pepper. Stir to combine.
Step 3:
Add the vegetables from the pan to the bowl, followed by the ground beef and the breadcrumbs. This is where you want to mix the meatloaf together, preferably with your hands. It's pretty critical that you are gentle in this process. Don't compact the meat or overwork it; this is what produces that tough, chewy loaf in the end product. Instead you want to use your fingers to mix until everything is just combined.
Step 4:
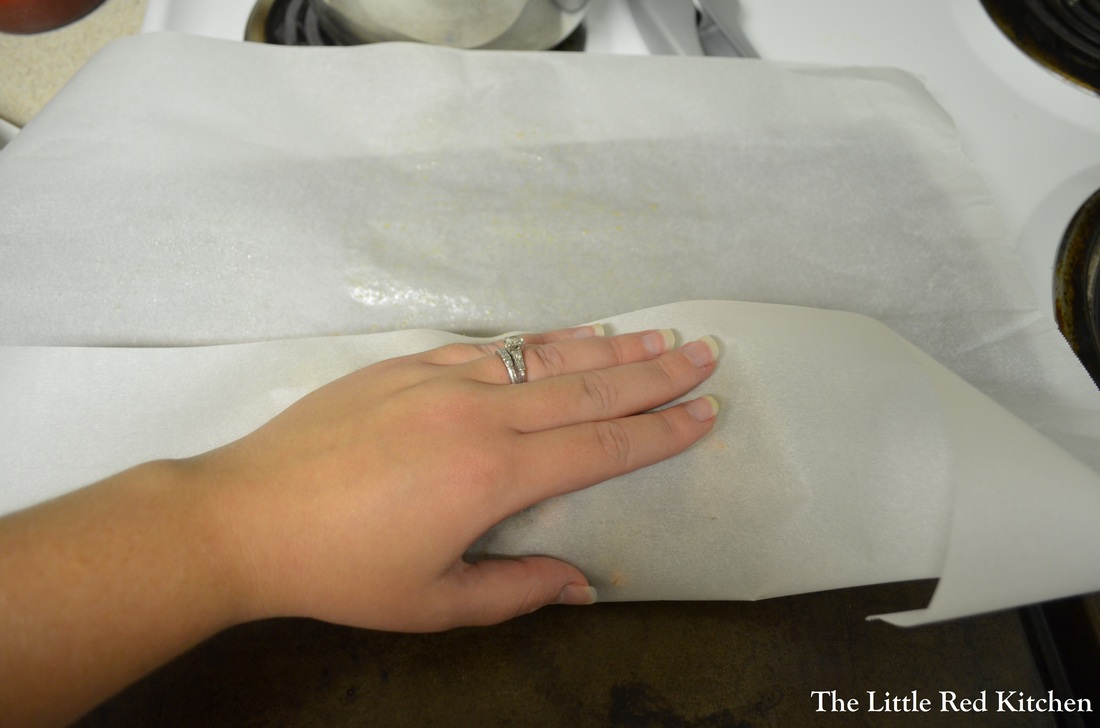
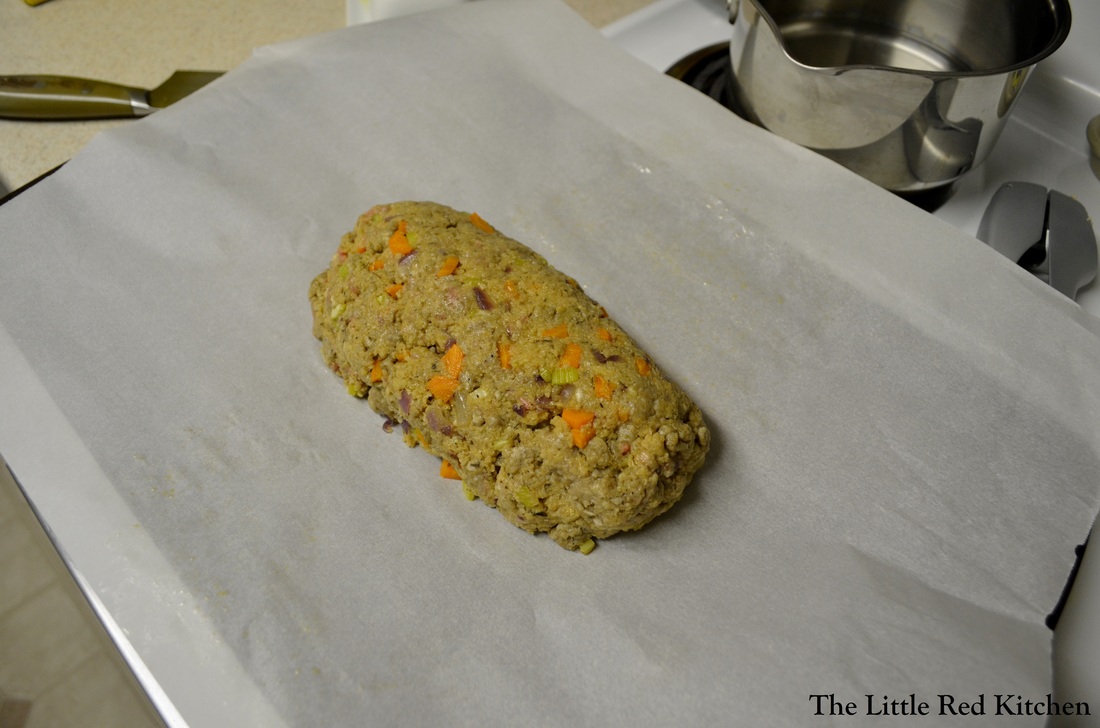
Turn the mixture out onto the parchment, and shape into a loaf. This is where the parchment comes in handy. Bring the sides of the parchment up and use them to gently press the meat into the shape you want. Bake for 20 minutes at 350, then turn the oven up to 400 degrees and cook for an additional 15 minutes, or until the meat registers about 140 degrees, if you have an instaread thermometer (which I recommend having in your kitchen!). Step 5:
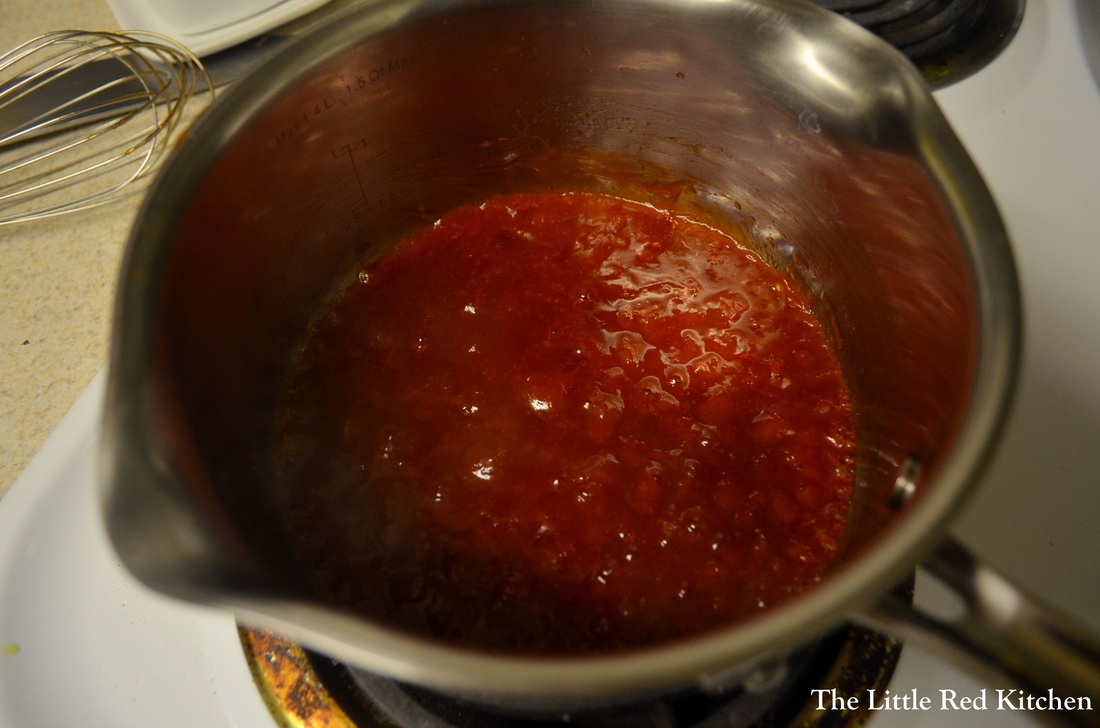
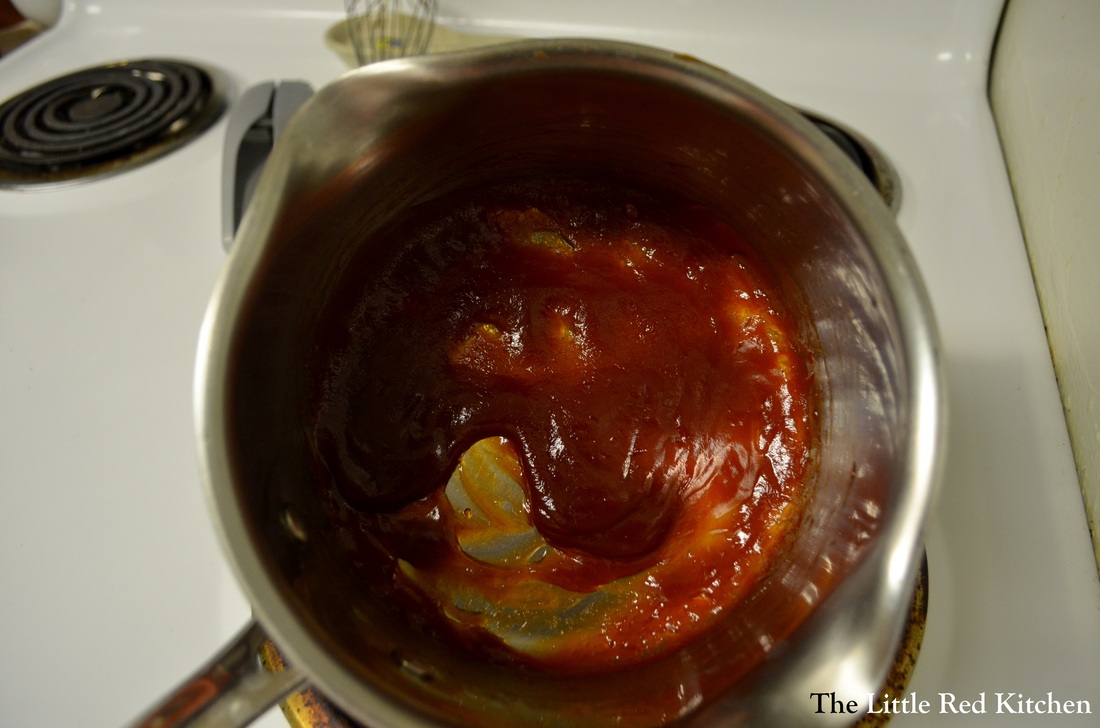
While the meat is cooking, you want to prepare the glaze, which is super easy. Simply add all of the glaze ingredients into a small saucepan and whisk to combine. Bring to a simmer, then reduce the heat to medium-low and simmer for 10 minutes, until the mixture has darkened, and thickened. A good trick is to hold the pan upright, and if the glaze doesn't slide down the bottom but clings to it, you are there. Step 6:
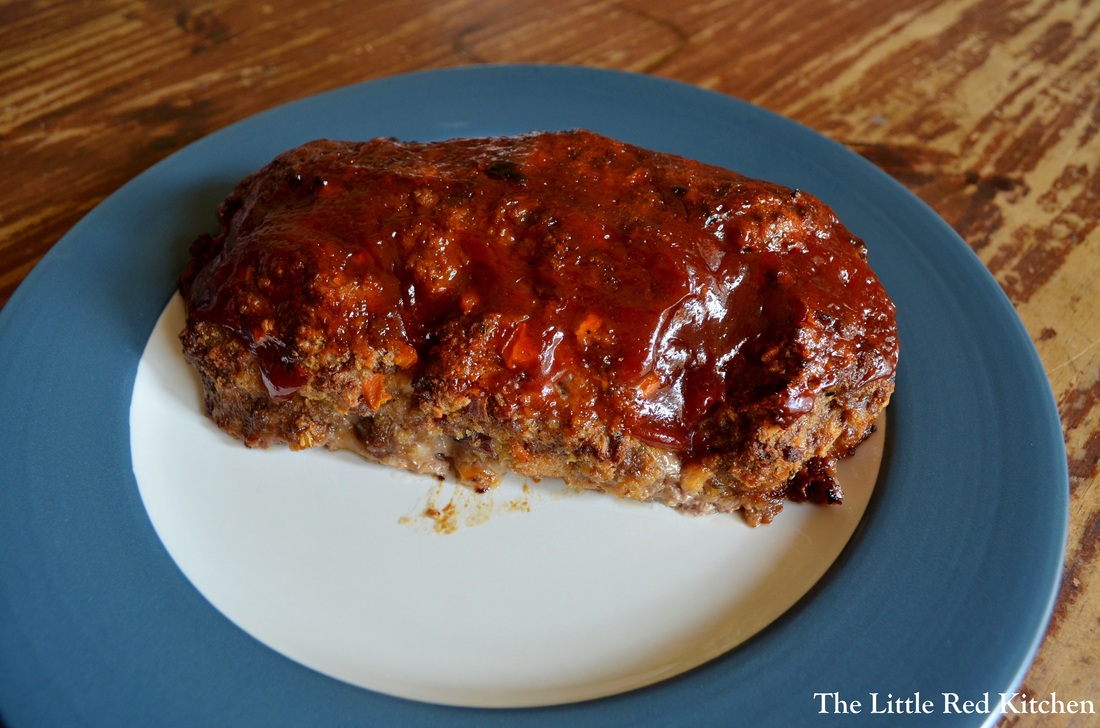
Just set the glaze aside, and once the meatloaf has cooked for those initial increments at 350 and 400, pull it out and paint the top and sides of the meatloaf with the glaze. Then crank the broiler on and bake for about 3 minutes, until the glaze has darkened even more and formed a tantalizingly sticky exterior.
Pull the meatloaf out and let it rest for 5 to 10 minutes before digging in! This meatloaf has great beefy flavor, with subtle kicks of the Dijon, Worcestershire, garlic, and veggies in the background. The glaze adds a great tangy, sweet contrast, and actually if you don't feel like making it yourself, substitute your favorite barbeque sauce. Or even just ketchup and brown sugar would work fine. Just serve it up with mashed potatoes and a nice glass of wine, and I don't think comfort food gets more comforting than that.
~Lauren
Beef stroganoff, a Russian dish that originally consisted of just beef in a boullion and sour cream sauce, has its roots in the 19th century. Although beef stroganoff was present in the United States in the early 1940's, it didn't become widespread until after World War II, when the rationing of meat was lifted. At that time, it became the go-to recipe for gourmet chefs across the 'States (according to beefstroganoff.net--someone really loves this stuff). More recent permutations of the recipe include onions, mushrooms, and sometimes even tomato paste, but in my opinion the sauce is the only thing that really matters! Around this time last year, Jay and I went to check out The Stone Balloon (which is now The 16 Mile Taphouse) in Newark, DE, where we were living at the time. Stone balloon really hit it out of the park with their beef stroganoff, not only because the sauce was fantastic, but also because it just happened to be a gluten-free option for Jay: they sliced potatoes thinly enough and cooked them just enough that they could serve as "noodles" for the dish. The portobello mushrooms in the dish also offered a meaty richness that paired well with the heavy whipping cream in the sauce. I'd been meaning to try to recreate this recipe for some time, and it just happened to work out that I got it right the very first time! I'm really excited to share this recipe with you guys-- it's a little more labor intensive than I usually like to go, but this would be an excellent dish for a special occasion (you could even use steak instead of ground beef to kick it up a notch). Beef Stroganoff With Potato "Noodles" **Bonus: This dish is naturally gluten-free (check your ingredients, of course), and can also be made dairy free!**
Ingredients:
1 lb ground beef (I used 85/15)
1 large yellow onion, finely chopped
2-3 large garlic cloves, finely chopped
4 medium russet potatoes (or your choice of potato)
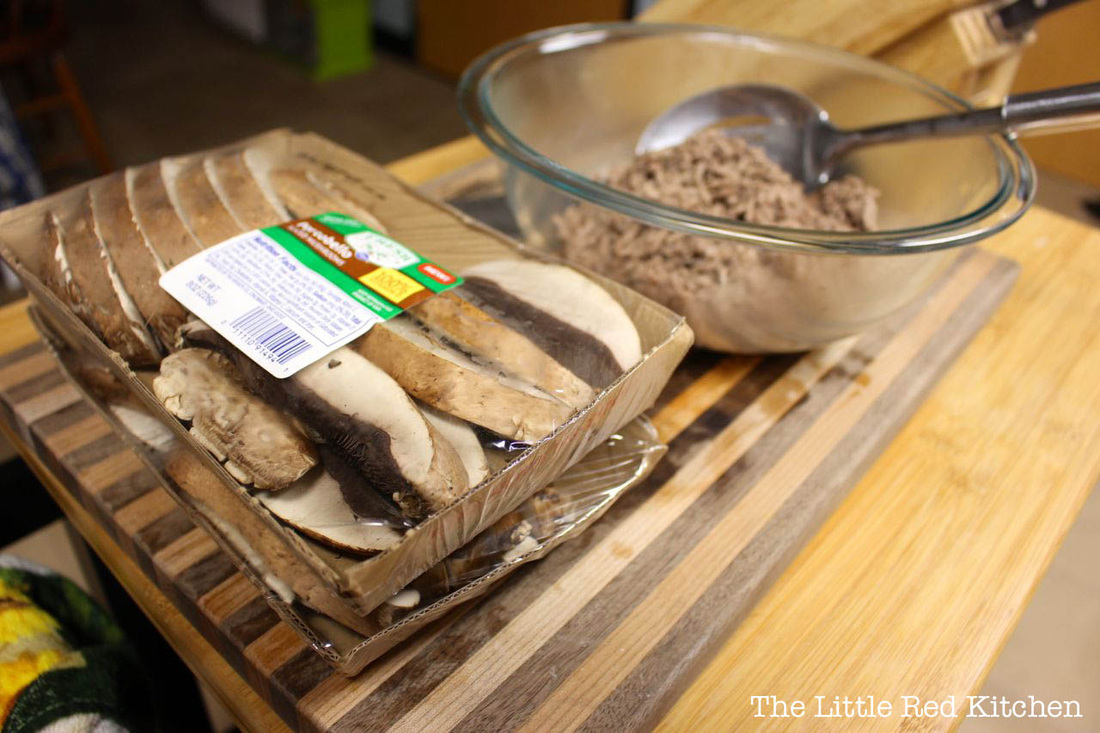
12 oz large portobello mushrooms, sliced into strips
1 16oz can coconut milk, chilled for at least 8 hours in the fridge (you could also use 1¼ cups heavy whipping cream or crème fraîche, although the consistency of the sauce may change slightly)
1/4 cup white cooking wine
1/2 cup chicken stock
2 tsp dijon mustard
1 tsp ground nutmeg
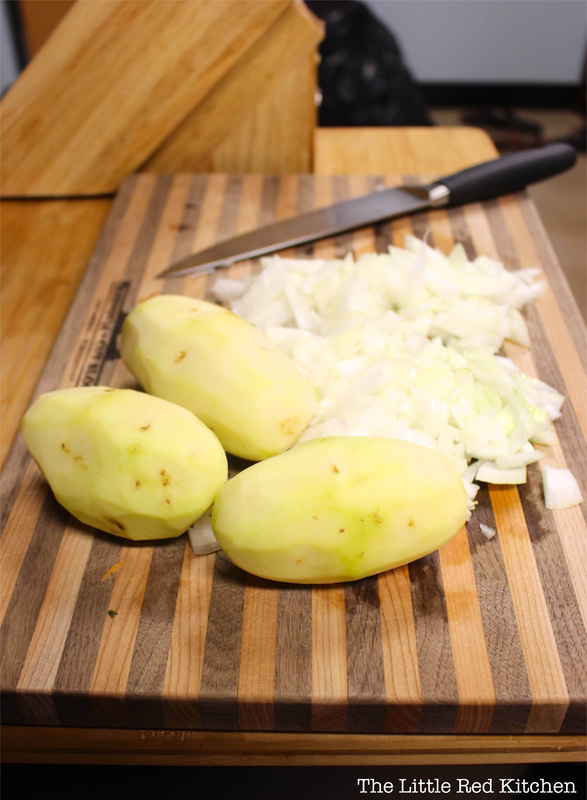
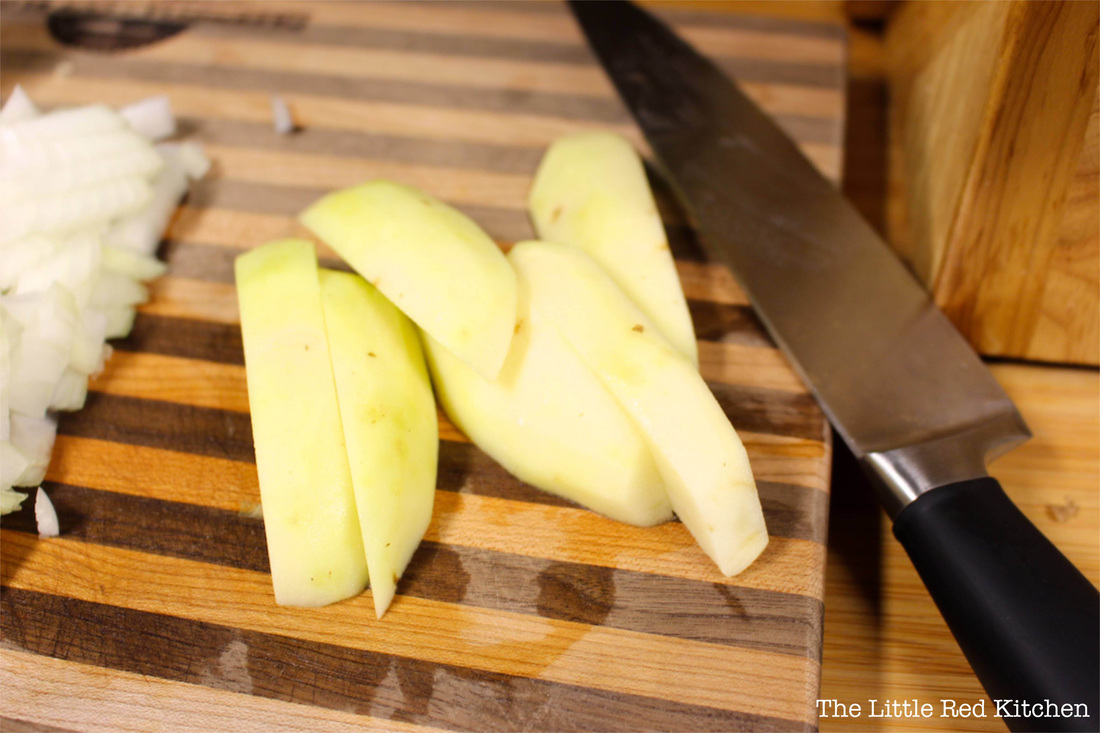
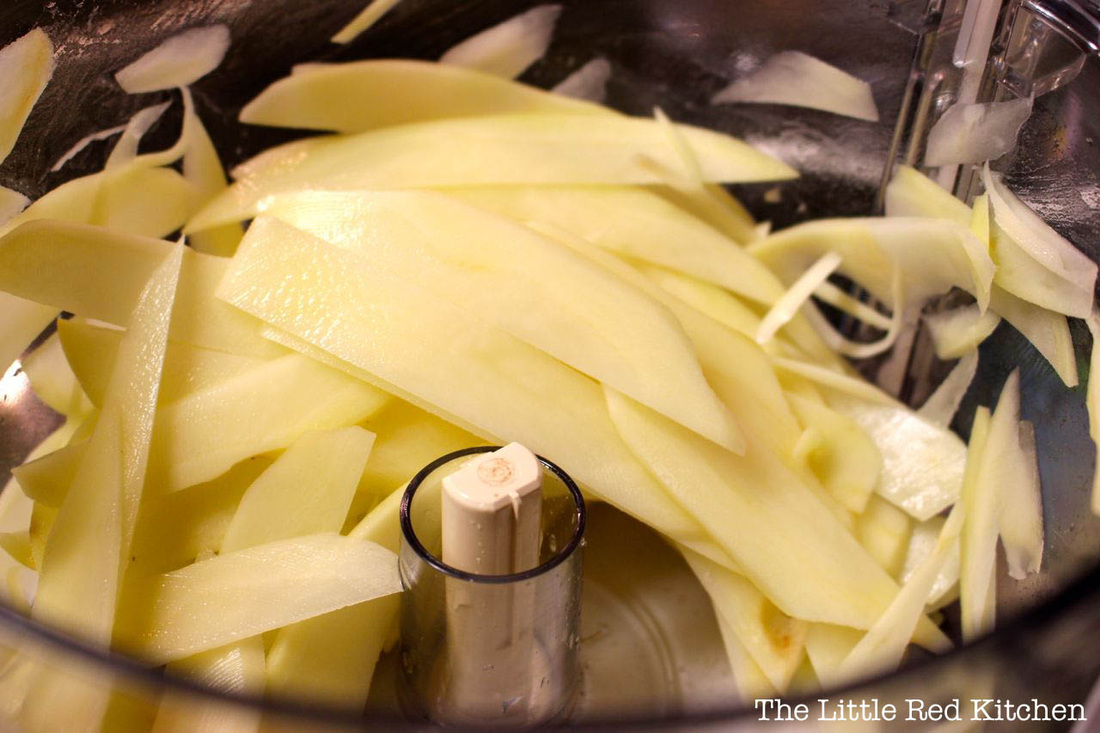
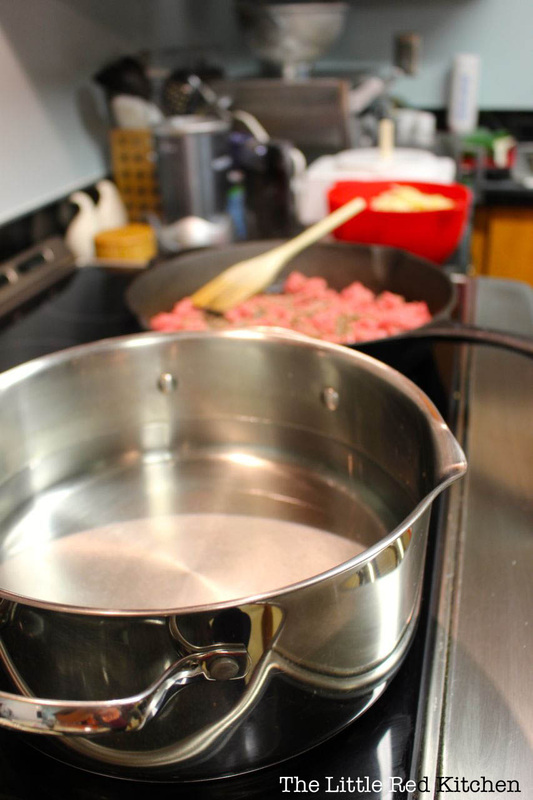
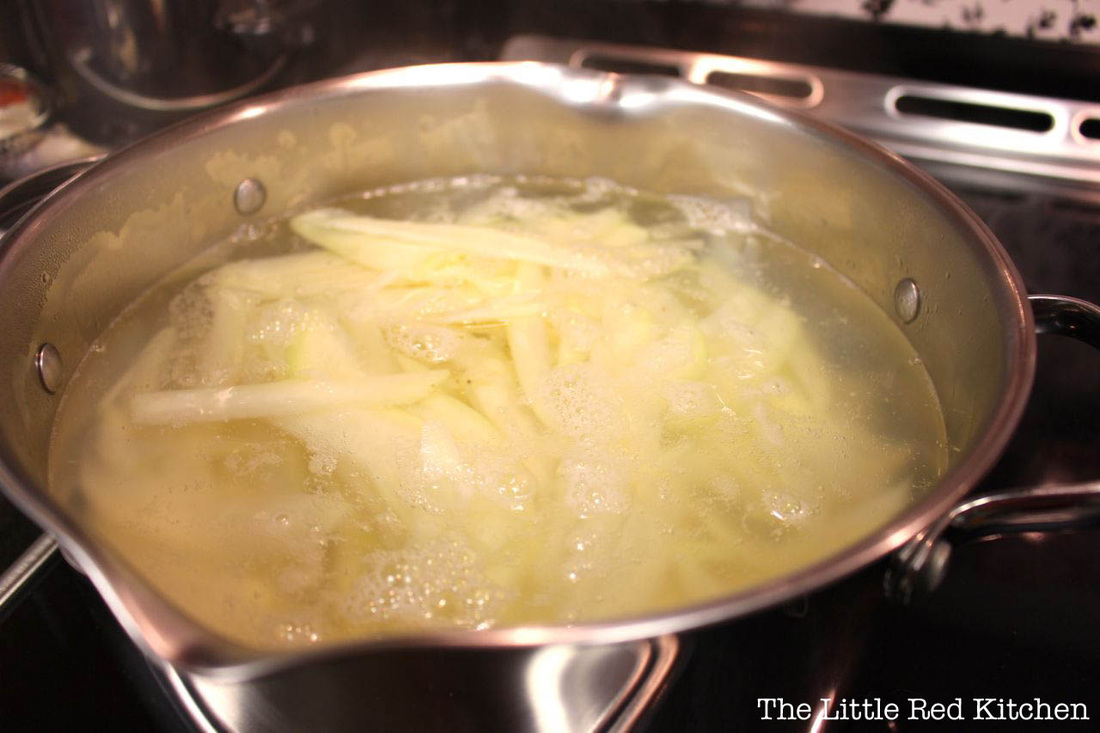
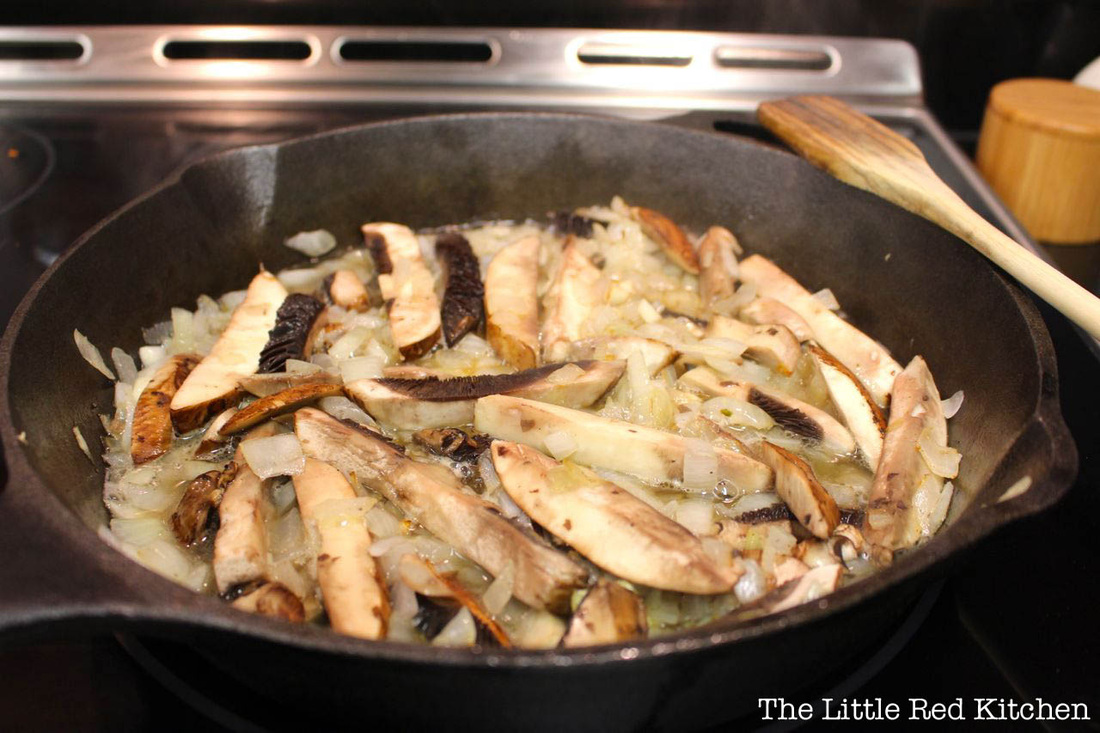
Step 1.1. Start by preparing your veggies: Scrub and peel the potatoes, chop the onions and garlic. Step 1.2. Cut your potato strips lengthwise into half-inch strips. You can then slice them finely yourself, or use a slicing blade attachment in your food processor to create the "noodles". If you go the food-processor route, though, be sure to place them horizontally into the processor feed, so they are sliced into long noodles (instead of short choppy ones). I used the 2mm slicing attachment on my Cuisinart. I was SO pleased with how well this worked!! Just look at those beautiful noodles: Step 1.3. Once your veggies are prepped, heat a large skillet over medium-high heat, and add your ground beef to the pan. Let it cook until browned, and crumble it with your spatula as you go. Step 1.4. While the meat is cooking, put a large pot of water on to boil, and salt it fairly generously. This is your chance to spice the potatoes as they cook.
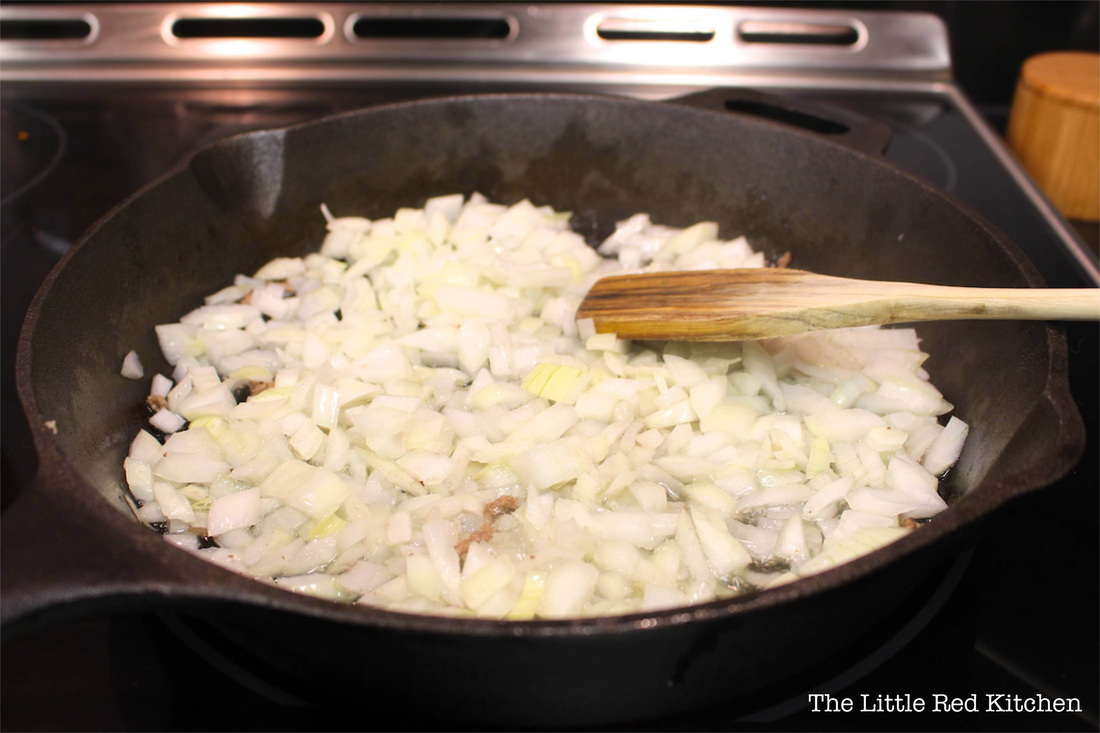
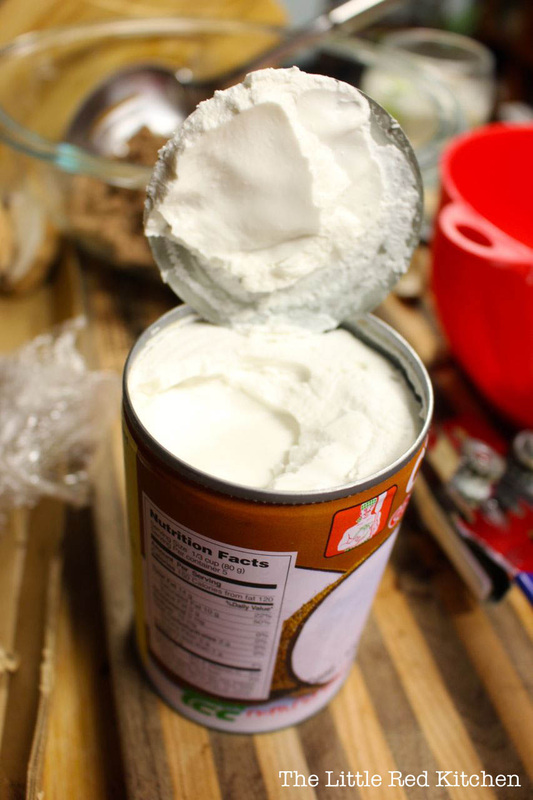
Step 2. Once your meat has finished cooking, remove it (but not the fat it's left behind) from the pan and place in a bowl for later use. Pull out your mushrooms, too. Step 3.1. Toss your onions and garlic into the pan with the beef fat, and saute over medium heat until fragrant and translucent. You can slice your mushrooms while you wait the 3-5 minutes it'll take for this to happen. Step 3.2. Once the water has started to boil, add in the potatoes and cook for a maximum of 5 minutes. We want them to be cooked, but a bit al dente, so they hold up under that delicious sauce. Step 4. Add in the sliced mushrooms, white wine, and chicken stock. Stir well to combine, and use a spatula to scrape any crusted onion/garlic from the bottom of the pan. Allow to simmer for 14-16 minutes, until the mushrooms have cooked through and absorbed most of the liquid from the pan. Step 5. Drain your potatoes and rinse them under cold water to stop them from cooking further in their own heat. Set aside. Step 6. Take your chilled coconut milk out of the fridge and open it up. Hopefully, you'll see a thick layer of coconut "cream" on top from the chilling.
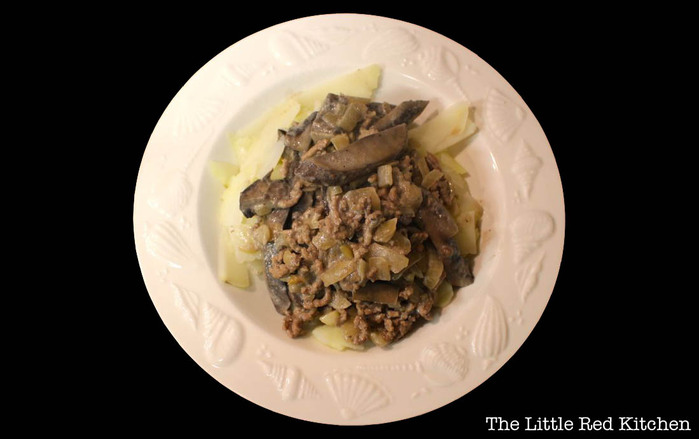
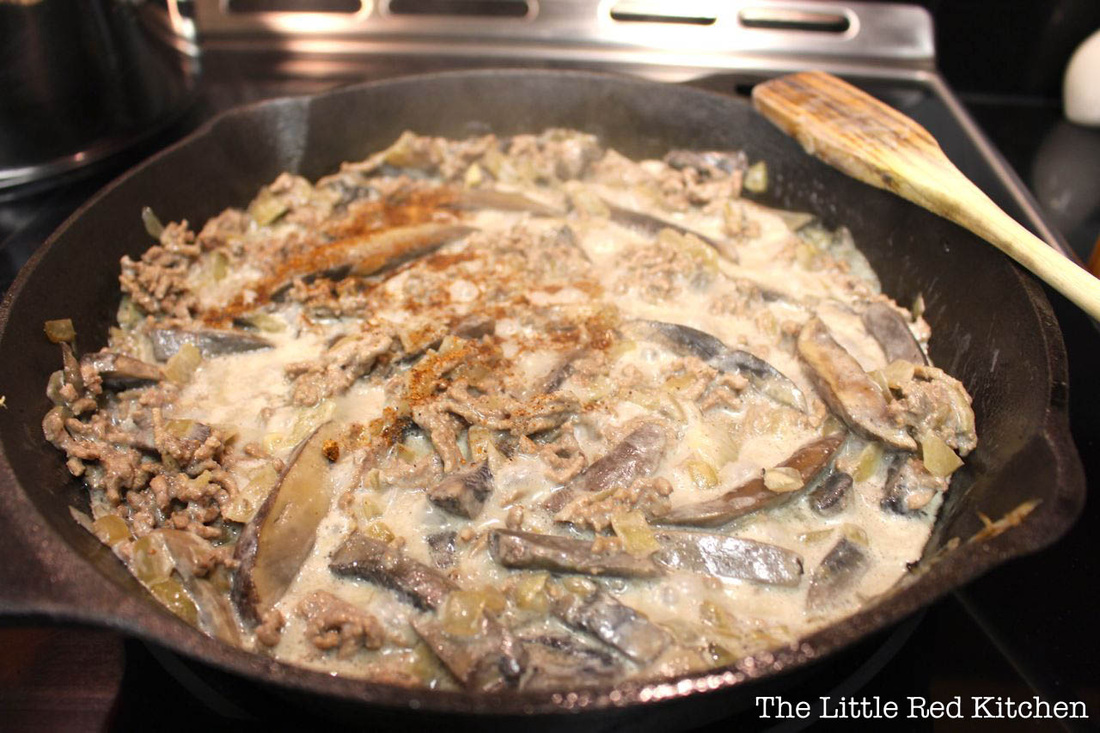
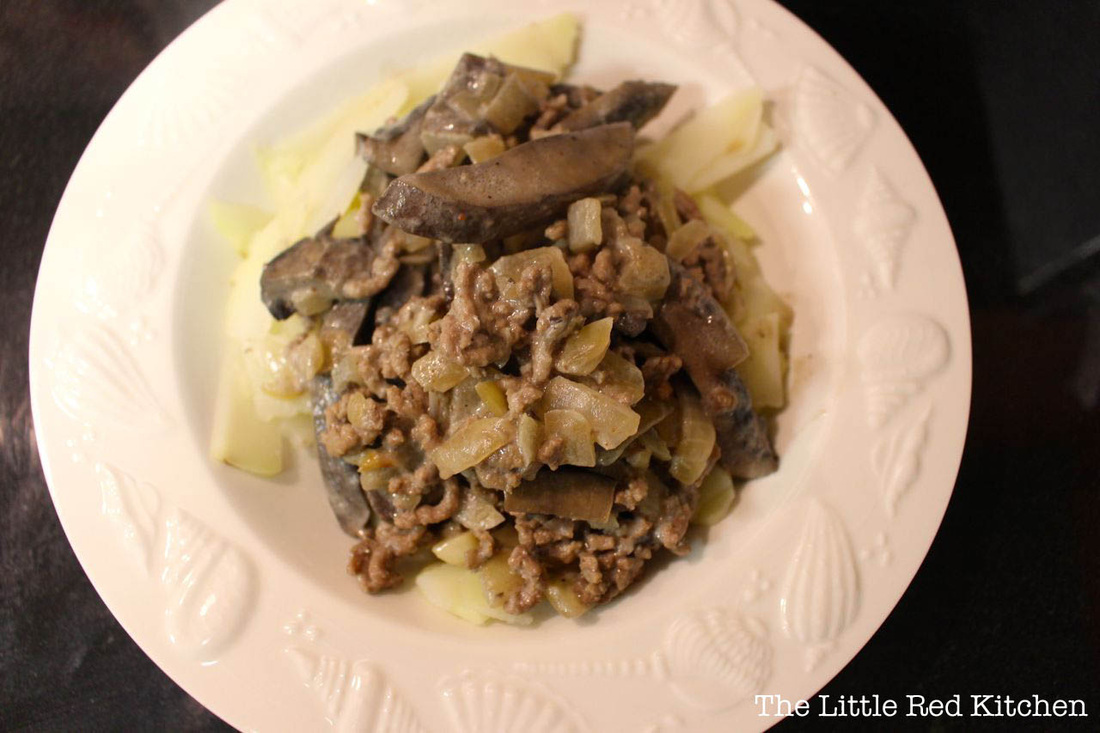
Did you know? Coconut milk is FULL of healthy fat, but if you're looking to keep your calorie intake low, this may not be for you. Once you've scooped out the cream, whisk in the dijon mustard: Step 7. Add the coconut milk mixture to the pan of veggies, along with the ground beef and nutmeg. Step 8. Continue to cook for a few minutes to allow the sauce to thicken and heat through. Once it's steaming, you're done! Top some potato "noodles" with your fresh beef stroganoff, and enjoy! Recipe without photographs: Beef Stroganoff With Potato Noodles **Bonus: This dish is naturally gluten-free (check your ingredients, of course), and can also be made dairy free!**
Ingredients:
1 lb ground beef (I used 85/15)
1 large yellow onion, finely chopped
2-3 large garlic cloves, finely chopped
4 medium russet potatoes (or your choice of potato)
12 oz large portobello mushrooms, sliced into strips
1 16oz can coconut milk, chilled for at least 8 hours in the fridge (you could also use 1¼ cups heavy whipping cream or crème fraîche, although the consistency of the sauce may change slightly)
1/4 cup white cooking wine
1/2 cup chicken stock
2 tsp dijon mustard
1 tsp ground nutmeg
1. Prep and chop your onions and garlic, scrub and peel the potatoes.
2. Slice the potatoes lengthwise into half-inch wide strips. Slice thinly to create noodles, or use the (2mm) blade attachment in your food processor to do it. Remember to place them horizontally into the food processor for best results!
3. Put a pot of well-salted water on to boil, and brown the meat in a large skillet over medium-high heat.
4. Remove the meat from the pan (leave the fat) and cook the onions and garlic until fragrant and translucent.
5. Add the potato "noodles" to the boiling water, and cook for 5 minutes, maximum. Drain and run under cold water to keep them from cooking further.
6. Add the mushrooms to the pan with the onions and garlic, along with the chicken stock and white wine. Allow to simmer for 14-16 minutes, until the mushrooms are cooked through and have absorbed most of the moisture.
7. Remove the canned coconut milk from the fridge, and scoop out the solidified coconut "cream" from the top of the can. Whisk the dijon mustard into the coconut cream.
8. Add the coconut cream mixture to the pan, along with the ground beef. Allow to heat through for 2-3 minutes.
9. Serve atop potato noodles, and enjoy!!
As always, thanks for reading!
- Kaitlin
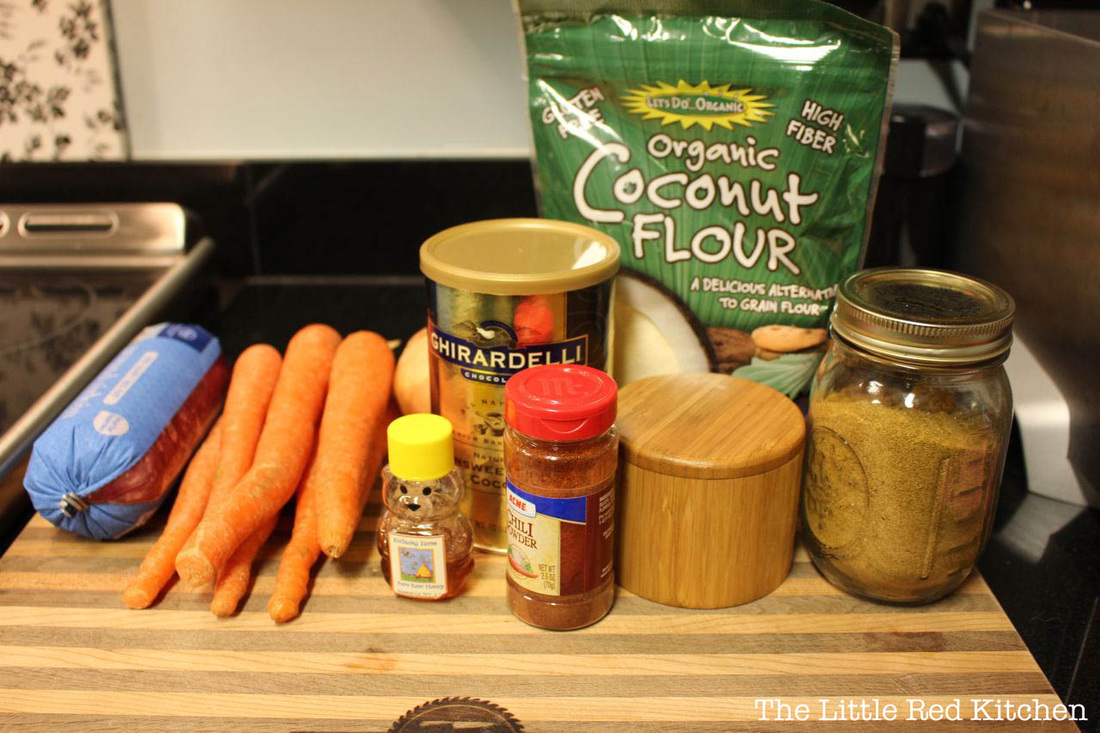
Growing up, I want to say that 99% of the sloppy joes I ate were straight from Manwich... which is fine! It was quick, easy, and 20 years ago, probably had a lot fewer unpronounceable ingredients. And since I haven't made sloppy joes many times during my adult life, it didn't occur to me until recently that they don't have to originate from a can. During my first Whole30, however, I was craving some sloppy joes fiercely. In addition to a lot of other amazing things, one of the greatest benefits to my Whole30 experience was that it encouraged/forced me to cook almost everything I ate from scratch. The "Paleo" sloppy joe recipes I found didn't do much for me, but I really wanted something without a ton of brown sugar (and that wouldn't be thickened with wheat flour). Thus, this recipe was born. I should probably tell you two things (disclaimers), though: 1. It's called "Not Your Momma's" for a reason! It won't taste exactly/much like something from a Manwich can. This bad boy is sweetened with the addition of carrots and honey, but it still delivers that meaty, umami goodness that's thick enough to serve on a bun. 2. It is just as good aaaall on it's own, as a kind of chili. I bet it would be ridiculously good under a fried egg or two for breakfast. Just saying. Not Your Momma's Sloppy Joes What you'll need: 1lb ground beef (I've used both 85/15 and 90/10) 1 yellow onion, minced 3/4 cup carrots, minced 3 garlic cloves, minced Jalapenos to taste, minced (I use 1 small, usually) 1 can (16oz) Hunt's tomato sauce (you'll see this featured a lot in my recipes-- I love this stuff!) 2 tsp honey (can be omitted if you're Whole30) 1 tsp salt 1 tsp cumin 1.5 tsp cocoa powder 1 tsp chili powder 1.5 tbsp coconut flour
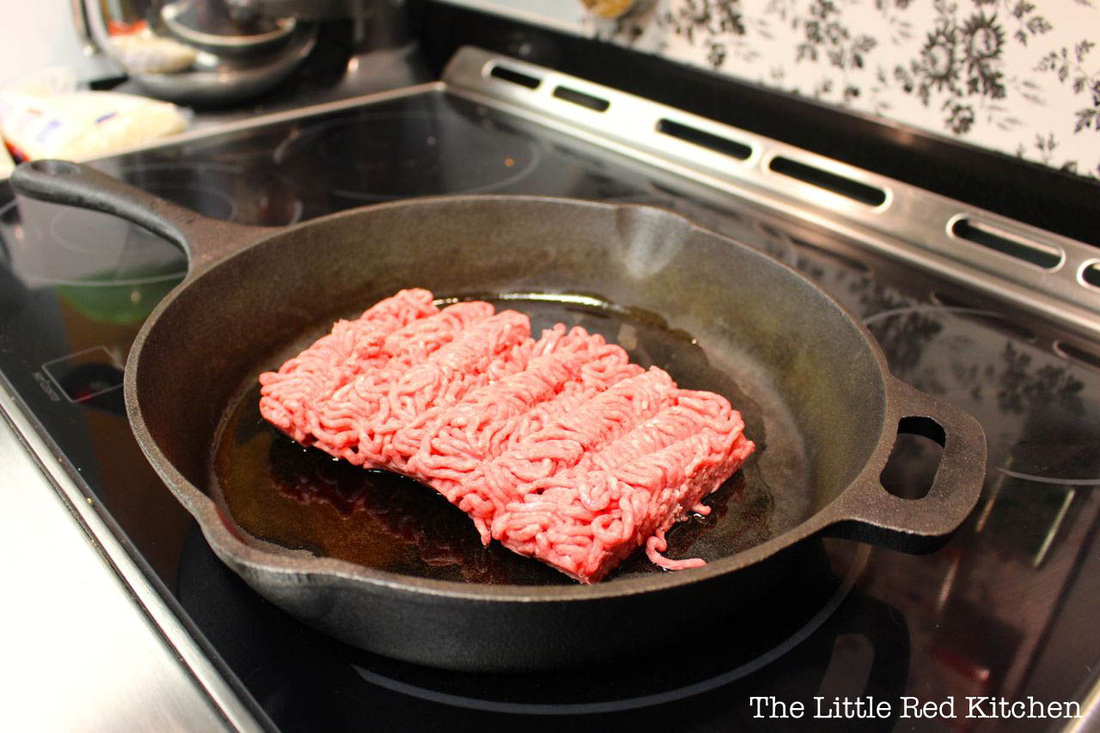
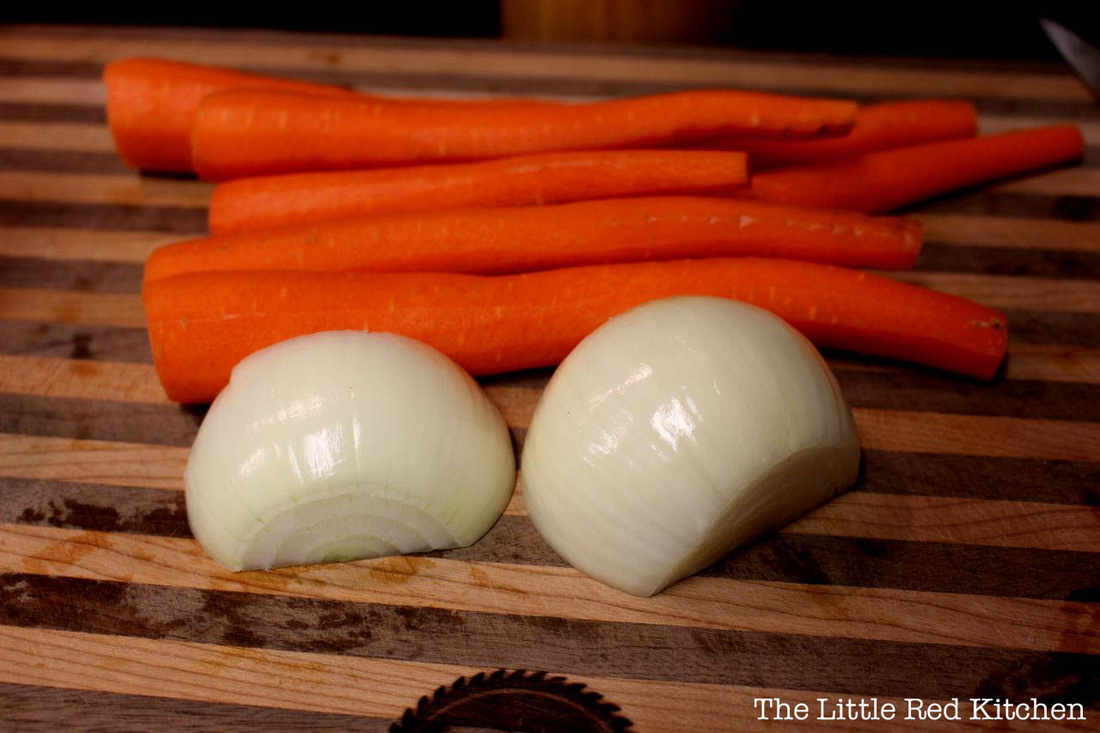
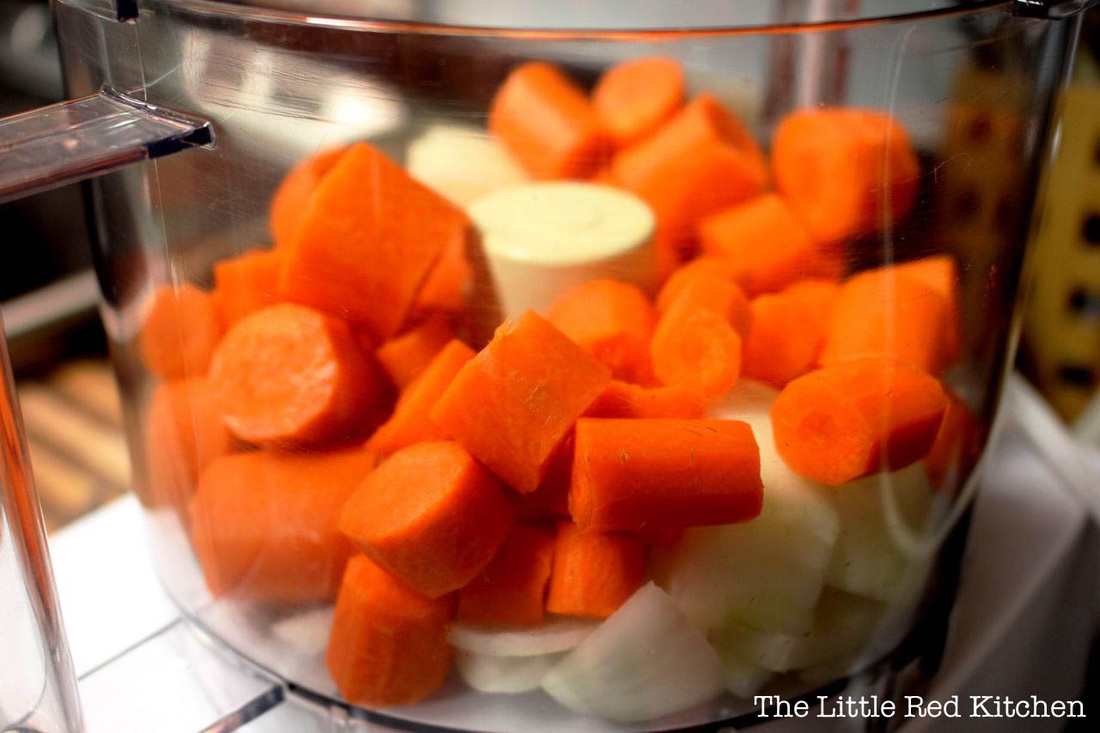
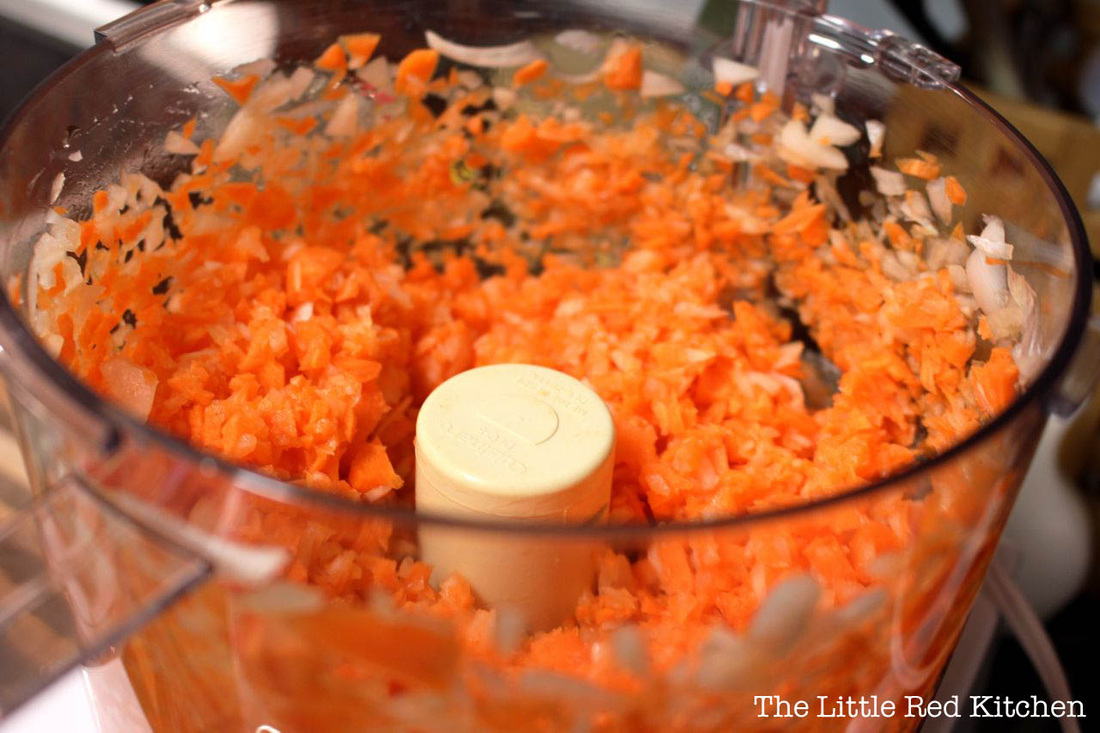
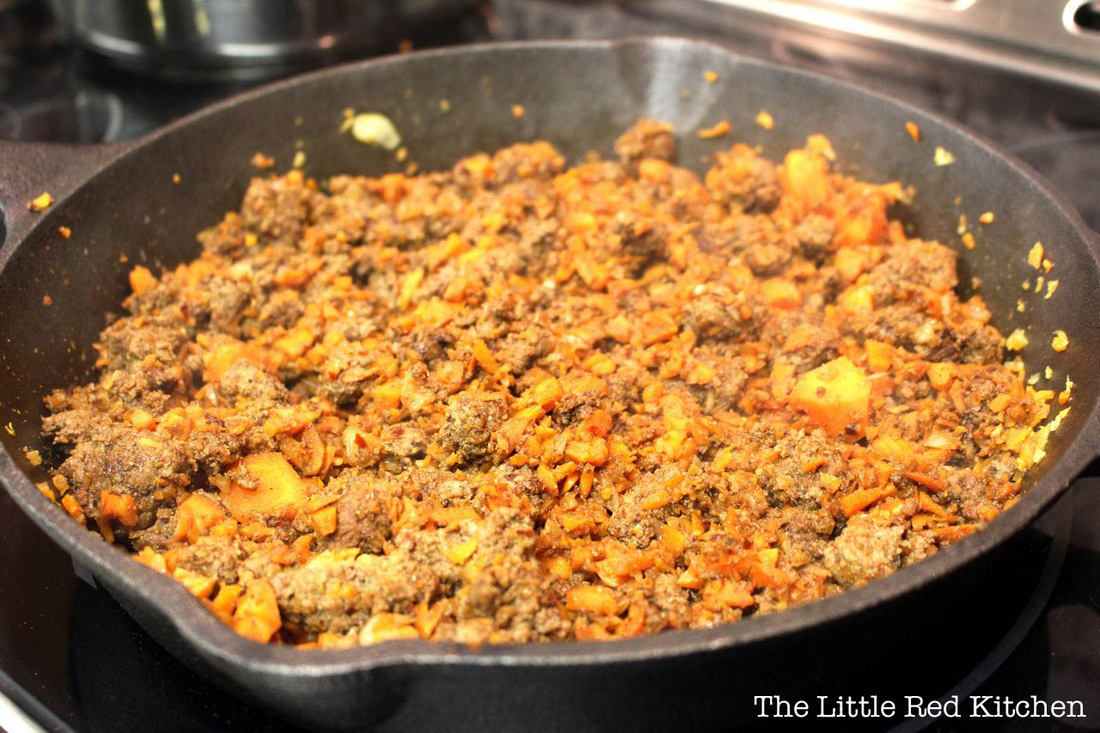
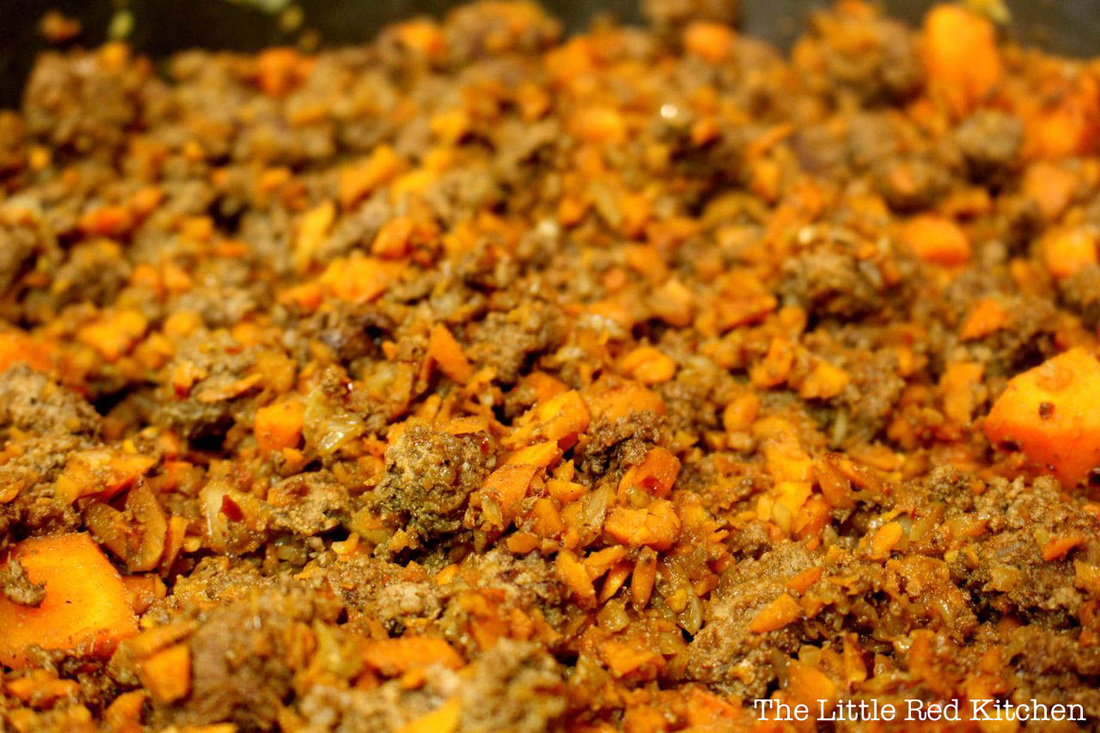
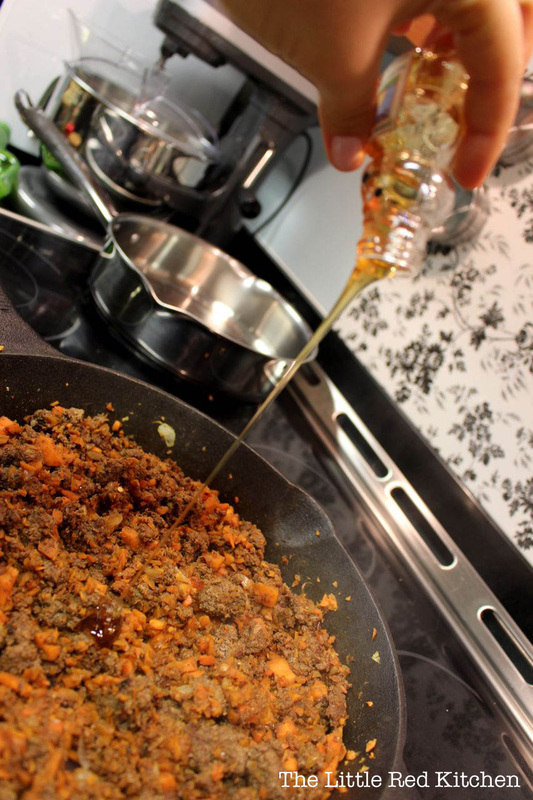
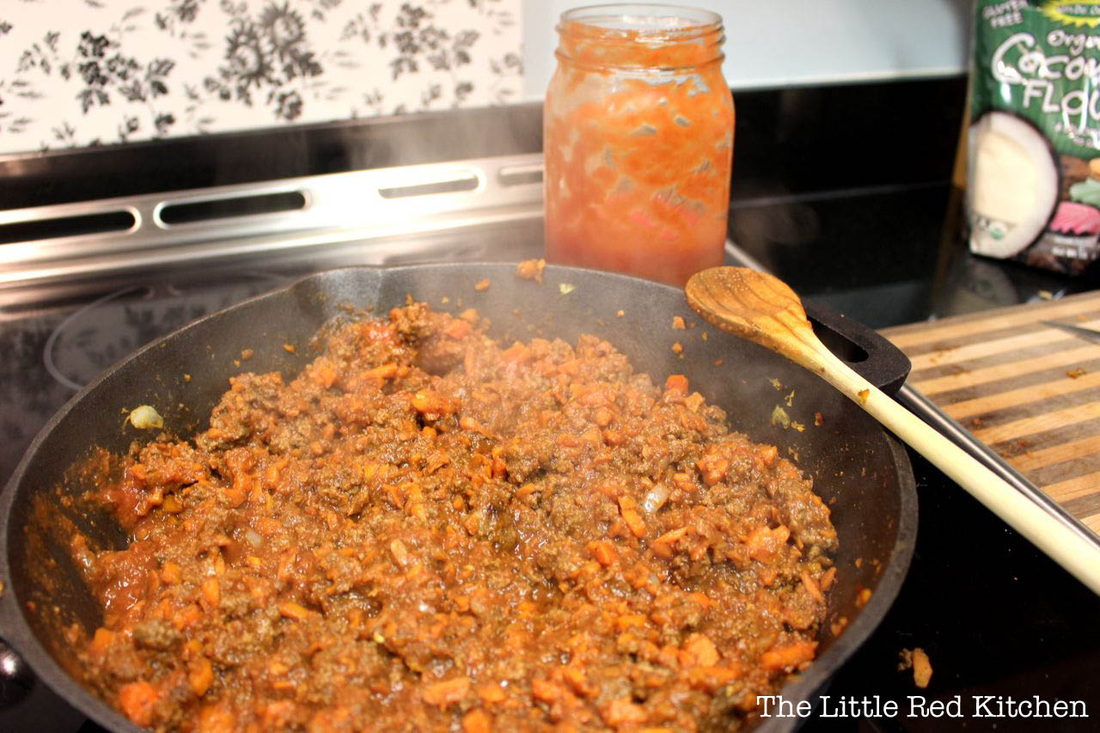
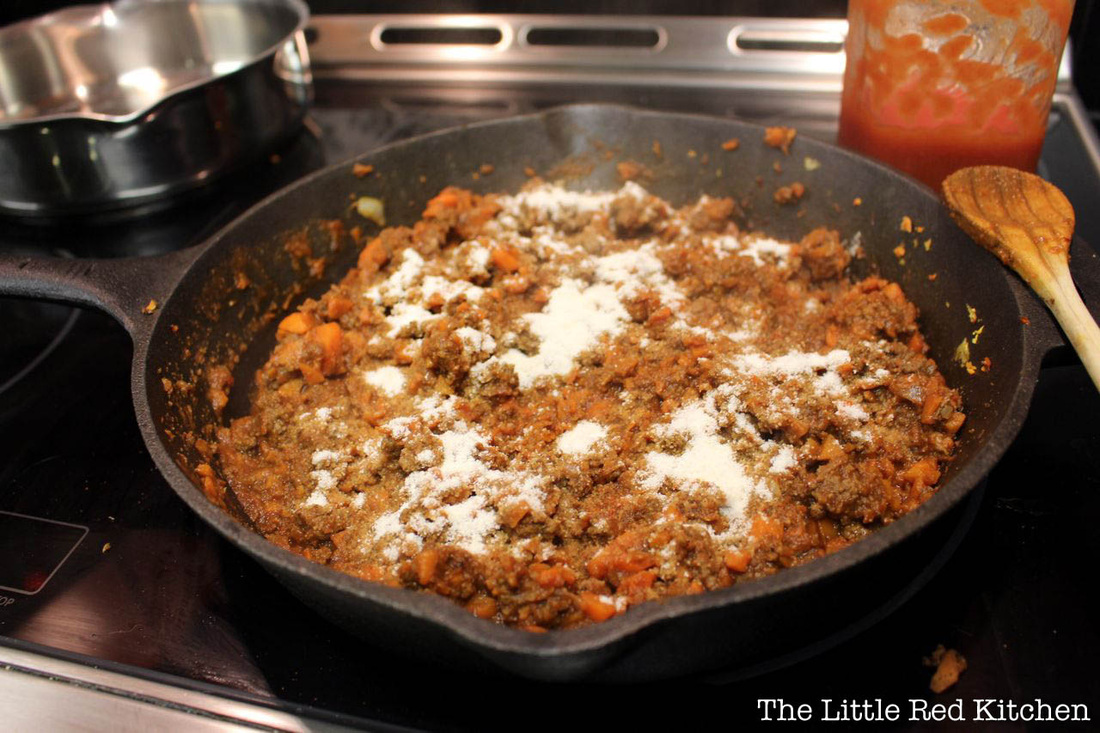
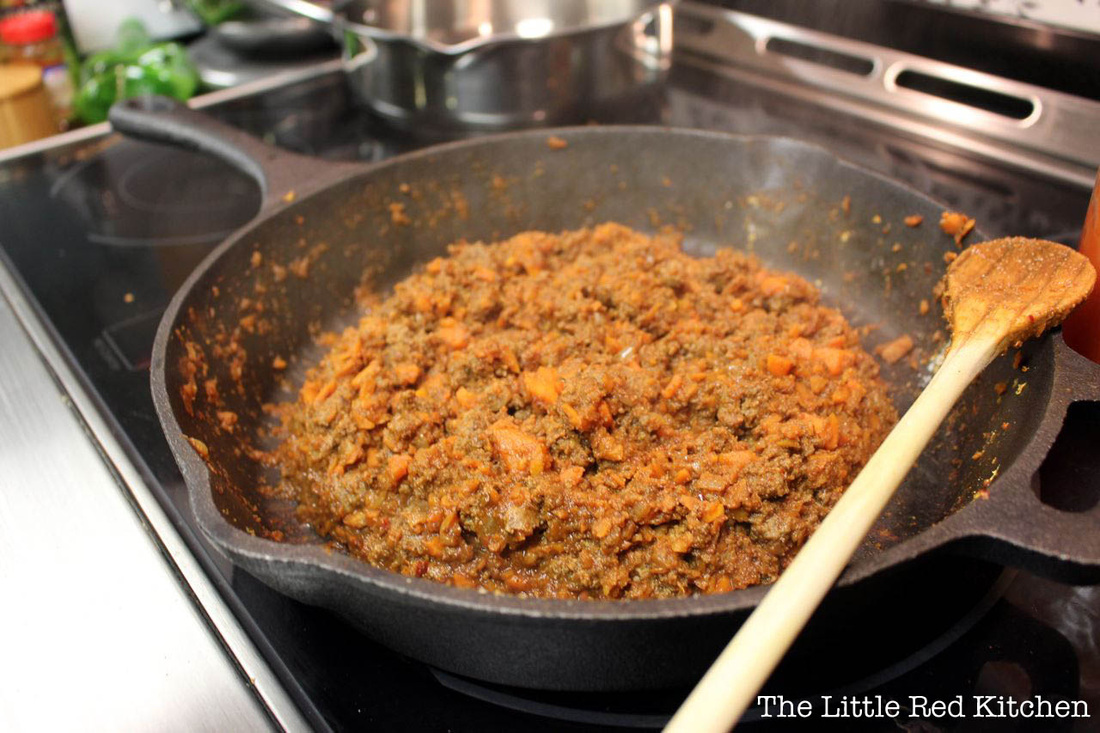
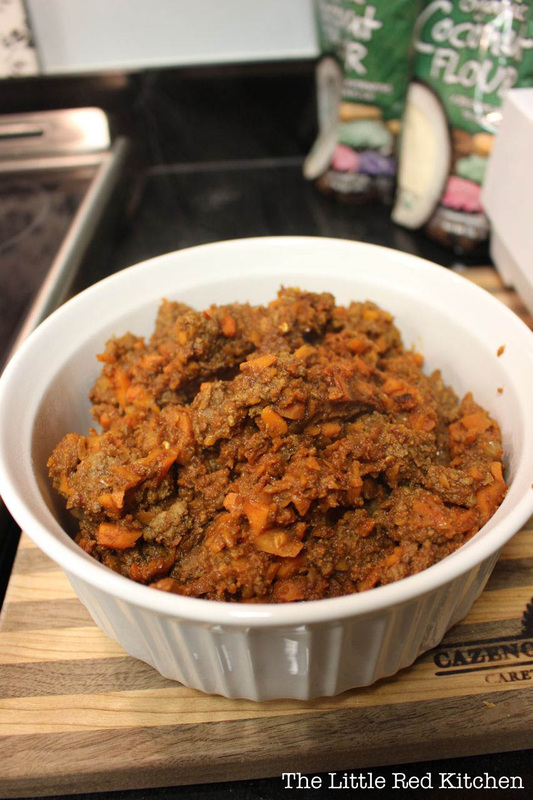
Step 1: Gather your ingredients (not shown: jalapenos), and preheat a large skillet over medium-high heat. I always use my 12-inch cast iron skillet. Step 2: Crumble your ground beef into the pan, and brown. While you're cooking the beef, you can start prepping the root vegetables: peel and mince. I let my food processor do all of the hard work, but if you're chopping by hand you may want to prepare your vegetables before starting to cook the meat! Step 3: Once your meat has cooked through, add in the chopped vegetables, minced garlic, and minced jalapenos. I'm not afraid of animal fat, so instead of greasing the pan, I let the vegetables cook in what comes out of the meat! You're going to saute this mixture until the vegetables have softened up, which shouldn't be too long (3-5 minutes) since they're so finely chopped. Step 4: As the vegetables begin to soften, add in your spices and mix well. Allow the flavors to meld for a minute or two. Step 5: Add in your honey, and stir well to combine. If you like your sloppy joes sweeter, feel free to add some more! Step 6: Add in the can of Hunt's tomato sauce, and reduce heat to medium-low. Stir to combine, and simmer for 2-3 minutes to reduce the liquid from the tomato sauce, and also allow the flavors to blend a bit. Step 7: Add in the coconut flour, and mix well. This will absorb the additional moisture from the tomato sauce, and thicken the 'joes up so they'll stay together on a bun. You don't have to include this step, though, as it doesn't affect the flavor. Ta da!! Feel free to devour immediately, but this will also freeze very well. Enjoy!
- Kaitlin
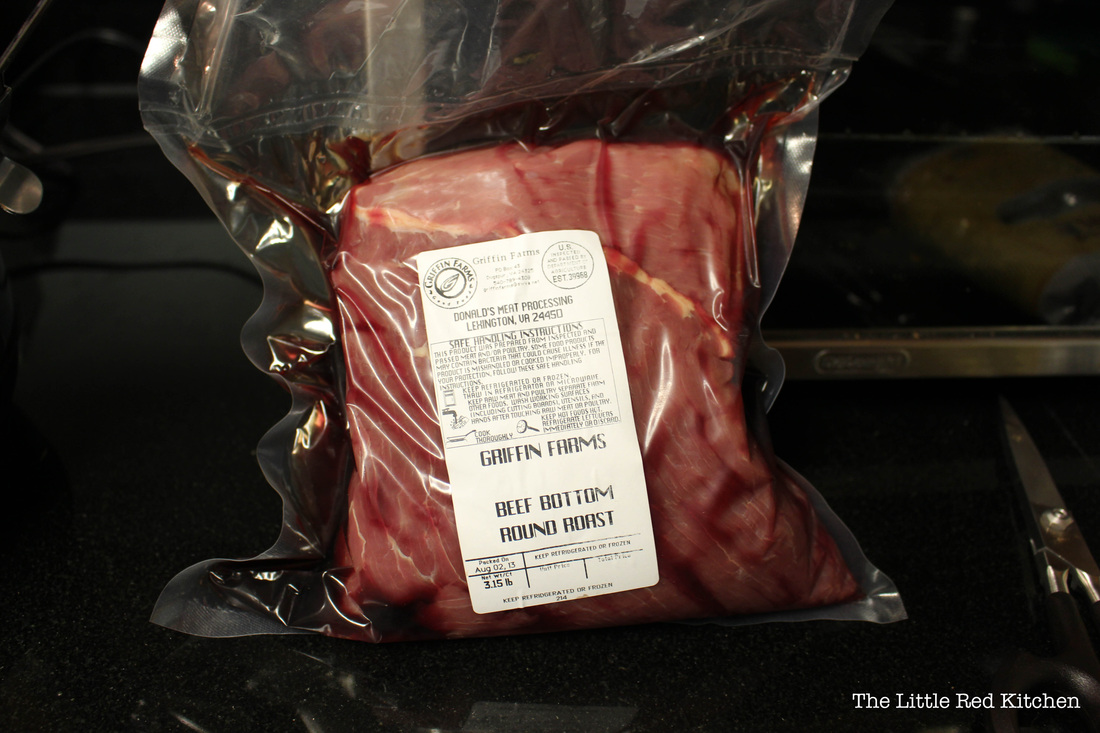
We all seem to be leading busier and busier lives these days, and we often hear that as a reason for not cooking at home, eating healthy, etc. This is the kind of recipe that you can throw together quickly before work, without much thought, and come home to a) your house smelling amazing and b) a delicious, home-cooked meal! If you don't already own a crock-pot/slow cooker (depending on where you're from), I'd highly highly recommend it! I own this set-and-forget model, reminiscent of a space ship, but you can't go wrong with a more basic one, too. The 10-minutes in the title of this post obviously refers to the actual hands-on time, while the cooking time will vary from 8 to 9 hours. The recipe changes depending on what I have in the house at the time, so I've added some variations below to get you started (the abbreviated recipe can be found at the end of the post)! Step 1: Acquire some form of beef roast. It should be about 3-4 pounds and will feed two people over multiple, multiple meals after we get done with it. I picked up this gorgeous, local, 100% grass-fed bottom round roast from Griffin Farms (who will be featured in an upcoming "Adventures" post, so stay tuned!). Did you know? Cuts of beef labeled "round" or "sirloin" are the leanest (least fatty). I've found that they're great for slow-cooking recipes because their toughness is reduced/completely removed by the long cooking time. Step 2: Place your roast in the crock pot. Since this bad-boy is organic and grass-fed, I'm happy keeping the juices (seen in the bag) in with the rest of the roast.
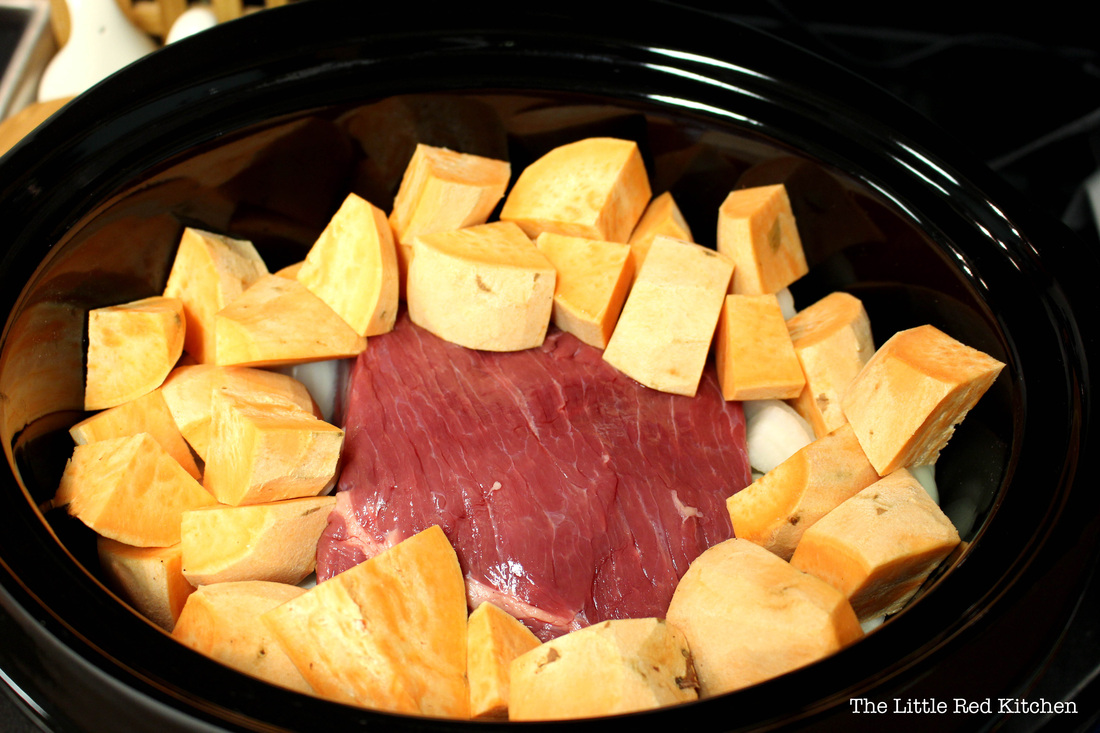
Step 3: Prepare your veggies. This will mean scrubbing, peeling, and rough-chopping. Larger chunks of vegetables will maintain their shape throughout the cooking process.
In the past, I've used carrots, celery, white potatoes, etc. This time, the only things I had available were sweet potatoes and yellow onions (two staples in our house). You can really use any root vegetable you like, or a tougher vegetable that can withstand the longer cooking time without turning to goo (yay, appetizing).
Step 4: Pack in the veggies. Place them around the roast in the crock pot, but not too tightly. Be sure to leave most of the top of the roast exposed so that we can season it.
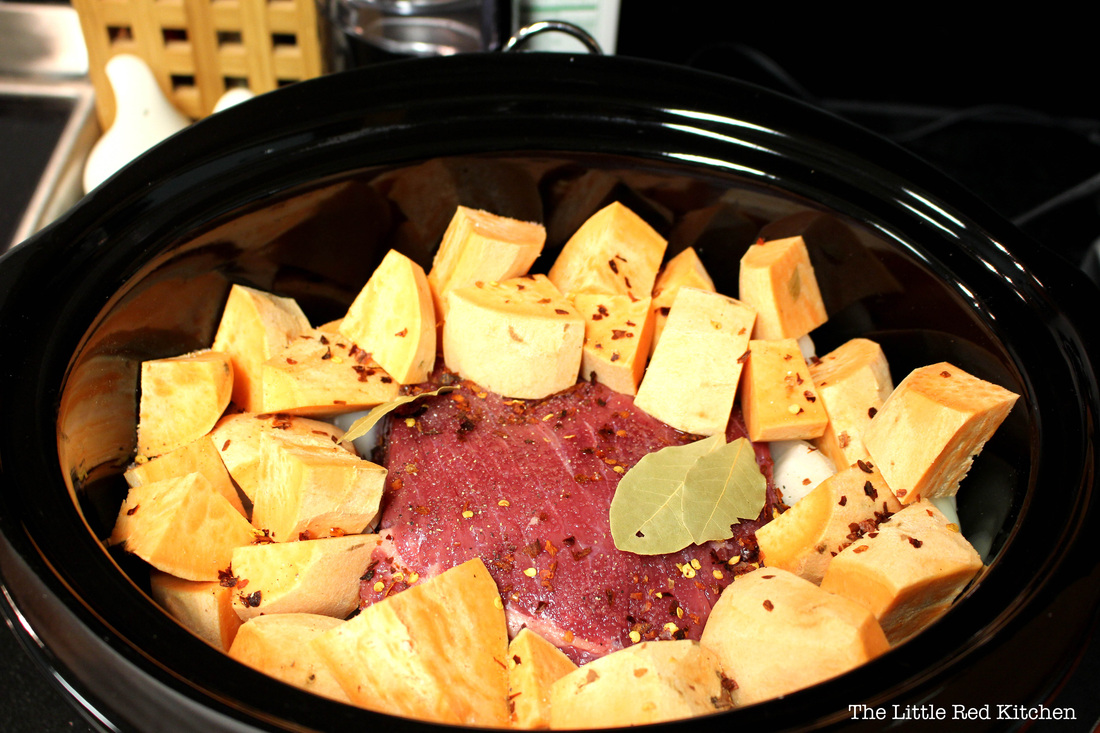
Step 5: Season it all up.
This, too, will vary depending on my mood, the time of year, etc. This time, I used kosher salt (2 tsp), black pepper (1/2 tsp), garlic powder (1 tbsp), and bay leaves (2-3). I also decided to add a little kick with crushed red pepper flakes (1/2 tsp), to help offset the sweetness of the sweet potato.
Did you know? Sweet potatoes, in addition to the traditional Thanksgiving casserole, can also be used to make savory dishes. More on that soon, too.
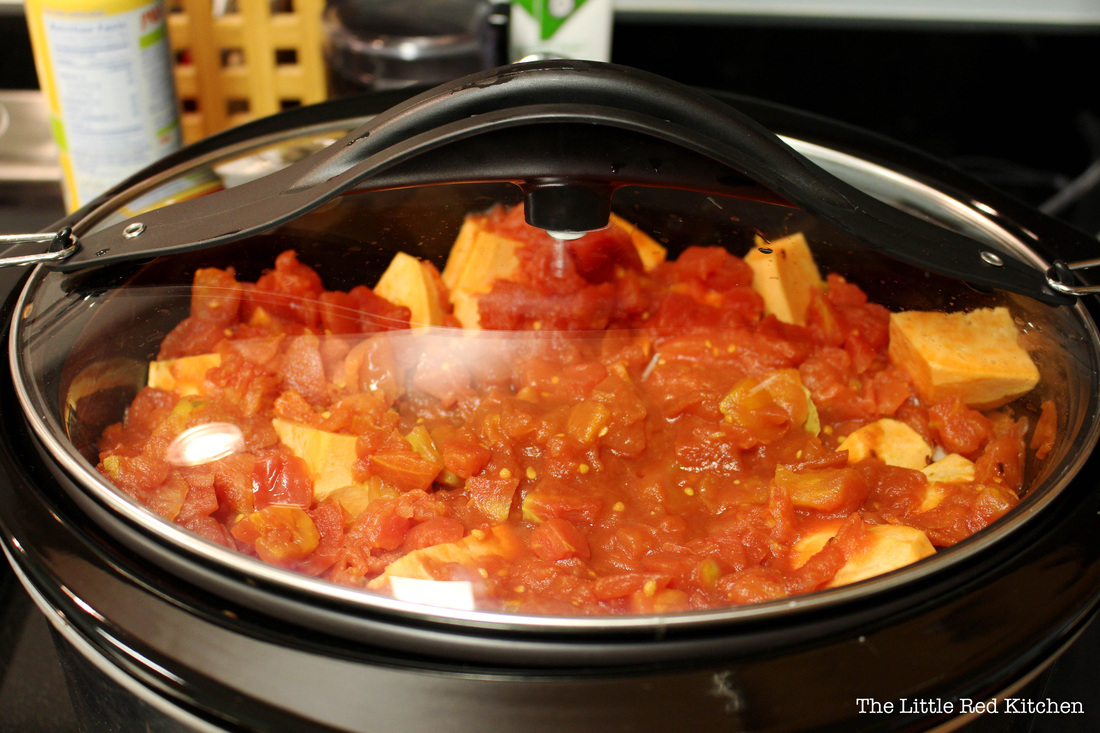
Step 6: Add some liquid.
I've used everything from beef stock, to chicken stock, to wine in the past. This time, I decided that I wanted a more stew-like meal, so I added a large can of Hunt's diced tomatoes on top of everything. Then, I filled the can about halfway with water, and added that in too. Step 7: Set it and walk away.
This roast cooked for 8 hours on "low"-- if you use a larger roast, you'll need to cook it for 8-10 hours (or until the meat shreds easily with a fork.) If you have a traditional crock pot, you'll need to make sure that you're home to turn it off at the end of those 8 hours. If you have one like mine, you can trust it to turn off for you.
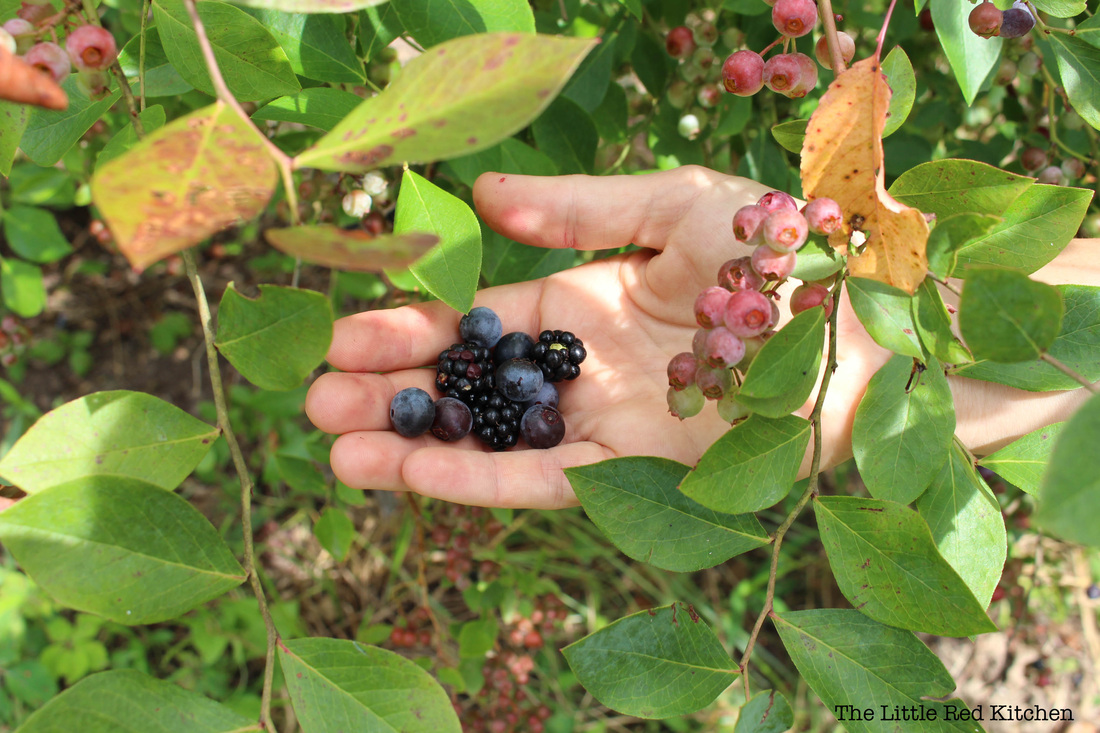
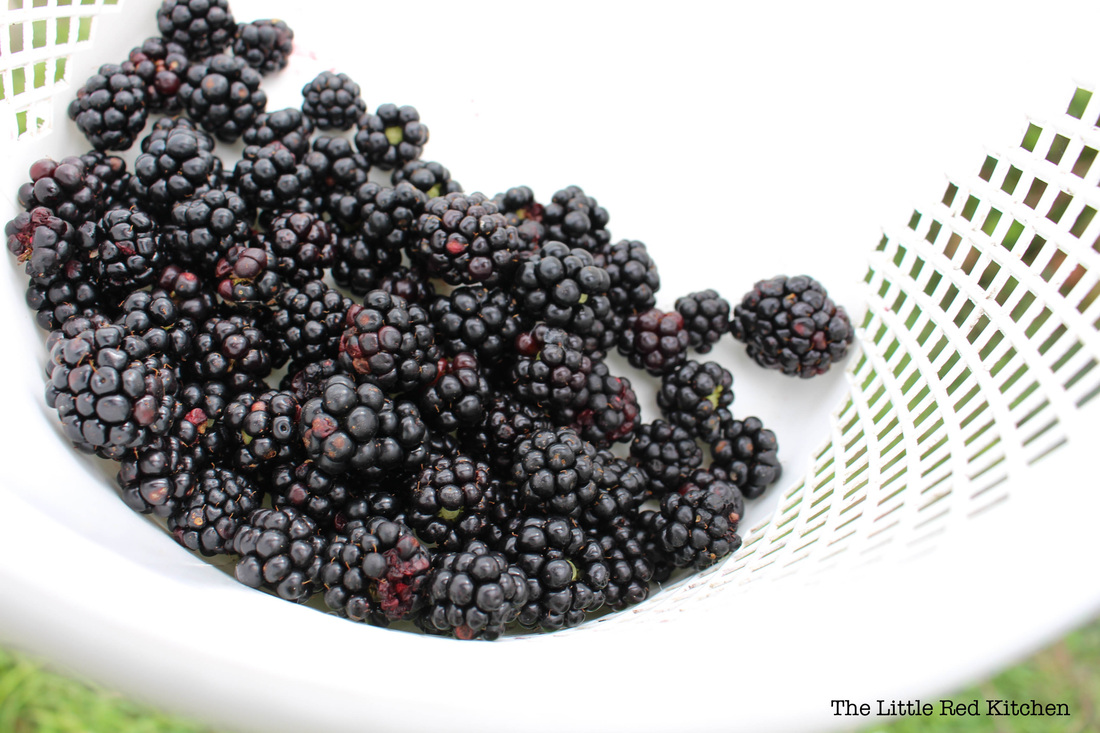
Optional: Go to work, or go do something fun! I went out to pick some local blueberries and blackberries with friends, grocery shop, and bake a pie with those berries (recipe coming soon).
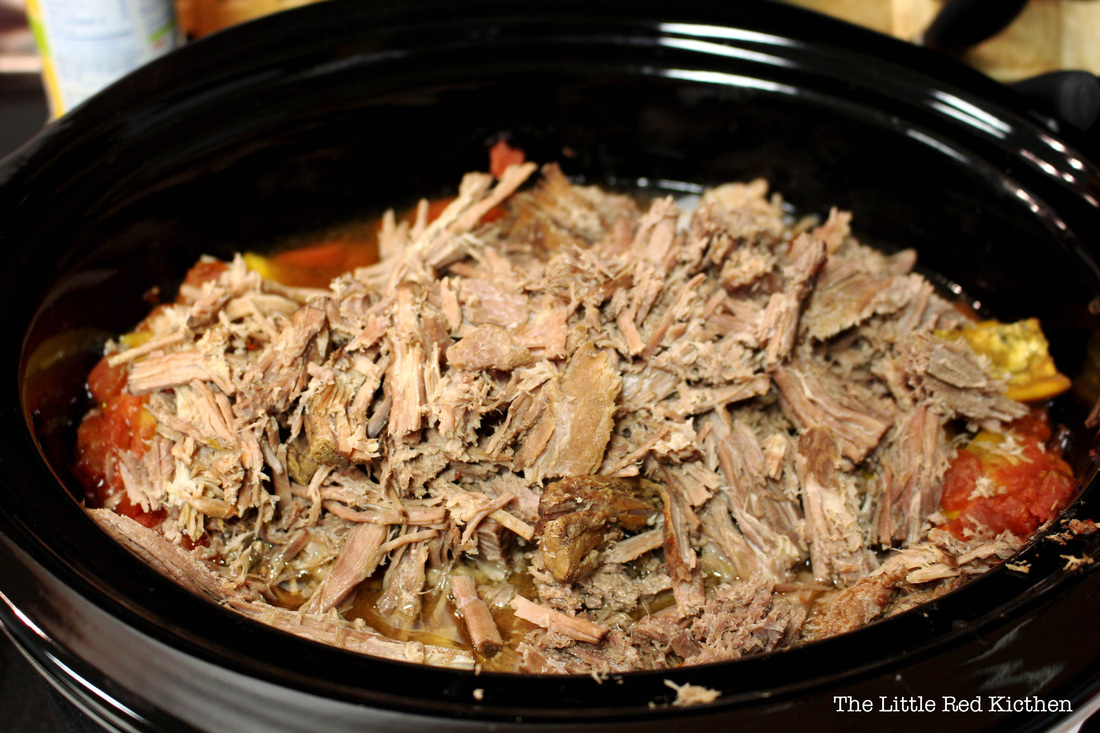
Step 8: Shred it up!
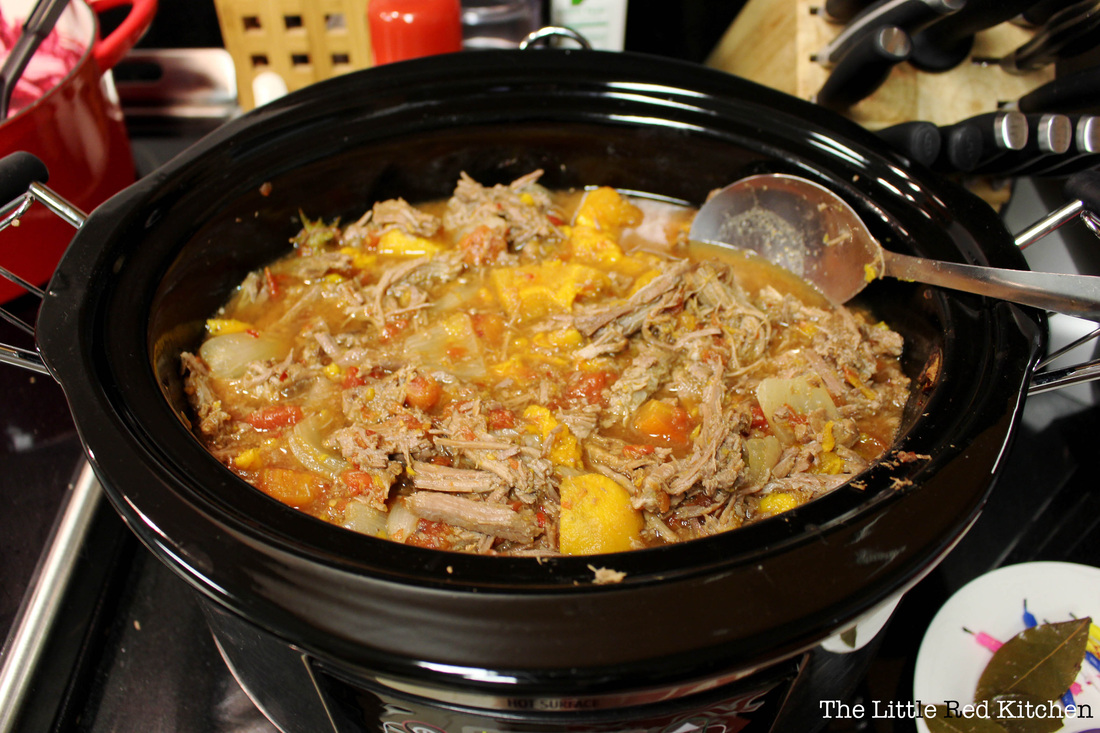
Once your meat has finished cooking, remove the bay leaves, and then carefully remove it from the crock pot (leaving the vegetables and broth). Place it into a large bowl or onto a large place. Using two forks, shred the meat, then return it to the crock pot. Step 9: Mix it in well, and taste. Adjust seasoning if desired. Then, enjoy with crusty bread or a great bottle of (red) wine!
Recipe: 10-minute Slow Cooker Beef Stew Ingredients
3-4 lb bottom round or sirloin roast
2 sweet potatoes, scrubbed, peeled, and roughly chopped
2 yellow onions, peeled, and roughly chopped
2 tsp kosher salt (or to taste-- we love salt, so we salt heavily)
1 tbsp garlic powder
1/2 tsp black pepper
1/2 tsp red pepper flakes (or to taste)
2-3 dried bay leaves, whole
1 large (28oz.) can of (Hunt's) diced tomatoes
14oz water (1/2 of the Hunt's can)
Directions
1. Place your roast in the bottom of a 6-quart crock pot, and pack the chopped vegetables around it (leaving the top of the roast exposed for seasoning).
2. Season the roast with the spices above, or change them to suit your tastes!
3. Cover the roast and vegetables with the diced tomatoes, then fill the can half-way with water, and add it in on top.
4. Cook for 8-9 hours on low, or until the meat is tender enough to be shredded with a fork.
5. Remove the bay leaves and discard. Carefully remove the roast from the crock pot, and place on/in a large plate or bowl*.
6. Shred the roast with two forks and replace in the crock pot, stirring to combine.
7. Enjoy!
*You can also shred the roast directly in the crock pot, but since the liquid is still hot/warm, you avoid burning yourself by doing it separately.
Thanks for reading!
- Kaitlin
|


 RSS Feed