
I'm going to keep this brief, mostly because I'm smack in the middle of midterms for grad school, and also mostly because I wrote up this post around 9:00 this morning and it somehow deleted itself...
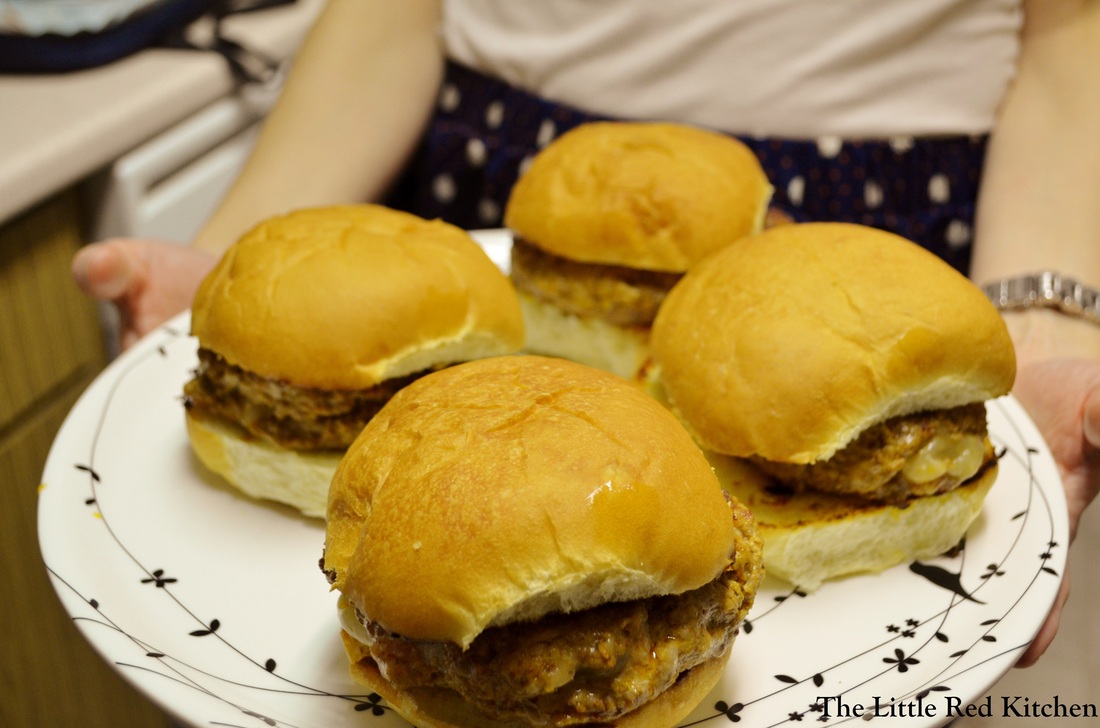
Anyway, let us rejoice, because it is Thursday, and Thursday is a good friend of Friday. And let us rejoice by checking out an awesome recipe for Spanish Manchego Stuffed Pork Burgers, which I made for my Dinner Party last weekend and which were requested to appear on the blog in recipe form!
Ingredients:
2 tbsp. vegetable oil
1/4 cup pimiento-stuffed Spanish olives
4 cloves garlic
1 tbsp. dried oregano
1 tbsp. chili powder
2 tsp. smoked paprika
1 tsp. ground coriander
1 tsp. ground cumin
1/2 tsp. ground allspice
3 tbsp. mayonnaise
1 1/4 lb. coarsely ground pork
Kosher salt and freshly ground pepper
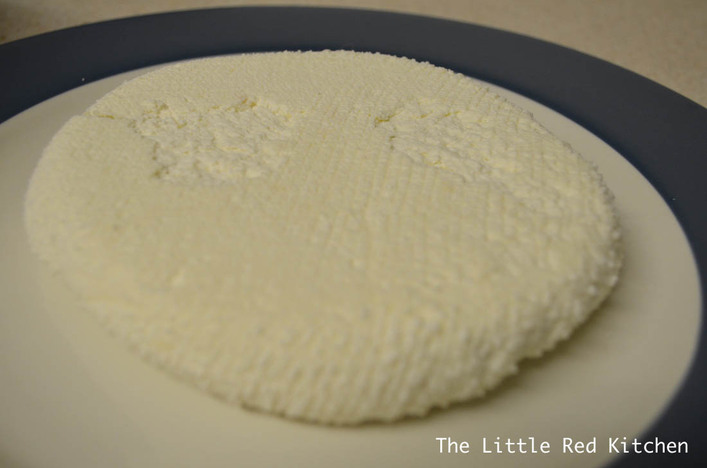
1/4 lb. manchego cheese, shredded on the large holes of a box grater or in a food processor
4 large soft hamburger rolls, split
This recipe makes 4 burgers. It comes from an old issue of Food Network Magazine. Which reminds me of another tip for entertaining; having guests over is not the time to experiment with weird foods, techniques, ingredients, etc. Stick to what you know! Your friends and family wouldn't judge you if you messed up dinner, but why even risk it when you can make something you already know will turn out wonderfully? This doesn't mean, be boring. It just means to calculate your cooking risks!
Step 1:
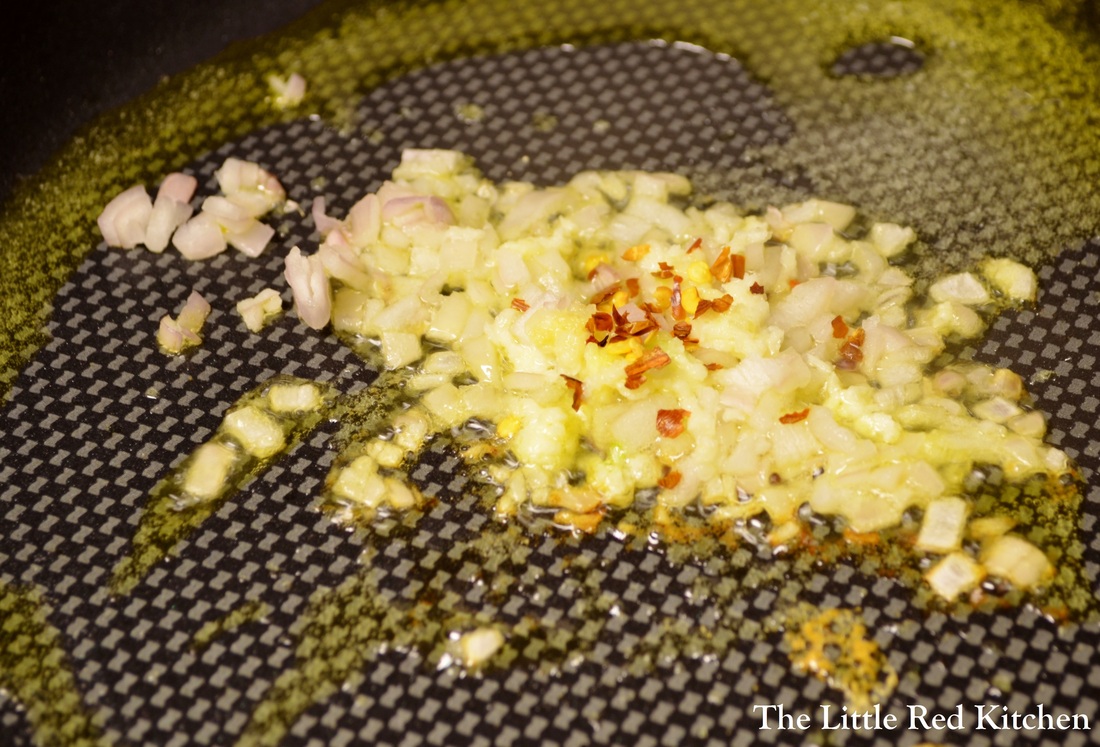
Combine the vegetable oil, garlic, olives, and all the spices (not including salt and pepper) in a food processor or mini food processor and process until smooth. Scrape into a large bowl and stir in 2 tbsp. of the mayonnaise.
Step 2:
Add the pork to the mixture along with salt and pepper (about 1/2 tsp. of each) and use your hands to gently combine. You want to make sure everything is evenly distributed, but try your best not to compact the meat or overwork it.
Step 3:
Now you have to make the patties and stuff them with the cheese. This is the best way I've found to do it. Divide the pork evenly into 4 sections. Then take one section and divide that in half. Shape one half into a burger patty, about 1/4 inch thick, then sprinkle 1/4 of the cheese on top, pressing it into the meat ever so slightly. Then, take the other half of the pork, form a similarly sized patty, and sandwich it on top of the cheese-topped patty, pinching and folding the edges shut as you go. None of the cheese escaped and burned when I used this method!
Step 4:
This recipe called for grilling the burgers, but that's not my M.O. so I seared them on the stove, which, to be honest, is the way I prefer my burgers. But if you want to grill these bad boys, feel free!
After you have formed your 4 patties using the method in step 3, preheat a 12 inch nonstick skillet over medium-high heat for a couple minutes. Place the burgers in and cook for 5-6 minutes. Don't press on them or do anything to them! Just let them brown. Then flip and cook for another 5 minutes and remove to a plate. If you are not using a nonstick pan, brush each side of the burgers with a little vegetable oil to prevent sticking. I have also used my retro flat-top electric griddle to grill multiple burgers at once, and this works beautifully.
Step 5:
Almost there! Crank the heat to high on the pan and brush the remaining tbsp. mayo on the inside of the buns and place them in the pan, mayo side down, for just about a minute, so they get slightly browned and toasty. Top with the burgers and add whatever condiments you want though I promise you, these delicious things need no embellishment.
Like I said in my post, since the forming and stuffing of the burgers can be finicky, I did that an hour in advance of my friends coming over, put them on a sheet tray covered with plastic wrap and left them in the fridge till I needed them. Easy!
Disclaimer, burgers are literally my favorite food in the world, and I can be picky about them. I actually don't like fancy burgers; the simpler, the better, but these are the one exception to the rule. I can't get enough of that robust spice blend, the moist meat, and the amazing manchego inside, which just happens to be one of the best cheeses ever. The next time you are reaching for the ground 80/20 for burger night, consider giving these a try!
~Lauren
Anyway, let us rejoice, because it is Thursday, and Thursday is a good friend of Friday. And let us rejoice by checking out an awesome recipe for Spanish Manchego Stuffed Pork Burgers, which I made for my Dinner Party last weekend and which were requested to appear on the blog in recipe form!
Ingredients:
2 tbsp. vegetable oil
1/4 cup pimiento-stuffed Spanish olives
4 cloves garlic
1 tbsp. dried oregano
1 tbsp. chili powder
2 tsp. smoked paprika
1 tsp. ground coriander
1 tsp. ground cumin
1/2 tsp. ground allspice
3 tbsp. mayonnaise
1 1/4 lb. coarsely ground pork
Kosher salt and freshly ground pepper
1/4 lb. manchego cheese, shredded on the large holes of a box grater or in a food processor
4 large soft hamburger rolls, split
This recipe makes 4 burgers. It comes from an old issue of Food Network Magazine. Which reminds me of another tip for entertaining; having guests over is not the time to experiment with weird foods, techniques, ingredients, etc. Stick to what you know! Your friends and family wouldn't judge you if you messed up dinner, but why even risk it when you can make something you already know will turn out wonderfully? This doesn't mean, be boring. It just means to calculate your cooking risks!
Step 1:
Combine the vegetable oil, garlic, olives, and all the spices (not including salt and pepper) in a food processor or mini food processor and process until smooth. Scrape into a large bowl and stir in 2 tbsp. of the mayonnaise.
Step 2:
Add the pork to the mixture along with salt and pepper (about 1/2 tsp. of each) and use your hands to gently combine. You want to make sure everything is evenly distributed, but try your best not to compact the meat or overwork it.
Step 3:
Now you have to make the patties and stuff them with the cheese. This is the best way I've found to do it. Divide the pork evenly into 4 sections. Then take one section and divide that in half. Shape one half into a burger patty, about 1/4 inch thick, then sprinkle 1/4 of the cheese on top, pressing it into the meat ever so slightly. Then, take the other half of the pork, form a similarly sized patty, and sandwich it on top of the cheese-topped patty, pinching and folding the edges shut as you go. None of the cheese escaped and burned when I used this method!
Step 4:
This recipe called for grilling the burgers, but that's not my M.O. so I seared them on the stove, which, to be honest, is the way I prefer my burgers. But if you want to grill these bad boys, feel free!
After you have formed your 4 patties using the method in step 3, preheat a 12 inch nonstick skillet over medium-high heat for a couple minutes. Place the burgers in and cook for 5-6 minutes. Don't press on them or do anything to them! Just let them brown. Then flip and cook for another 5 minutes and remove to a plate. If you are not using a nonstick pan, brush each side of the burgers with a little vegetable oil to prevent sticking. I have also used my retro flat-top electric griddle to grill multiple burgers at once, and this works beautifully.
Step 5:
Almost there! Crank the heat to high on the pan and brush the remaining tbsp. mayo on the inside of the buns and place them in the pan, mayo side down, for just about a minute, so they get slightly browned and toasty. Top with the burgers and add whatever condiments you want though I promise you, these delicious things need no embellishment.
Like I said in my post, since the forming and stuffing of the burgers can be finicky, I did that an hour in advance of my friends coming over, put them on a sheet tray covered with plastic wrap and left them in the fridge till I needed them. Easy!
Disclaimer, burgers are literally my favorite food in the world, and I can be picky about them. I actually don't like fancy burgers; the simpler, the better, but these are the one exception to the rule. I can't get enough of that robust spice blend, the moist meat, and the amazing manchego inside, which just happens to be one of the best cheeses ever. The next time you are reaching for the ground 80/20 for burger night, consider giving these a try!
~Lauren


 RSS Feed