
I don't know a lot of ways to start a week off that are better than dessert! So with that, let's dive right into these Peanut Butter Crispy Bars that are making another appearance from their Dinner Party debut.
Every so often when I have spare reading time (which is NEVER now that I'm in graduate school) I get a cookbook out of the library, just to peruse even while I'm watching tv. One of my favorites is the book that Food & Wine Magazine puts out every year, Best of the Best Cookbook Recipes.
Every so often when I have spare reading time (which is NEVER now that I'm in graduate school) I get a cookbook out of the library, just to peruse even while I'm watching tv. One of my favorites is the book that Food & Wine Magazine puts out every year, Best of the Best Cookbook Recipes.

courtesy of amazon.com
That's right, they go through all the cookbooks that have been published that year and pull their favorites, so you don't have to buy (or borrow) them all! I usually end of scanning tons of pages full of mouth-watering dishes so I can save them once the book is back on the shelves. That's where I found this fantastic recipe.
Ingredients:
For the crispy crust:
1 3/4 cups crisped rice cereal
1/4 cup sugar
3 tbsp. light corn syrup
3 tbsp. unsalted butter, melted
For the milk chocolate peanut butter layer:
5 ounces good-quality milk chocolate, coarsely chopped (I LOVE Ghirardelli's milk chocolate chips, which I didn't chop for this recipe)
1 cup creamy peanut butter
For the dark chocolate icing (yup, it keeps getting better):
3 ounces dark chocolate (60-72% cacao), coarsely chopped
1/2 tsp. light corn syrup
4 tbsp. (1/2 stick) unsalted butter
Step 1:
Lightly spray a paper towel with nonstick cooking spray and rub the bottom and sides of an 8-inch square baking pan. Set aside. Put the cereal in a large bowl and set aside as well.
Step 2:
For the crispy crust, pour 1/4 cup of water into a small saucepan. Gently add the sugar and corn syrup, so that it doesn't get on the sides of the pan (just pour it right into the center). Stir gently with a wooden spoon until just combined. Put a candy thermometer into the saucepan, cook over medium-high heat, and bring to a boil; cook until the mixture reaches the "soft ball" stage (a candy-making term), 235 degrees.
I don't own a candy thermometer. Used to, and I broke it with my first use. Lesson learned. So I clipped my instaread thermometer to the pan and used that. Note that this will come to a boil quickly, but it takes longer to get up to the 235 degrees.
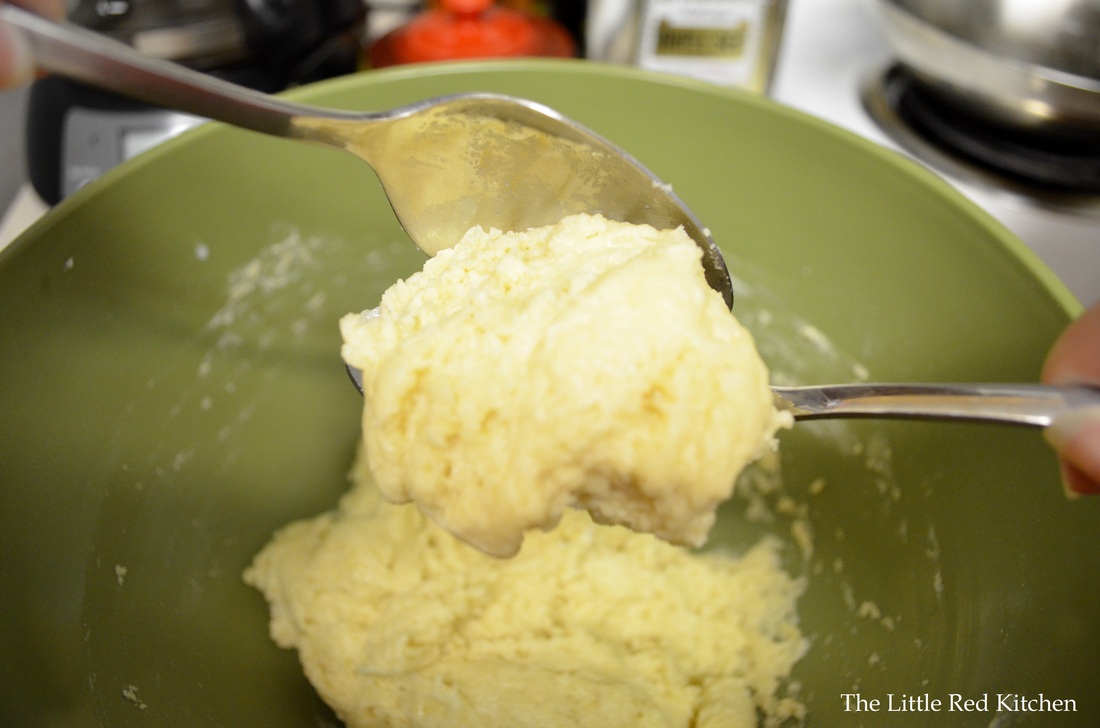
Once it does hit that temperature, remove from the heat and stir in the butter, then pour over the cereal. Combine quickly then dump into the prepared pan. Using your hands, press the mixture into the bottom (but not up the sides) of the pan. In case you hadn't guessed, you just made rice crispy treats! Let this layer cool a bit while you work on the next.
Step 3:
In a large nonreactive metal bowl, stir together the milk chocolate and peanut butter. Set this bowl over a saucepan of simmering water and stir until it melts and the mixture is smooth. Then remove from heat and continue to stir for about 30 seconds, so it cools down slightly. Pour the mixture over the crust and refrigerate for an hour, or until this middle layer has hardened.
Step 4:
Make the top layer! Create the same double boiler set-up as in step 3, this time with the dark chocolate, corn syrup, and butter. Again, stir and melt till completely smooth, and off the heat, continue to stir for 30 seconds. Pour this over the chilled milk chocolate layer. Put the pan in the fridge again and let harden for an hour, then these are ready to serve!
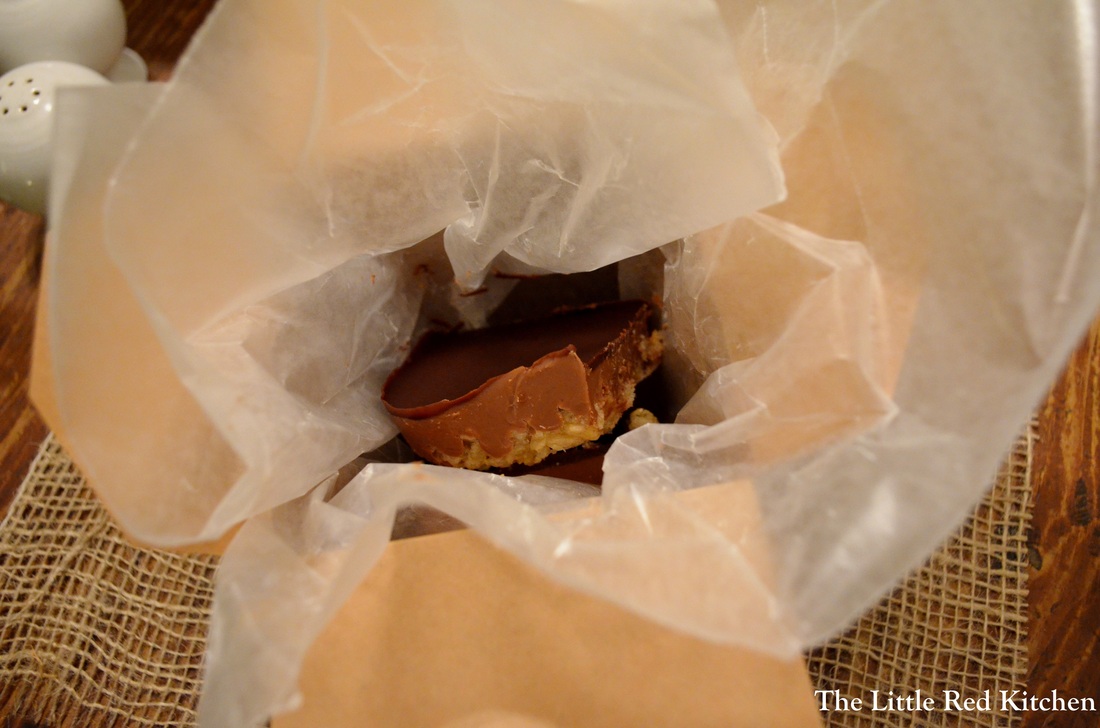
These are rich, so I'd cut into 9 squares, if not even smaller, depending on how stuffed everybody is from their main meal.
I can't believe that I've never had to combine milk chocolate and peanut butter in a dessert before, because it is AWESOME. These bars are amazing. The middle layer is dense and chewy, while the top dark chocolate is like a light fudge, and that intense cocoa flavor of dark chocolate is a perfect compliment. I hope you make these soon and ENJOY!
~Lauren
Ingredients:
For the crispy crust:
1 3/4 cups crisped rice cereal
1/4 cup sugar
3 tbsp. light corn syrup
3 tbsp. unsalted butter, melted
For the milk chocolate peanut butter layer:
5 ounces good-quality milk chocolate, coarsely chopped (I LOVE Ghirardelli's milk chocolate chips, which I didn't chop for this recipe)
1 cup creamy peanut butter
For the dark chocolate icing (yup, it keeps getting better):
3 ounces dark chocolate (60-72% cacao), coarsely chopped
1/2 tsp. light corn syrup
4 tbsp. (1/2 stick) unsalted butter
Step 1:
Lightly spray a paper towel with nonstick cooking spray and rub the bottom and sides of an 8-inch square baking pan. Set aside. Put the cereal in a large bowl and set aside as well.
Step 2:
For the crispy crust, pour 1/4 cup of water into a small saucepan. Gently add the sugar and corn syrup, so that it doesn't get on the sides of the pan (just pour it right into the center). Stir gently with a wooden spoon until just combined. Put a candy thermometer into the saucepan, cook over medium-high heat, and bring to a boil; cook until the mixture reaches the "soft ball" stage (a candy-making term), 235 degrees.
I don't own a candy thermometer. Used to, and I broke it with my first use. Lesson learned. So I clipped my instaread thermometer to the pan and used that. Note that this will come to a boil quickly, but it takes longer to get up to the 235 degrees.
Once it does hit that temperature, remove from the heat and stir in the butter, then pour over the cereal. Combine quickly then dump into the prepared pan. Using your hands, press the mixture into the bottom (but not up the sides) of the pan. In case you hadn't guessed, you just made rice crispy treats! Let this layer cool a bit while you work on the next.
Step 3:
In a large nonreactive metal bowl, stir together the milk chocolate and peanut butter. Set this bowl over a saucepan of simmering water and stir until it melts and the mixture is smooth. Then remove from heat and continue to stir for about 30 seconds, so it cools down slightly. Pour the mixture over the crust and refrigerate for an hour, or until this middle layer has hardened.
Step 4:
Make the top layer! Create the same double boiler set-up as in step 3, this time with the dark chocolate, corn syrup, and butter. Again, stir and melt till completely smooth, and off the heat, continue to stir for 30 seconds. Pour this over the chilled milk chocolate layer. Put the pan in the fridge again and let harden for an hour, then these are ready to serve!
These are rich, so I'd cut into 9 squares, if not even smaller, depending on how stuffed everybody is from their main meal.
I can't believe that I've never had to combine milk chocolate and peanut butter in a dessert before, because it is AWESOME. These bars are amazing. The middle layer is dense and chewy, while the top dark chocolate is like a light fudge, and that intense cocoa flavor of dark chocolate is a perfect compliment. I hope you make these soon and ENJOY!
~Lauren


 RSS Feed