What can we say? Today is Friday and we're oh so happy! We want to share that happiness with you, so we're bringing you two fabulous vodka cocktails to kick off your weekend.
My cocktail loyalties lie with the bitter, the sour, and the fresh. You will never see me ordering a saccharine daiquiri or anything that is made with a 'mix'. Sour drinks should not be made with sour mixes, they should be made with fresh squeezed citrus, and if there is going to be fruit or vegetation in my drink, it has to be the real thing! That being said, I wanted to create a cocktail that is a perfect refresher for an end of Summer sip.
I was inspired by a drink I had while on vacation in Milwaukee, and believe it or not it had nothing to do with beer. So I present to you, the Cucumber Badger! It's a multi-step process, but then it's as easy as pouring and saying aaaah.
Cucumber-Infused Vodka
Ingredients:
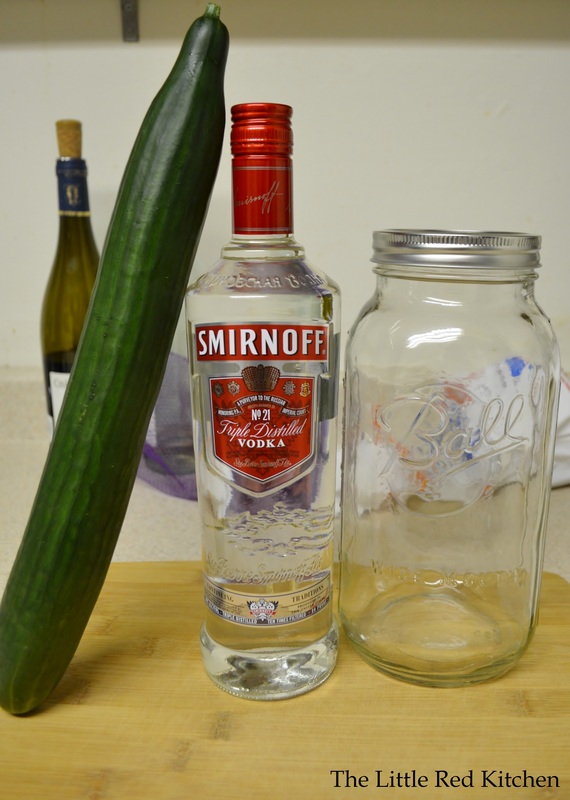
1 750-ml bottle of vodka; preferably Skyy, Absolut, or Smirnoff
1 English or, seedless cucumber
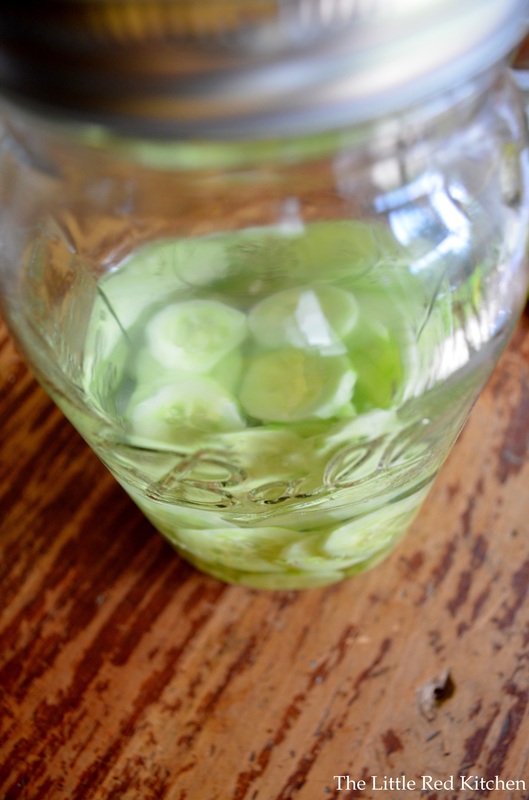
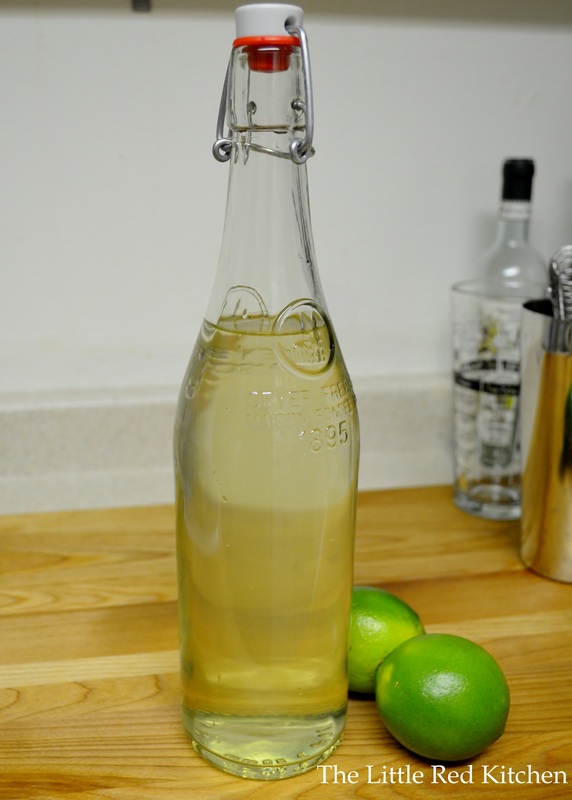
1 large glass vessel (I got this gigantic mason jar from Michaels for about $3.50) This couldn't be easier! Peel the cucumber and slice it about 1/4-inch thick. Toss it in the glass vessel, pour in the vodka, and let it sit! 3 days minimum, no more than a week. Note, the cucumber will probably discolor, and the vodka won't be perfectly clear when all is said and done, but that's because it's taking on that sweet, fresh flavor! You can definitely store the infused vodka in the original bottle, and maybe add an extra label so you remember it tastes like cucumbers now. Or you could be annoyingly cutesy, like me, and pour it into an awesome French soda bottle with a hinged pop top.
Basil-Infused Simple Syrup
Ingredients:
Fresh basil leaves, between 1/4 cup and 1.5 cups, depending on how strong you want it
1 cup of water
1 cup of sugar
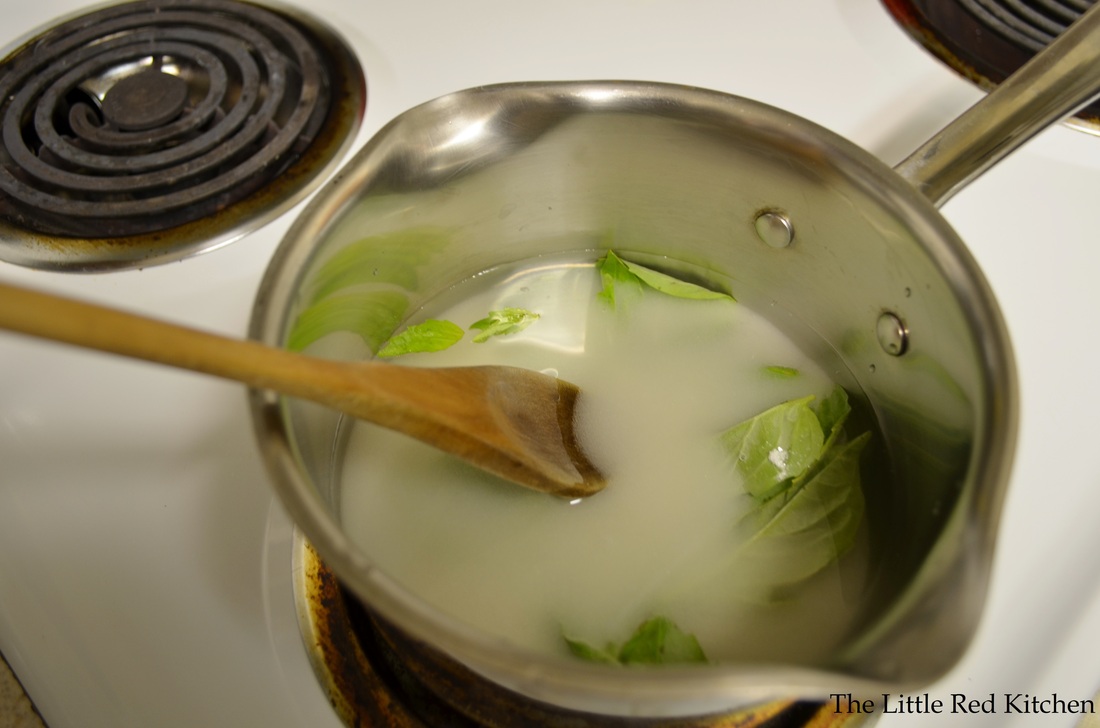
Again, this could not be simpler. Pour the water into a small saucepan, followed by the basil leaves and the sugar, crushing the basil leaves a bit in the pan. Simply bring to a boil and let it stay there until the sugar has dissolved completely. Then get it off the heat, remove the basil leaves, let it cool, and it's ready to use! Note: if you leave the mixture boiling longer than it needs to, the sugar will start to darken, and your mixture will discolor; not necessarily a problem, but you won't have that crystal-clear syrup. What you have leftover after you make drinks will store in the fridge. Now you are all ready to make your drink! And it will come together in about 30 seconds.
Cucumber Badger
Makes 2 large cocktails or 4 small cocktails
Ingredients:
4 oz cucumber-infused vodka (see above)
12 oz plain seltzer water
1 oz fresh squeezed lime juice (this might take 2 limes, so buy 2 just in case)
1 oz basil-infused simple syrup (see above)
Step 1:
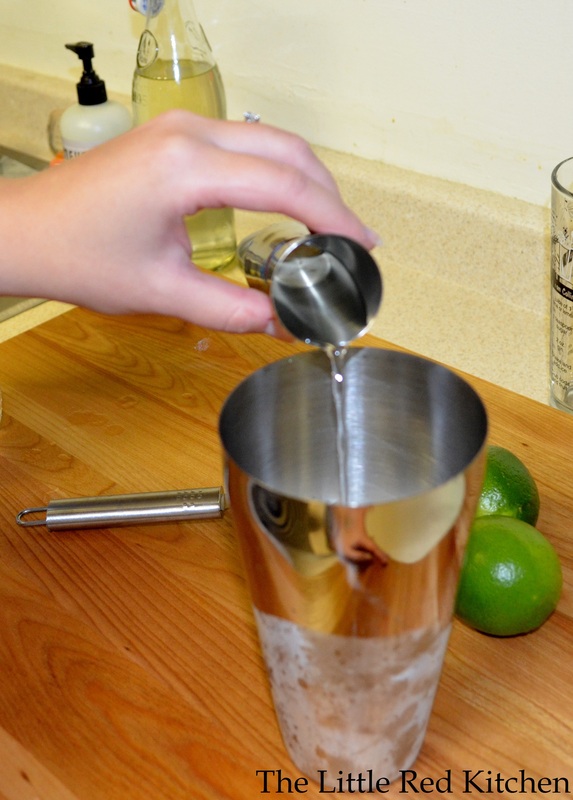
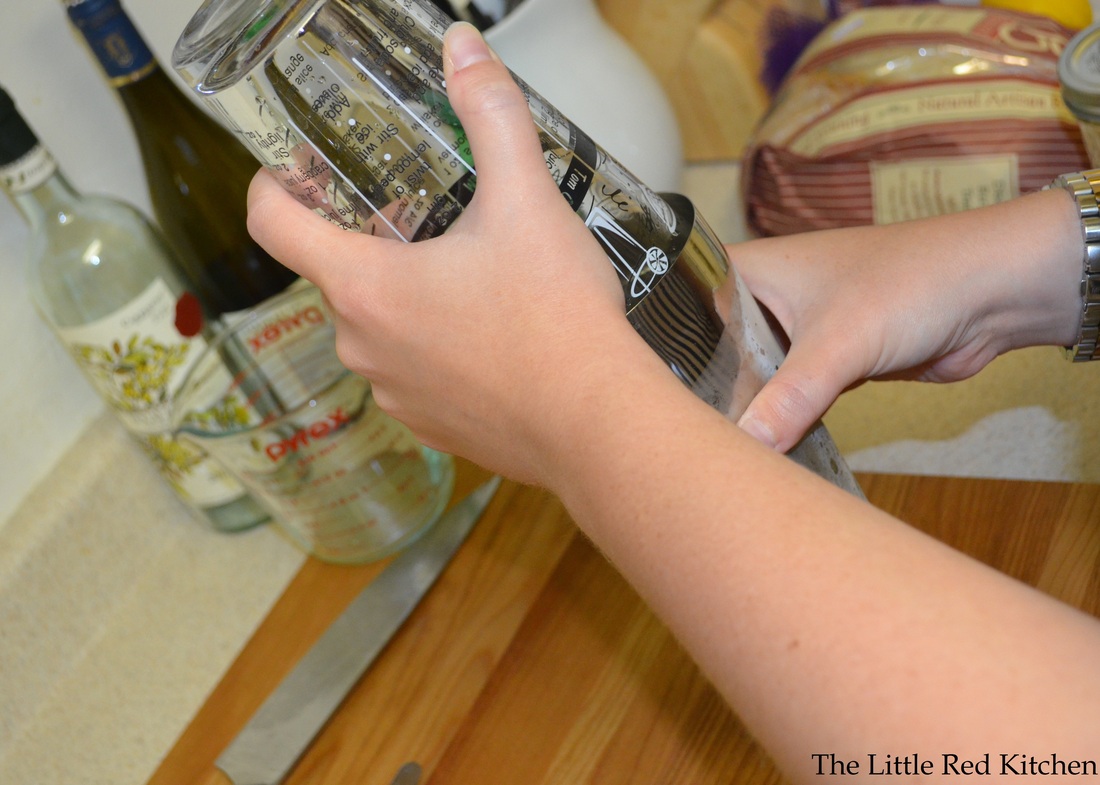
Fill a cocktail shaker with ice. Add the vodka, lime juice, and simple syrup. Shake vigorously for about 30 seconds. Seriously, shake it until it's so cold you can barely hold it. Very cold cocktails > slightly cold cocktails. Step 2:
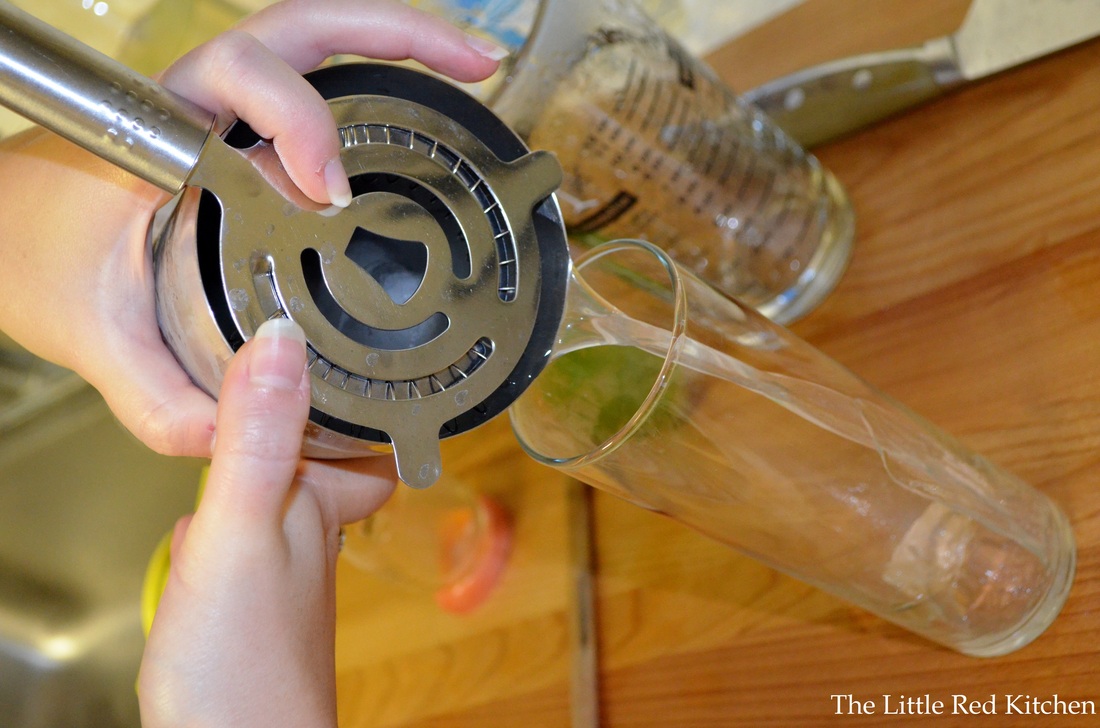
Pour into 2 highball glasses (if you are making 2) and add 6 oz of the seltzer to each glass. Stir briefly, top with a few ice cubes and a lime wedge or fresh cucumber slices if desired. This drink is completely delicious. The cucumber flavor is mild, because cucumbers themselves are, but it's a very present flavor in the cocktail, not to mention it's addictively refreshing. And with just a touch of acid, sweetness, and herbs, it hits all the notes a cocktail should. Feel free to experiment with the syrup and vodka you have left over. Here's just a couple ideas for add-ins:
~mashed strawberries
~candied ginger
~muddled mint leaves
~rosemary sprigs
Bottoms up!
~Lauren If your tastes are on the sweeter, fruity side, check out the recipe below using one of our favorite summer ingredients: Watermelon! Watermelon Zip Ingredients (makes two hefty drinks)
2 cups cubed, frozen watermelon (seedless!)
1/2 cup lime juice
2 tsp honey (optional)
1/2 cup plain vodka (although I imagine coconut would be great, too!)
This recipe was originally intended for margaritas, but when you have company on a Saturday night and find yourself without tequila... you make do with what you have! As a happy accident, this turned out really well, and is a refreshing drink in either its cocktail or virgin form.
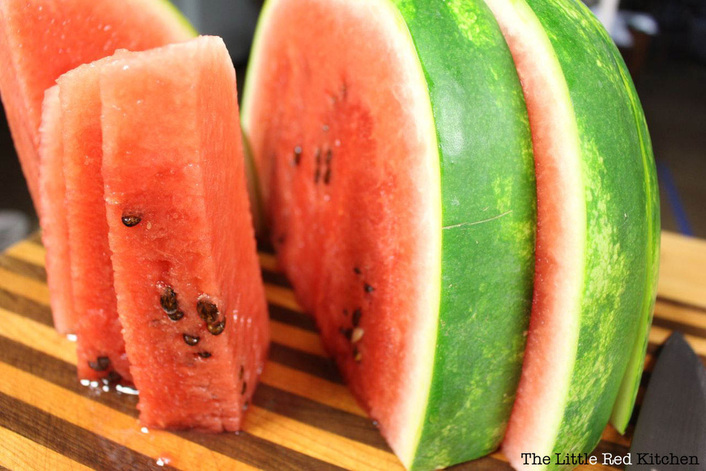
The idea came about when I realized that I had a watermelon that needed to be used... it was at its very sweetest, and there was no way that my husband and I could finish the whole thing ourselves.
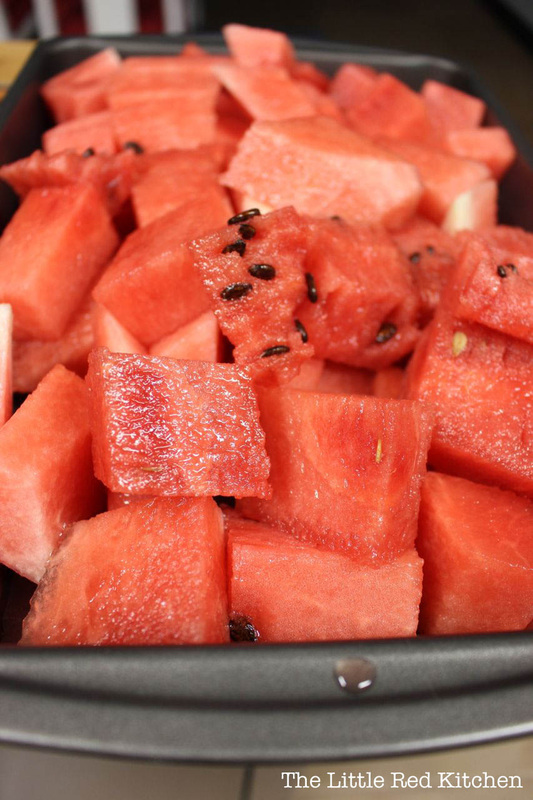
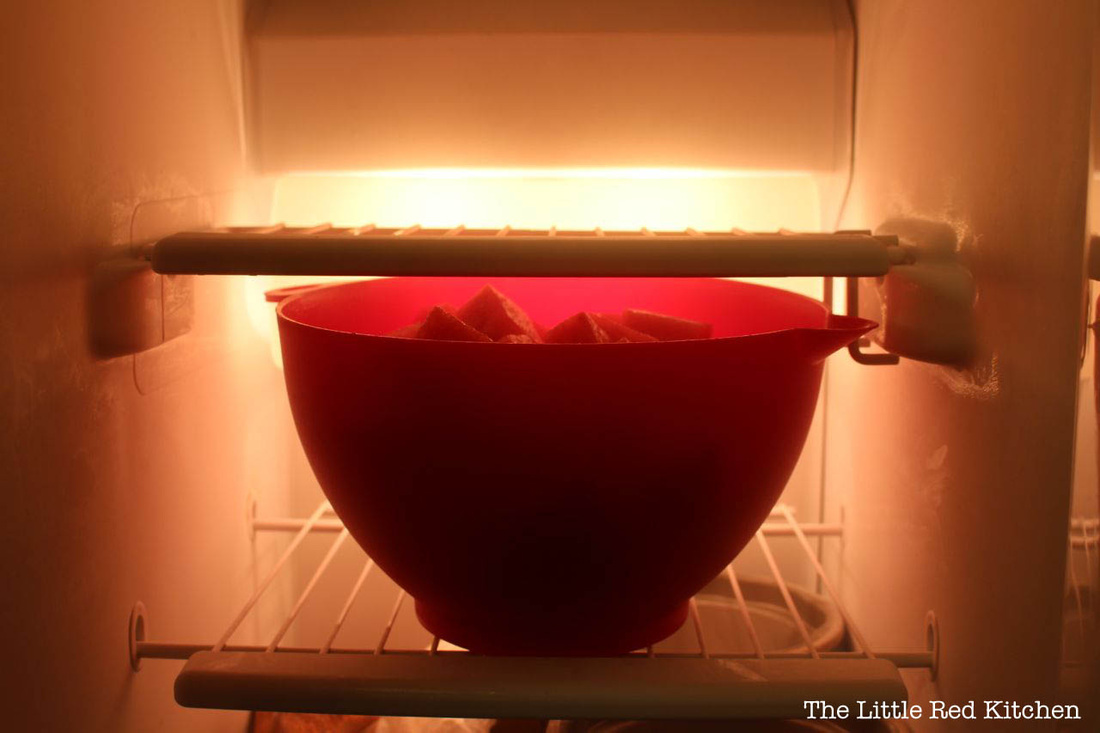
I decided to cut it up into cubes and freeze it, and then meditate on the best way to make it into something delicious and full of liquor...
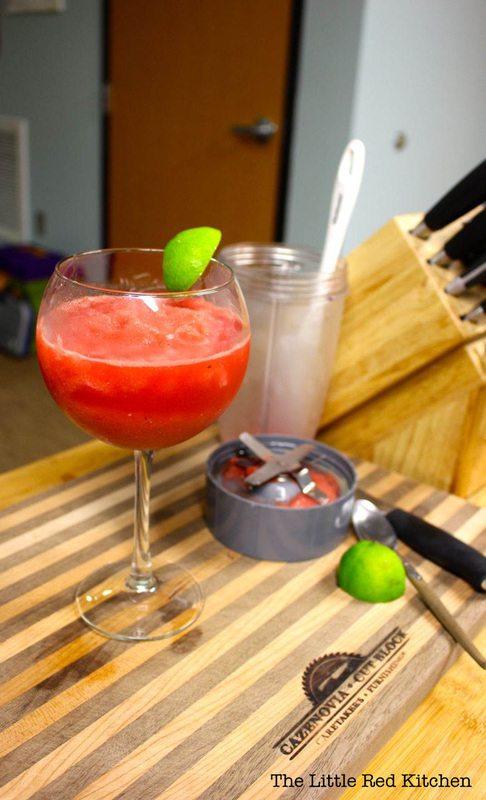
I'm sure you can spot the blunder I made here: not using seedless watermelon. (When I bought this bad boy, I was thinking, "It's just not summer if you're eating watermelon without spitting out the seeds." As a drink ingredient, however... not so much.) Once the watermelon cubes were frozen (that being the most-labor intensive part of this drink)... ...I threw everything into a blender (honey last, so it didn't stick to the blades), and pureed it into ice cold deliciousness: Deliciousness which is, of course, best enjoyed with friends (and maybe a lime wedge or two)! The lime flavor really brightens this whole drink, and the citrus bite is a great compliment to the sweet watermelon flavor-- hence the name! Enjoy!
- Kaitlin
We hope you liked our first Friday Evening Cocktail Hour! If you enjoy these themed posts, please let us know, and thanks for reading!
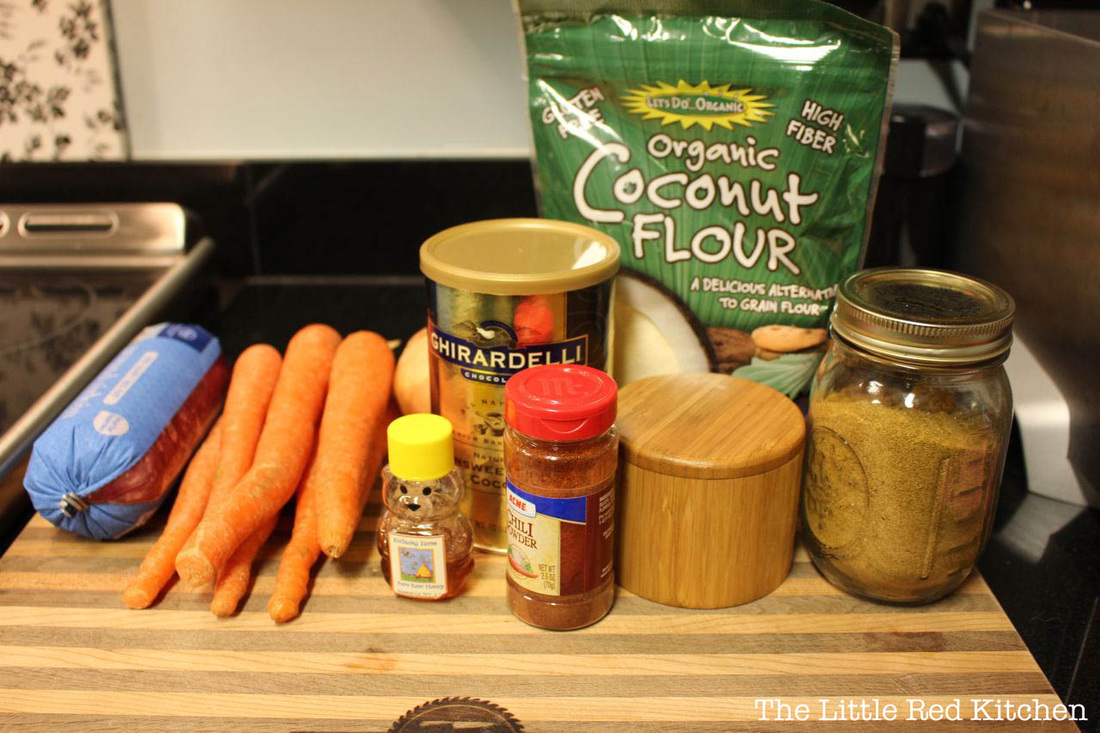
Growing up, I want to say that 99% of the sloppy joes I ate were straight from Manwich... which is fine! It was quick, easy, and 20 years ago, probably had a lot fewer unpronounceable ingredients. And since I haven't made sloppy joes many times during my adult life, it didn't occur to me until recently that they don't have to originate from a can. During my first Whole30, however, I was craving some sloppy joes fiercely. In addition to a lot of other amazing things, one of the greatest benefits to my Whole30 experience was that it encouraged/forced me to cook almost everything I ate from scratch. The "Paleo" sloppy joe recipes I found didn't do much for me, but I really wanted something without a ton of brown sugar (and that wouldn't be thickened with wheat flour). Thus, this recipe was born. I should probably tell you two things (disclaimers), though: 1. It's called "Not Your Momma's" for a reason! It won't taste exactly/much like something from a Manwich can. This bad boy is sweetened with the addition of carrots and honey, but it still delivers that meaty, umami goodness that's thick enough to serve on a bun. 2. It is just as good aaaall on it's own, as a kind of chili. I bet it would be ridiculously good under a fried egg or two for breakfast. Just saying. Not Your Momma's Sloppy Joes What you'll need: 1lb ground beef (I've used both 85/15 and 90/10) 1 yellow onion, minced 3/4 cup carrots, minced 3 garlic cloves, minced Jalapenos to taste, minced (I use 1 small, usually) 1 can (16oz) Hunt's tomato sauce (you'll see this featured a lot in my recipes-- I love this stuff!) 2 tsp honey (can be omitted if you're Whole30) 1 tsp salt 1 tsp cumin 1.5 tsp cocoa powder 1 tsp chili powder 1.5 tbsp coconut flour
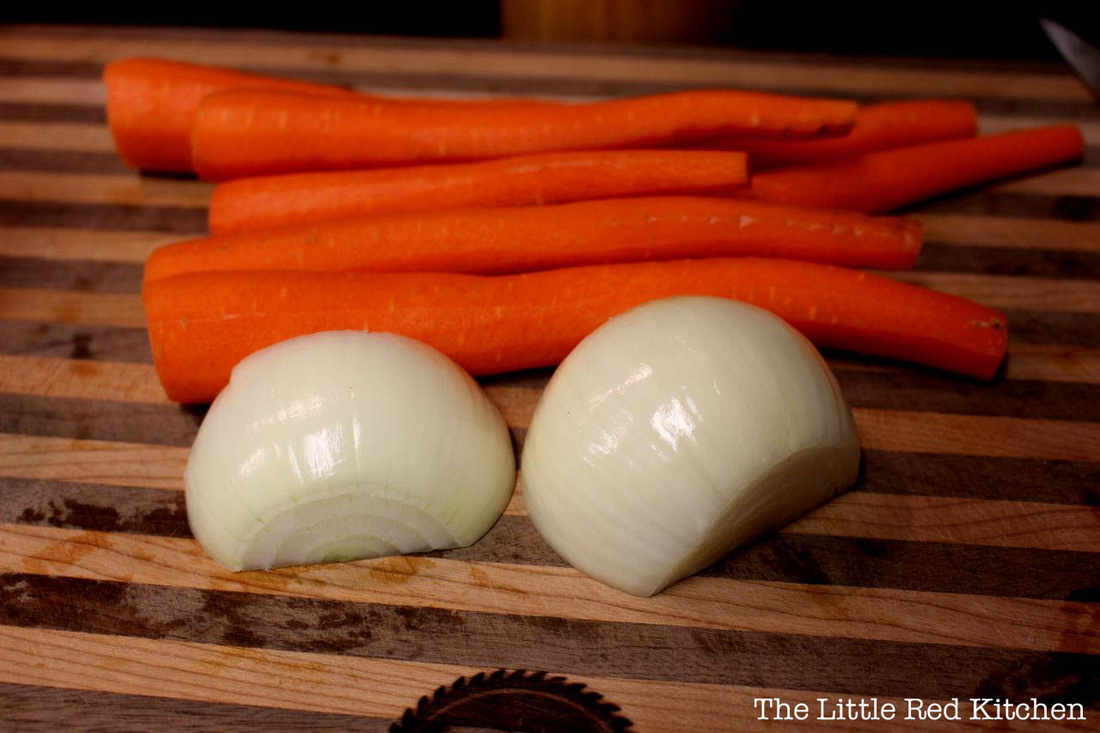
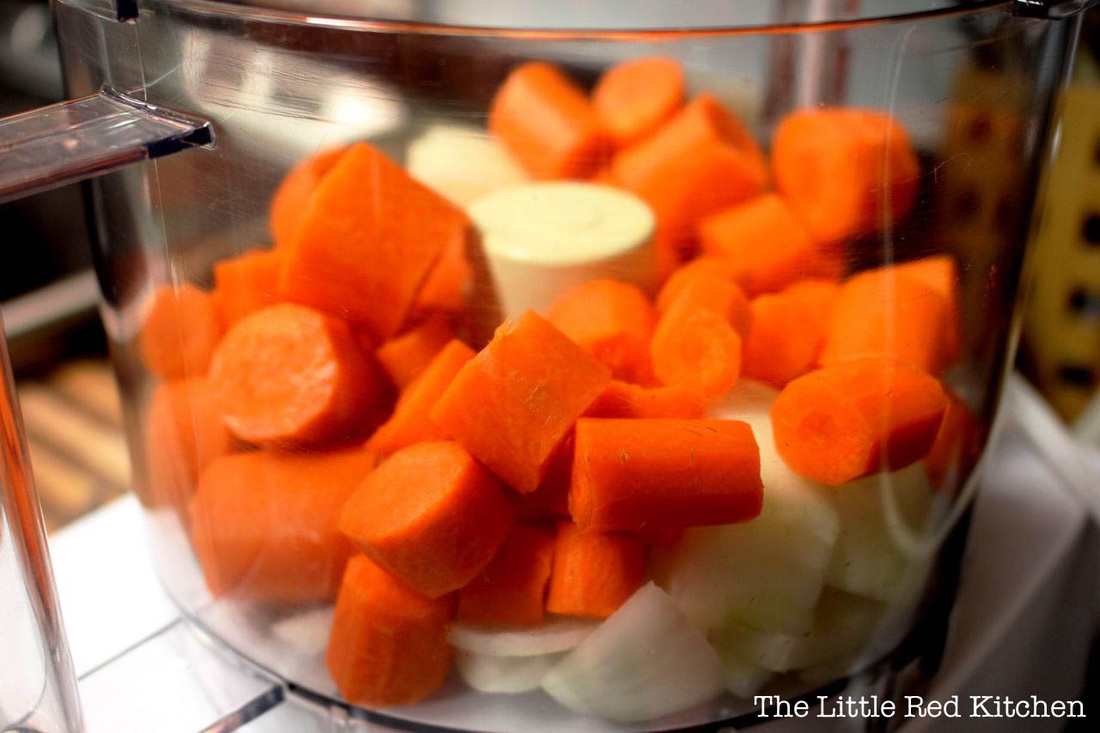
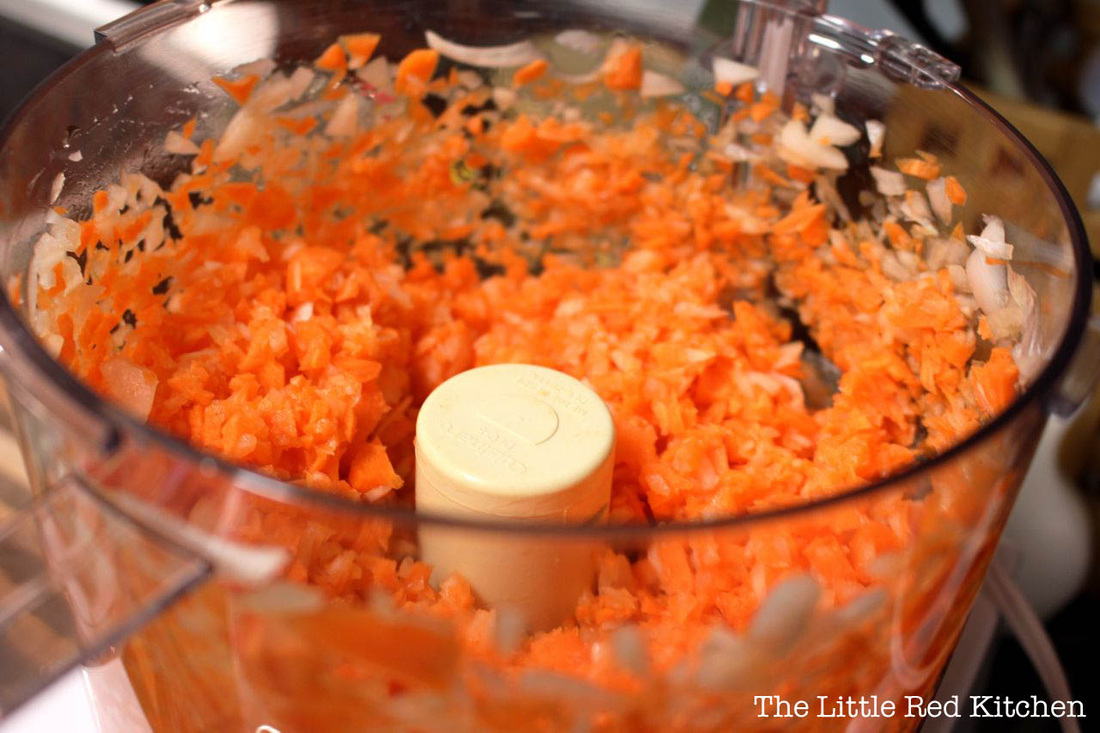
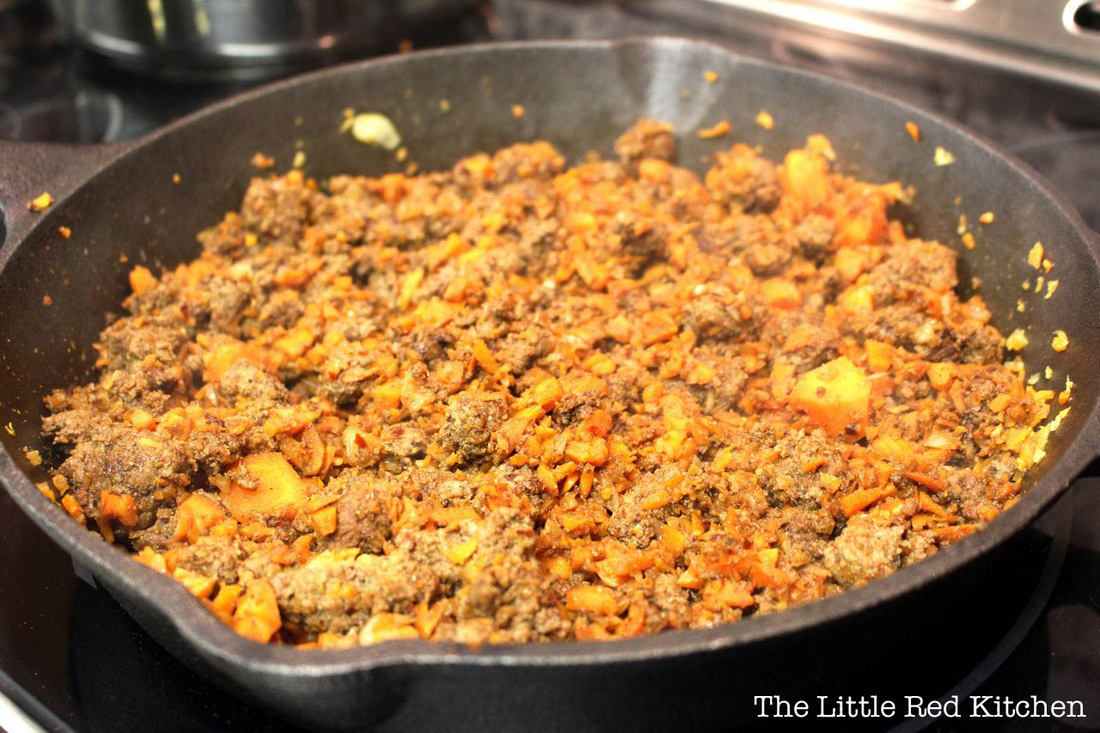
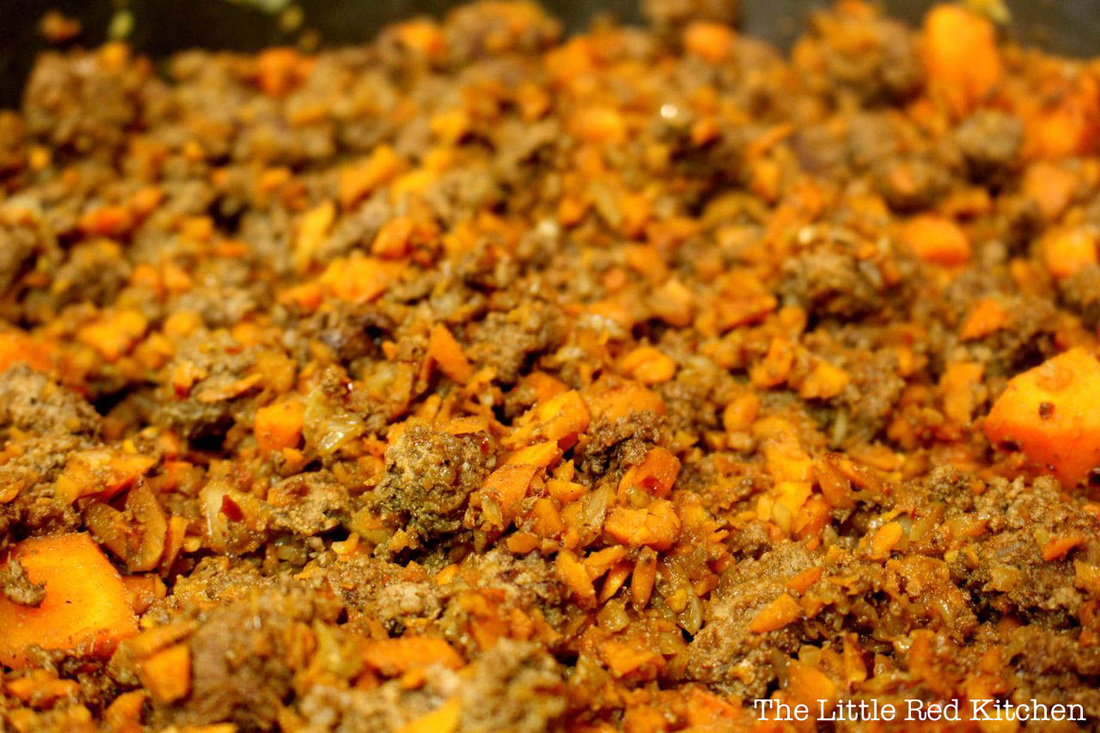
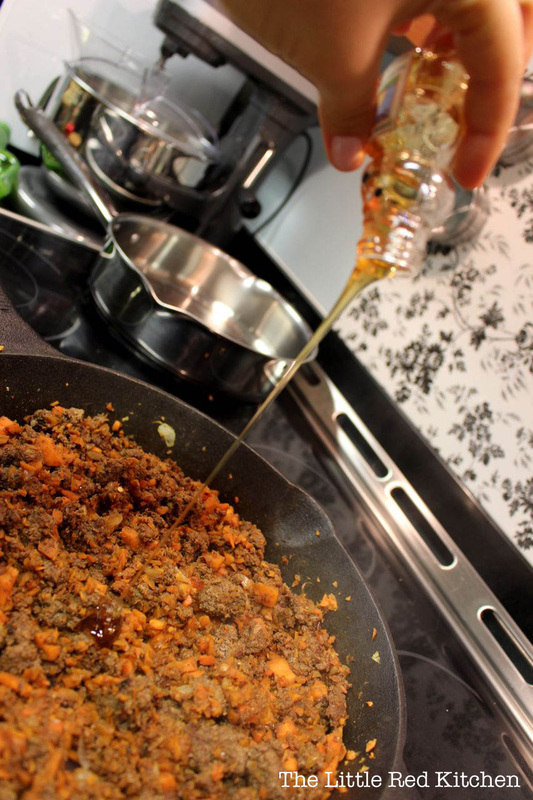
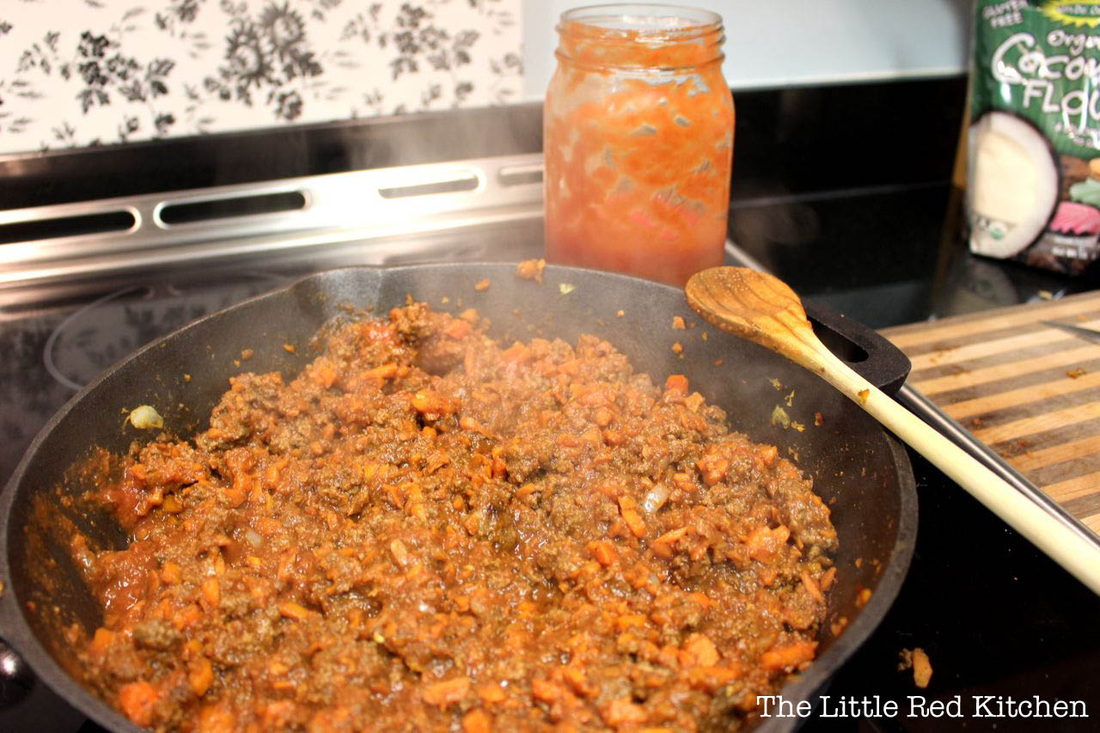
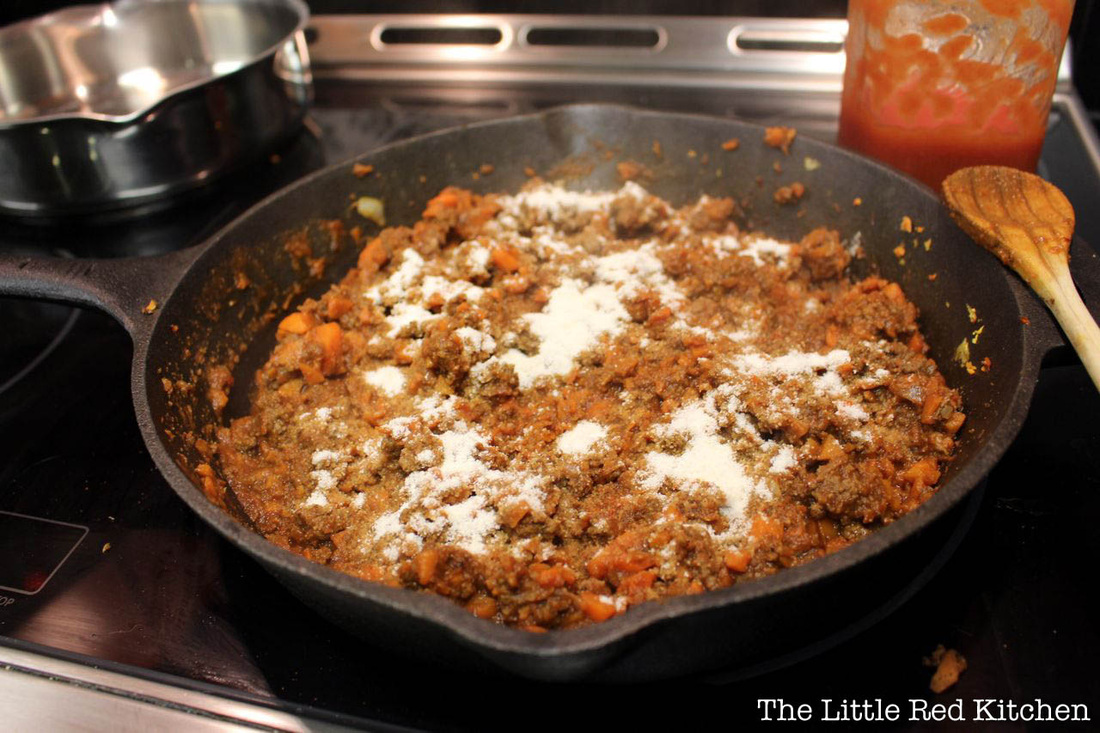
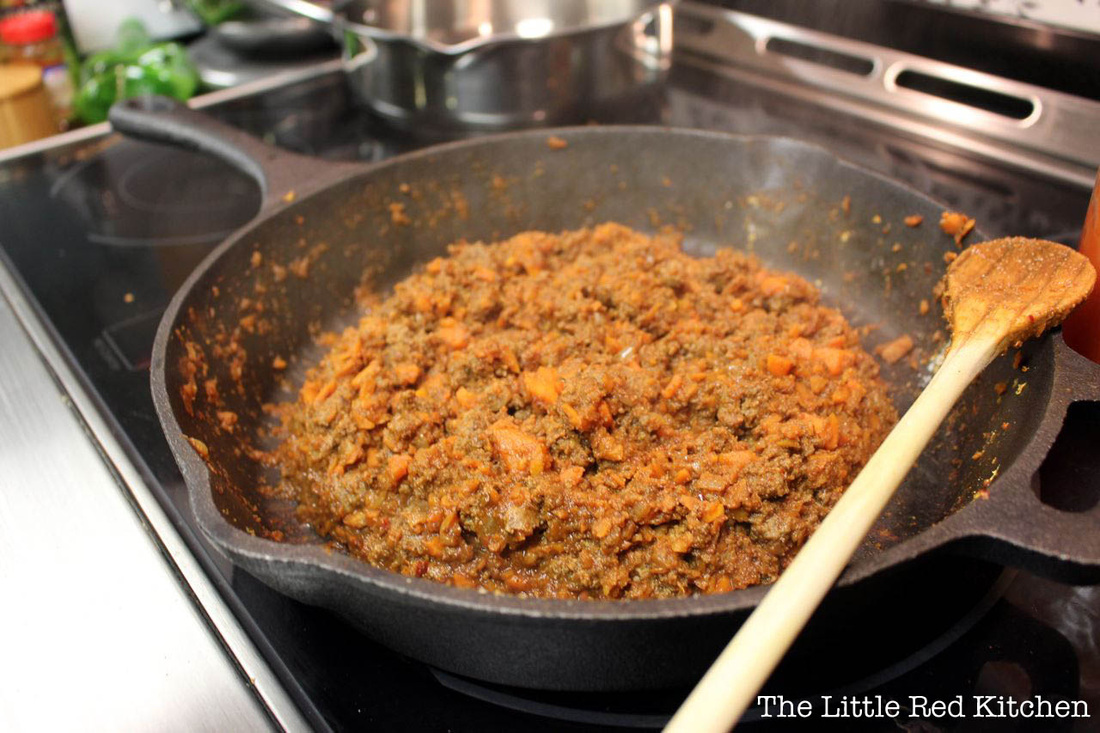
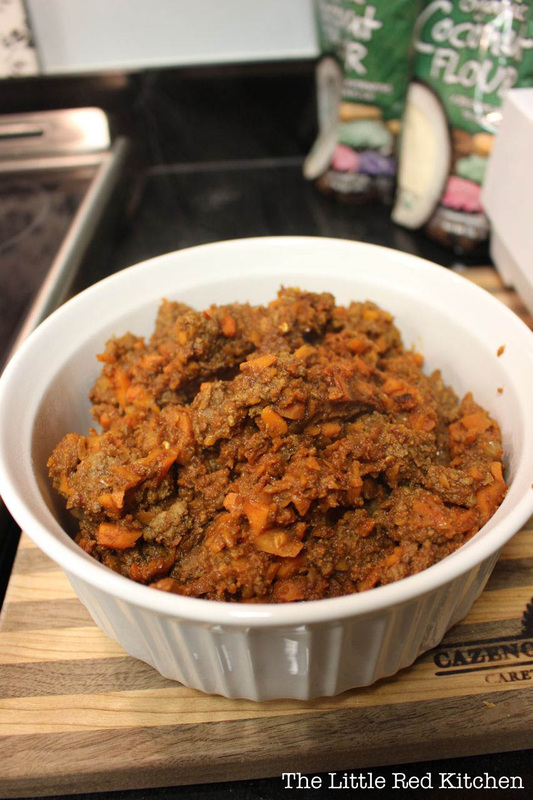
Step 1: Gather your ingredients (not shown: jalapenos), and preheat a large skillet over medium-high heat. I always use my 12-inch cast iron skillet. Step 2: Crumble your ground beef into the pan, and brown. While you're cooking the beef, you can start prepping the root vegetables: peel and mince. I let my food processor do all of the hard work, but if you're chopping by hand you may want to prepare your vegetables before starting to cook the meat! Step 3: Once your meat has cooked through, add in the chopped vegetables, minced garlic, and minced jalapenos. I'm not afraid of animal fat, so instead of greasing the pan, I let the vegetables cook in what comes out of the meat! You're going to saute this mixture until the vegetables have softened up, which shouldn't be too long (3-5 minutes) since they're so finely chopped. Step 4: As the vegetables begin to soften, add in your spices and mix well. Allow the flavors to meld for a minute or two. Step 5: Add in your honey, and stir well to combine. If you like your sloppy joes sweeter, feel free to add some more! Step 6: Add in the can of Hunt's tomato sauce, and reduce heat to medium-low. Stir to combine, and simmer for 2-3 minutes to reduce the liquid from the tomato sauce, and also allow the flavors to blend a bit. Step 7: Add in the coconut flour, and mix well. This will absorb the additional moisture from the tomato sauce, and thicken the 'joes up so they'll stay together on a bun. You don't have to include this step, though, as it doesn't affect the flavor. Ta da!! Feel free to devour immediately, but this will also freeze very well. Enjoy!
- Kaitlin
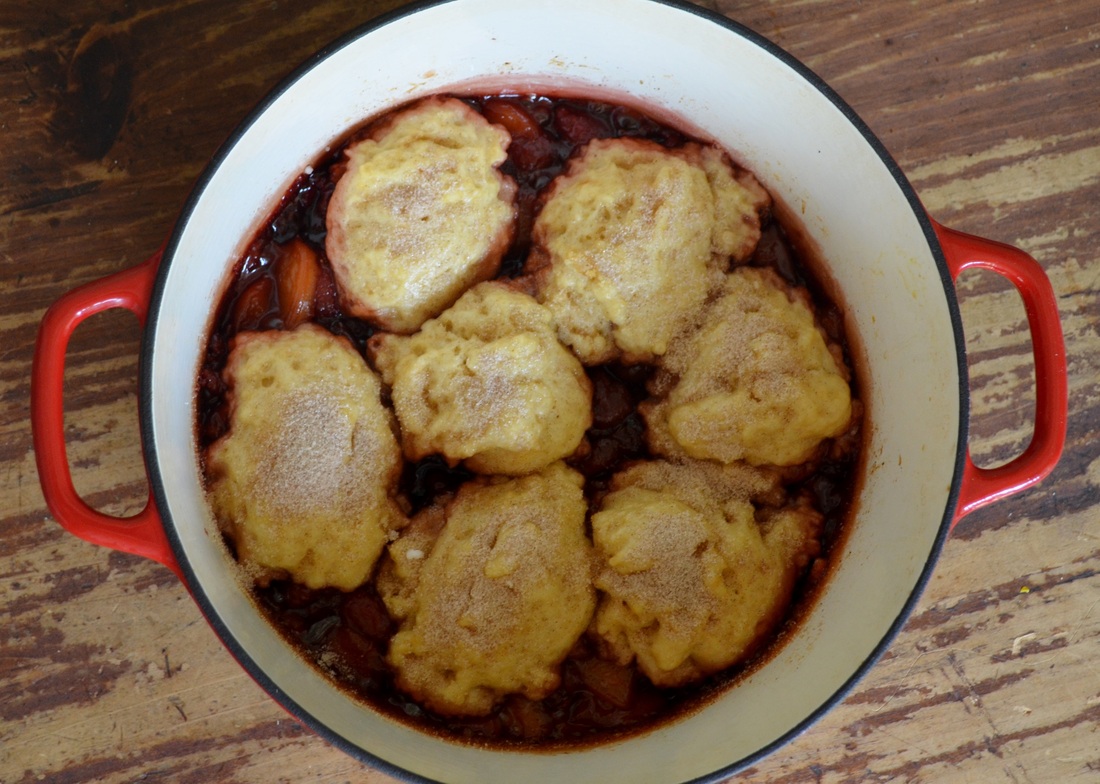
I don't know about you, but usually by this point in August, while I am ready to do without the heat, the humidity, the Friday beach traffic (when I'm not actually one of the ones going to the beach)...I am just not ready to give up on Summer produce! Fresh corn!? Watermelons and honeydews so crisp and refreshing that they practically quench your thirst?! Peaches and nectarines that are literally dripping with sweetness?! I'd be willing to take these foods year round if I could, and I always love finding new ways to cook with them, even though they are just plain fine on their own. That being said, when I came across an old-fashioned recipe for Blueberry Grunt on the Cook's Country website, I thought to myself, "I really hate blueberries." But, I happen to love fruit desserts and any type of topping that falls into the family of cobbler, so I wondered if I could give the formula some big tweaks and use fruits that I love, not to mention cut the original portion size down from 12, because I can't even host that many people in my tiny apartment. Luckily for me, and for you, I did! So, presenting Peach and Raspberry Grunt! Ingredients: Fruit Filling: 2.5 lbs peaches, firm to ripe, but not overripe 6 oz raspberries (one 1/2 pint container) 1/2 cup sugar 1/2 tsp. ground cinnamon 1 tbsp. water 1 tbsp. triple sec or other orange liqueur (optional, and if you don't use it, use 2 tbsp. water instead) 1 tsp. grated lemon zest plus 1 tbsp. lemon juice 1 tsp. cornstarch Topping: 1/3 cup buttermilk 3 tbsp. unsalted butter, melted and cooled slightly 1/2 tsp. vanilla extract 1 cup all-purpose flour plus 2 tbsp. 3/4 tsp. baking powder 1/4 tsp. baking soda 1/4 tsp. salt 1/4 cup sugar 1/4 tsp. ground cinnamon For the Filling:
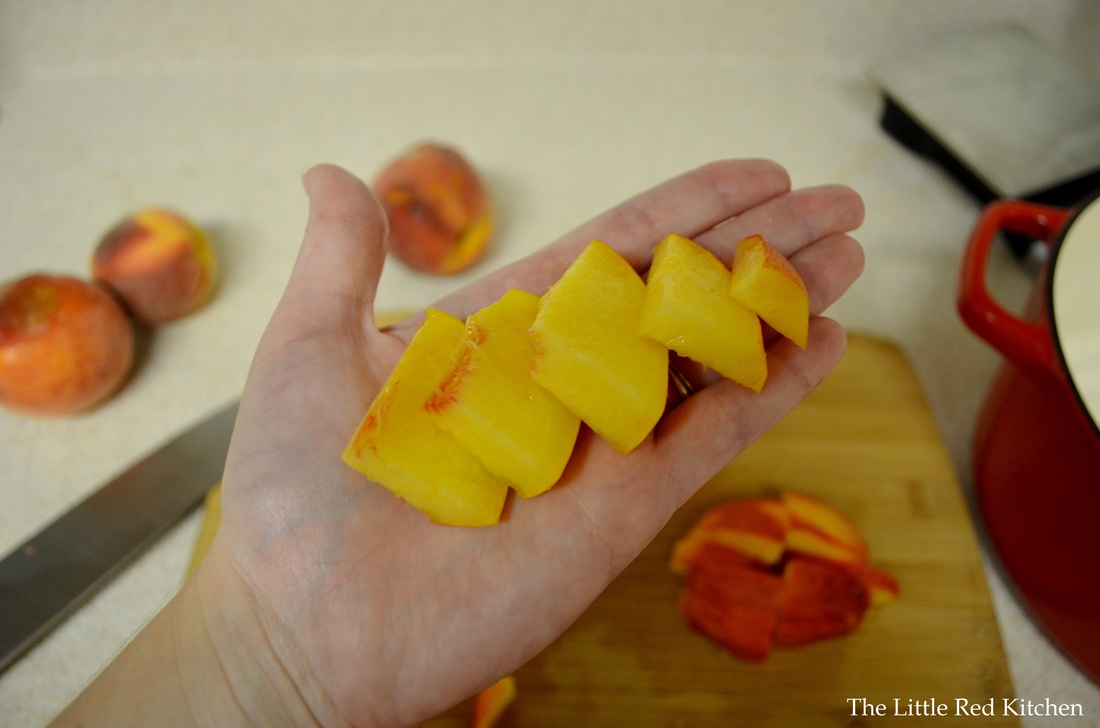
Step 1: Halve the peaches and remove the pits. Cut into 1/2 inch thick slices, and then cut these slices in half widthwise. Like so: Step 2:
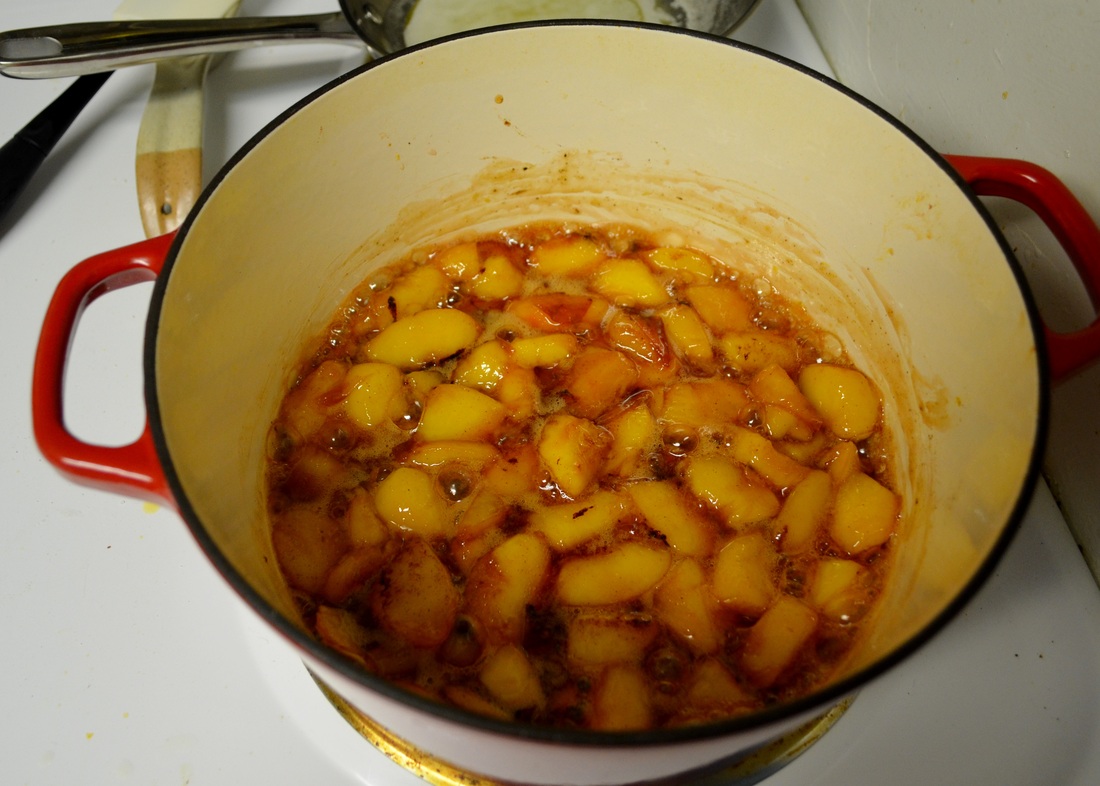
Toss the peach slices in a large Dutch oven or heavy-bottomed pot with the sugar, cinnamon, water, triple sec, and lemon zest. Cook over medium-low to medium heat for 10-12 minutes, stirring occasionally to make sure nothing is burning on the bottom of the pot; there is a lot of sugar in there! The mixture will start to look jam-like and smell tantalizing. Step 3:
At this point, whisk the lemon juice and cornstarch together in a small bowl and stir it into the peaches. Then turn off the heat and scatter the raspberries on top but do not stir them in! Remove the pot from the heat and cover, while you work on making the grunt dough.
For the Topping:
Step 4:
Combine the buttermilk, melted butter, and vanilla in a small bowl or glass measuring cup. It is important that the buttermilk is not freezing cold because as soon as you add the melted butter it will start to solidify again. If this does happen, just pour the whole thing into a small skillet and cook over very low heat, stirring frequently, until the butter has re-melted.
Note: Don't have buttermilk on hand? No problem. You can make buttermilk from regular milk and white vinegar. For a cup of milk you add 1 tbsp. of vinegar to it, stir to combine, and let sit for at least 10 minutes. If the milk looks chunky and weird, you know you're there. So, for the 1/3 cup called for here, you'll need just a tsp. of vinegar.
Step 5:
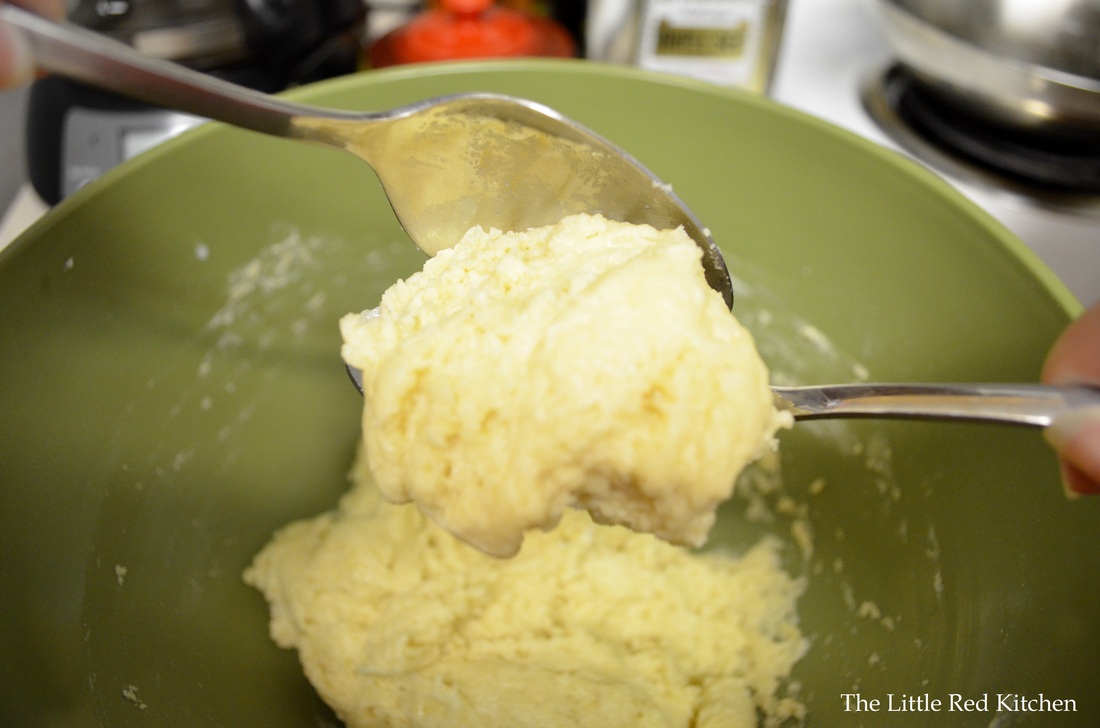
Whisk the flour, baking powder, baking soda, salt, and just 3 tbsp. of the sugar together into a bowl. Then pour the wet ingredients in and stir just to combine, until there are no streaks or spots of flour left in the dough.
Step 6:
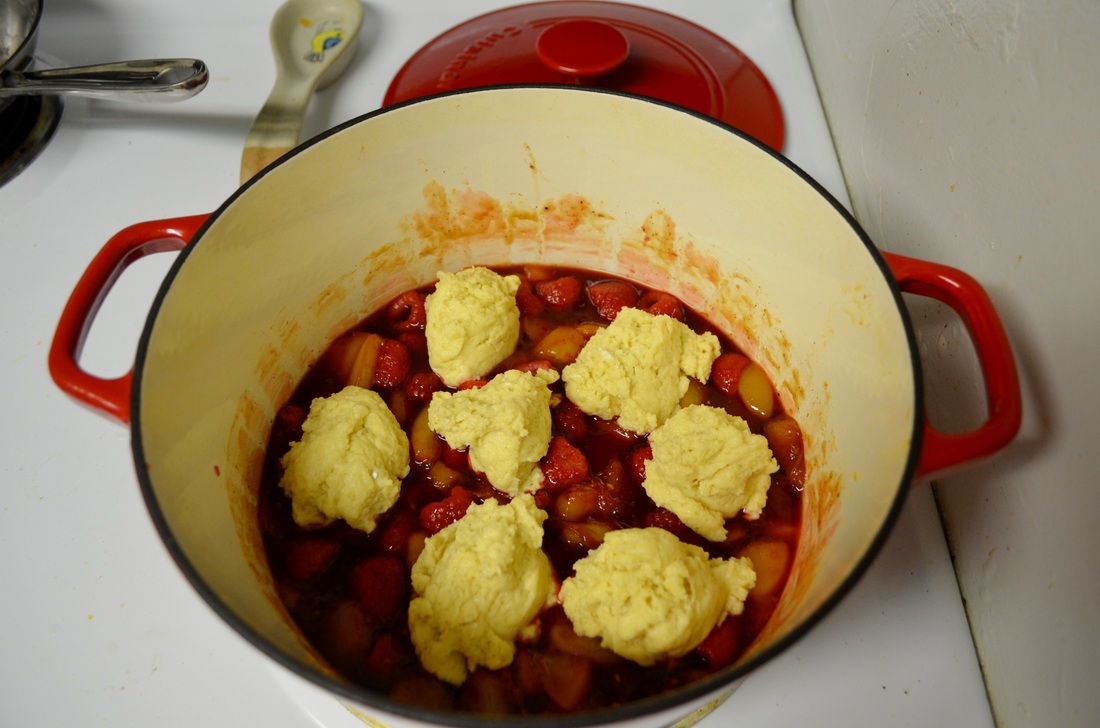
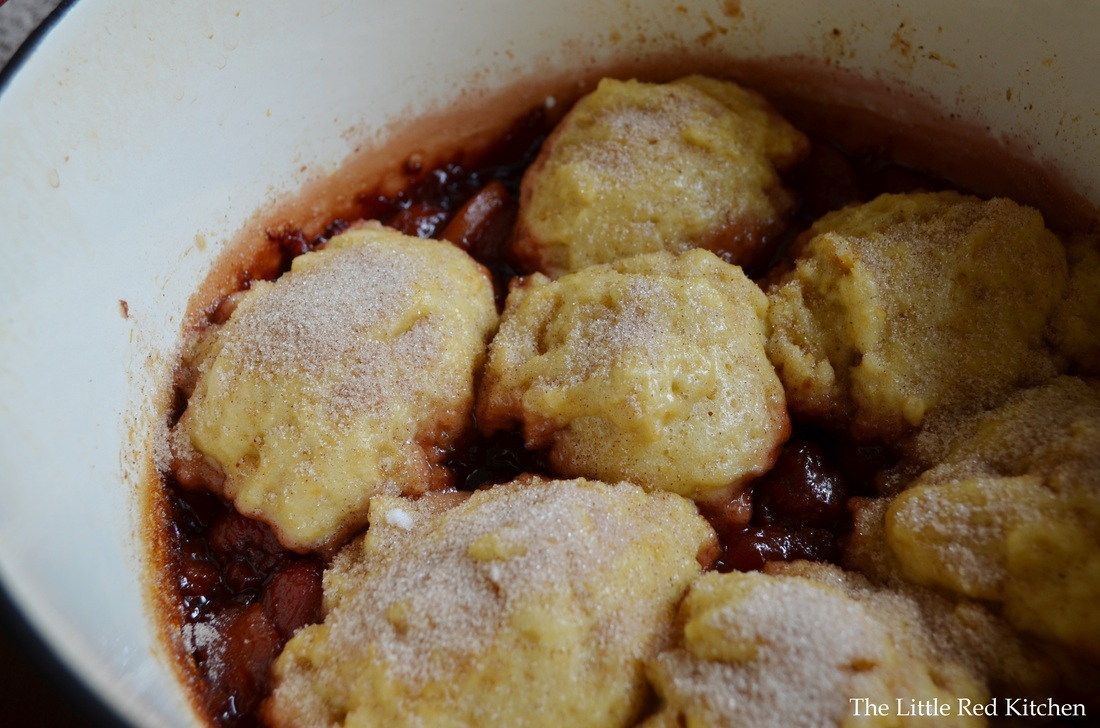
Using two spoons, scoop out the dough and shape into golf ball-size mounds. At this point just drop them onto the peach mixture in the pot. You should get seven "biscuits". Step 7:
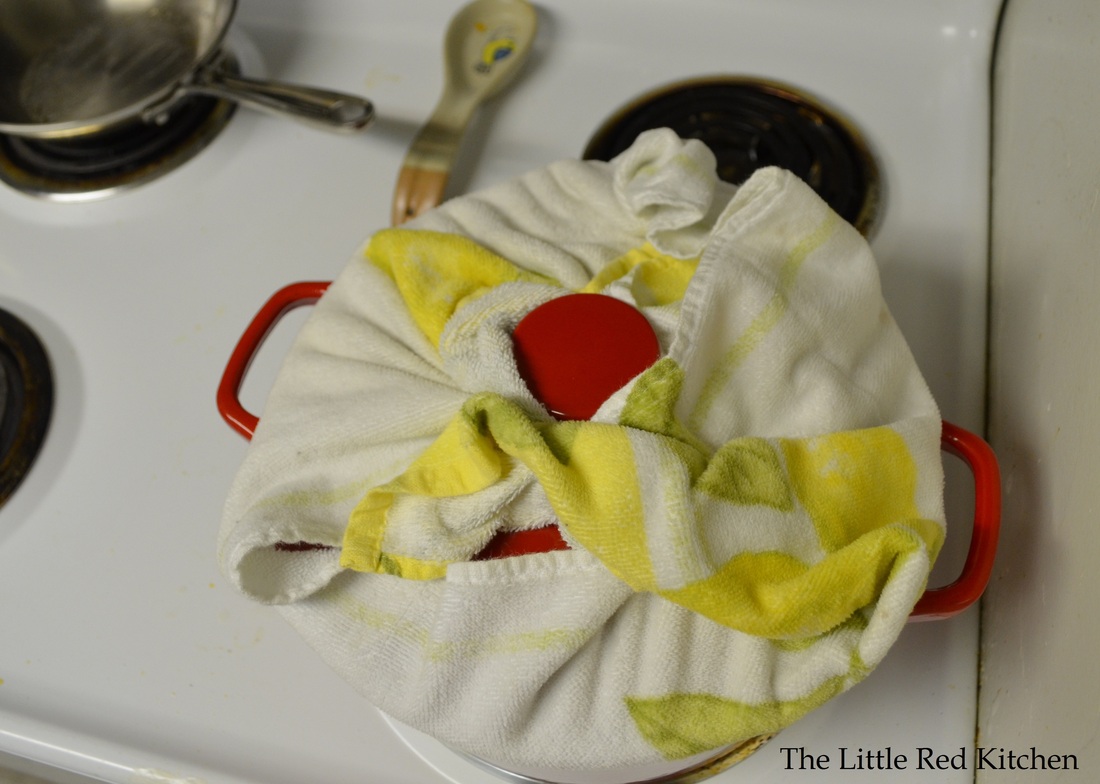
This last step is kind of weird, but necessary. Take the lid of your Dutch oven and wrap it in a clean kitchen towel. Then place the lid on top of the pot. See, the biscuits will be cooked by the steam in the pot, but that steam will go up to the lid and drip right back down, making soggy biscuits instead of fluffy ones. By wrapping the lid in a towel, the towel traps that excess moisture.
Safety Note: If you have a gas burner, PLEASE make sure that the towel cannot, and will not, fall down and come in contact with the flame. You really don't want to burn your kitchen down over Peach Grunt. Simmer the biscuits gently, over medium-low, or even low heat. This is very important. If you have the contents going at a full boil, the biscuits aren't your concern, but the fruit burning and blackening into a tar-like substance on the bottom of your pot is. Low, and slow, and steady, wins this race. Cook at this gentle simmer for about 16-18 minutes, then head into the pot with a toothpick and test the biscuits. As soon as your toothpick comes out clean, they are ready. Again, if this takes longer at the risk of not burning the fruit, it's worth it.
Then, just combine the remaining tbsp. of sugar with the cinnamon and sprinkle over the top. This combo will create a deliciously crunchy and craggy exterior, the perfect contrast to those fluffy biscuits. This dessert will serve 4-6 people, depending on how much filling they want versus how many biscuits they want. But if they are smart, they will want a lot of both. Also, a dollop of fresh whipped cream on top never hurt anybody.
Happy eating!
~Lauren
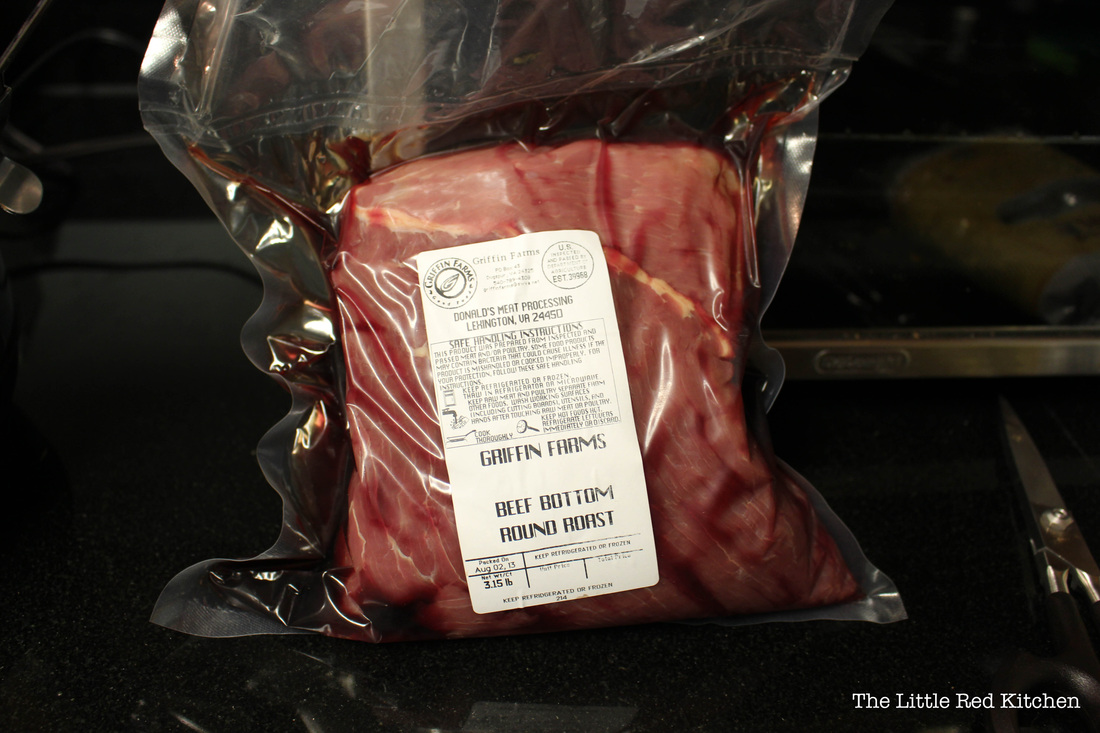
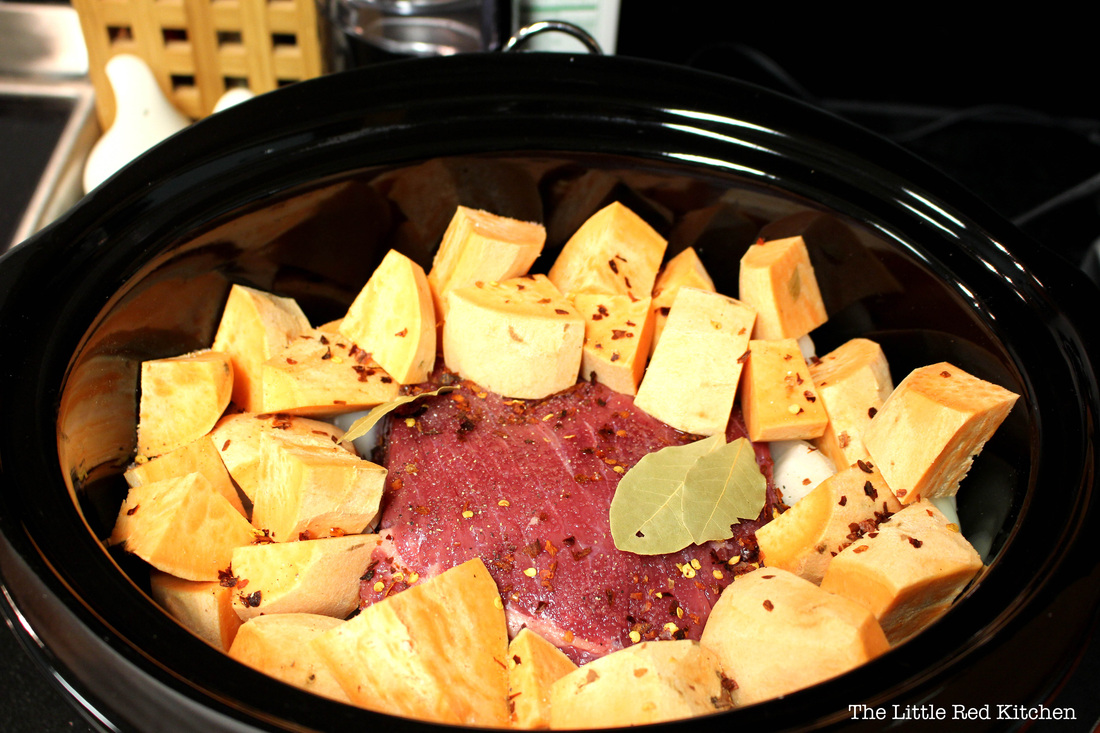
We all seem to be leading busier and busier lives these days, and we often hear that as a reason for not cooking at home, eating healthy, etc. This is the kind of recipe that you can throw together quickly before work, without much thought, and come home to a) your house smelling amazing and b) a delicious, home-cooked meal! If you don't already own a crock-pot/slow cooker (depending on where you're from), I'd highly highly recommend it! I own this set-and-forget model, reminiscent of a space ship, but you can't go wrong with a more basic one, too. The 10-minutes in the title of this post obviously refers to the actual hands-on time, while the cooking time will vary from 8 to 9 hours. The recipe changes depending on what I have in the house at the time, so I've added some variations below to get you started (the abbreviated recipe can be found at the end of the post)! Step 1: Acquire some form of beef roast. It should be about 3-4 pounds and will feed two people over multiple, multiple meals after we get done with it. I picked up this gorgeous, local, 100% grass-fed bottom round roast from Griffin Farms (who will be featured in an upcoming "Adventures" post, so stay tuned!). Did you know? Cuts of beef labeled "round" or "sirloin" are the leanest (least fatty). I've found that they're great for slow-cooking recipes because their toughness is reduced/completely removed by the long cooking time. Step 2: Place your roast in the crock pot. Since this bad-boy is organic and grass-fed, I'm happy keeping the juices (seen in the bag) in with the rest of the roast.
Step 3: Prepare your veggies. This will mean scrubbing, peeling, and rough-chopping. Larger chunks of vegetables will maintain their shape throughout the cooking process.
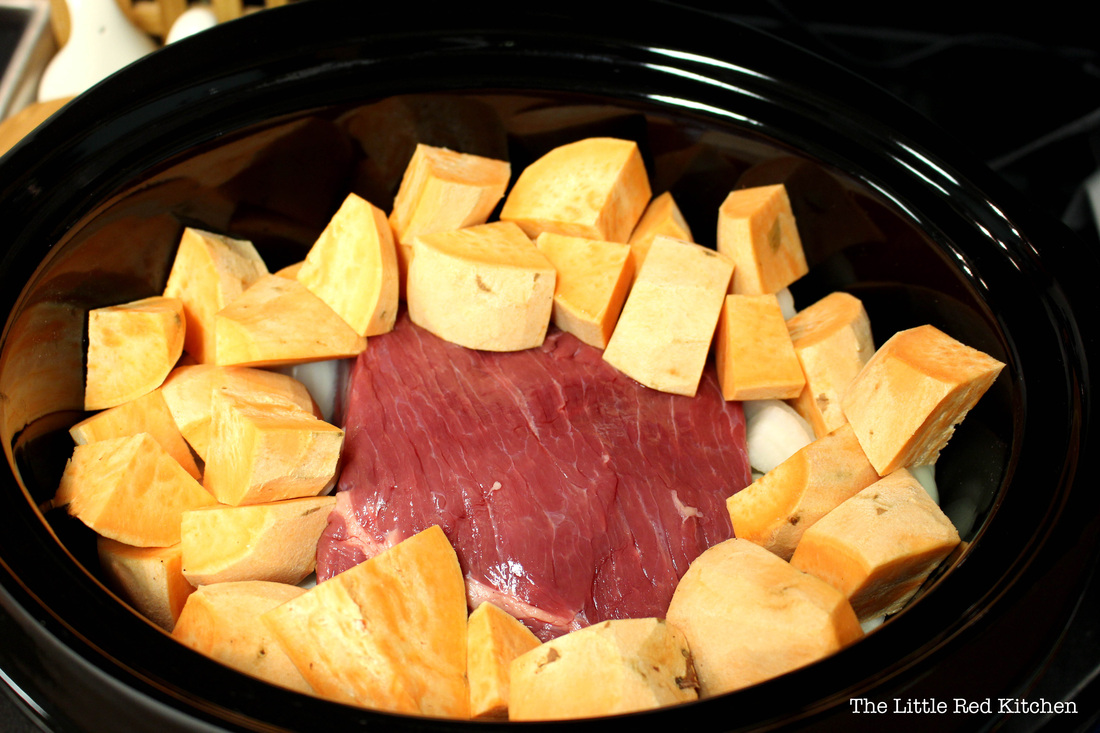
In the past, I've used carrots, celery, white potatoes, etc. This time, the only things I had available were sweet potatoes and yellow onions (two staples in our house). You can really use any root vegetable you like, or a tougher vegetable that can withstand the longer cooking time without turning to goo (yay, appetizing).
Step 4: Pack in the veggies. Place them around the roast in the crock pot, but not too tightly. Be sure to leave most of the top of the roast exposed so that we can season it.
Step 5: Season it all up.
This, too, will vary depending on my mood, the time of year, etc. This time, I used kosher salt (2 tsp), black pepper (1/2 tsp), garlic powder (1 tbsp), and bay leaves (2-3). I also decided to add a little kick with crushed red pepper flakes (1/2 tsp), to help offset the sweetness of the sweet potato.
Did you know? Sweet potatoes, in addition to the traditional Thanksgiving casserole, can also be used to make savory dishes. More on that soon, too.
Step 6: Add some liquid.
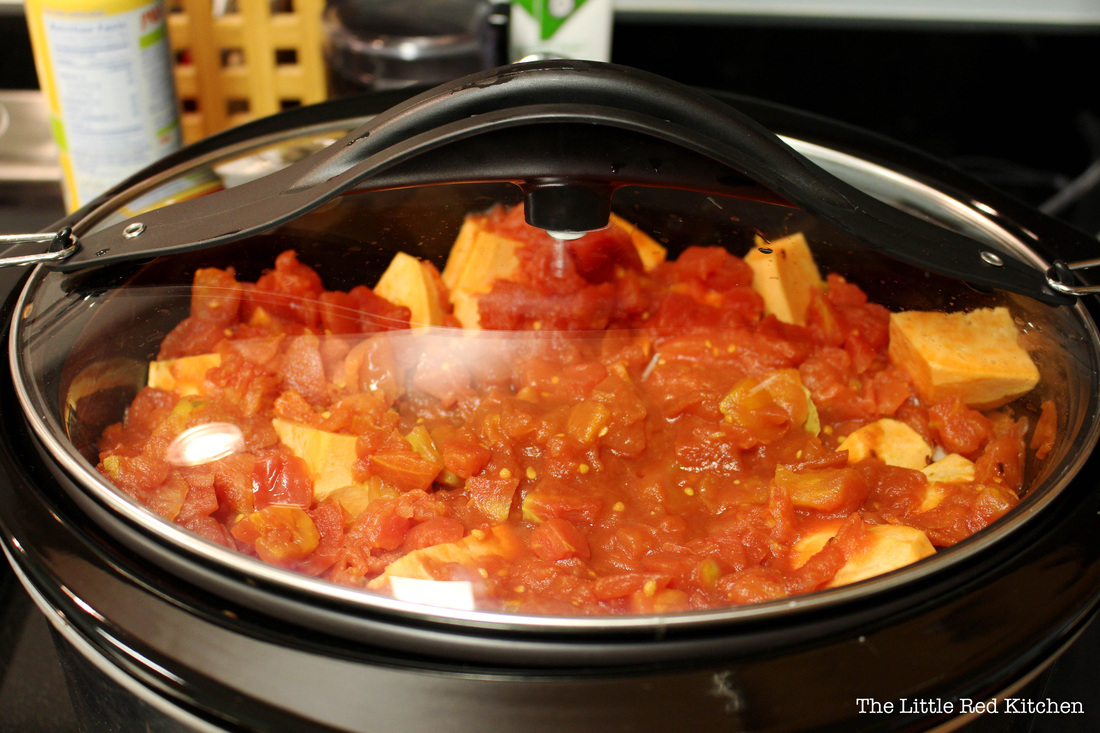
I've used everything from beef stock, to chicken stock, to wine in the past. This time, I decided that I wanted a more stew-like meal, so I added a large can of Hunt's diced tomatoes on top of everything. Then, I filled the can about halfway with water, and added that in too. Step 7: Set it and walk away.
This roast cooked for 8 hours on "low"-- if you use a larger roast, you'll need to cook it for 8-10 hours (or until the meat shreds easily with a fork.) If you have a traditional crock pot, you'll need to make sure that you're home to turn it off at the end of those 8 hours. If you have one like mine, you can trust it to turn off for you.
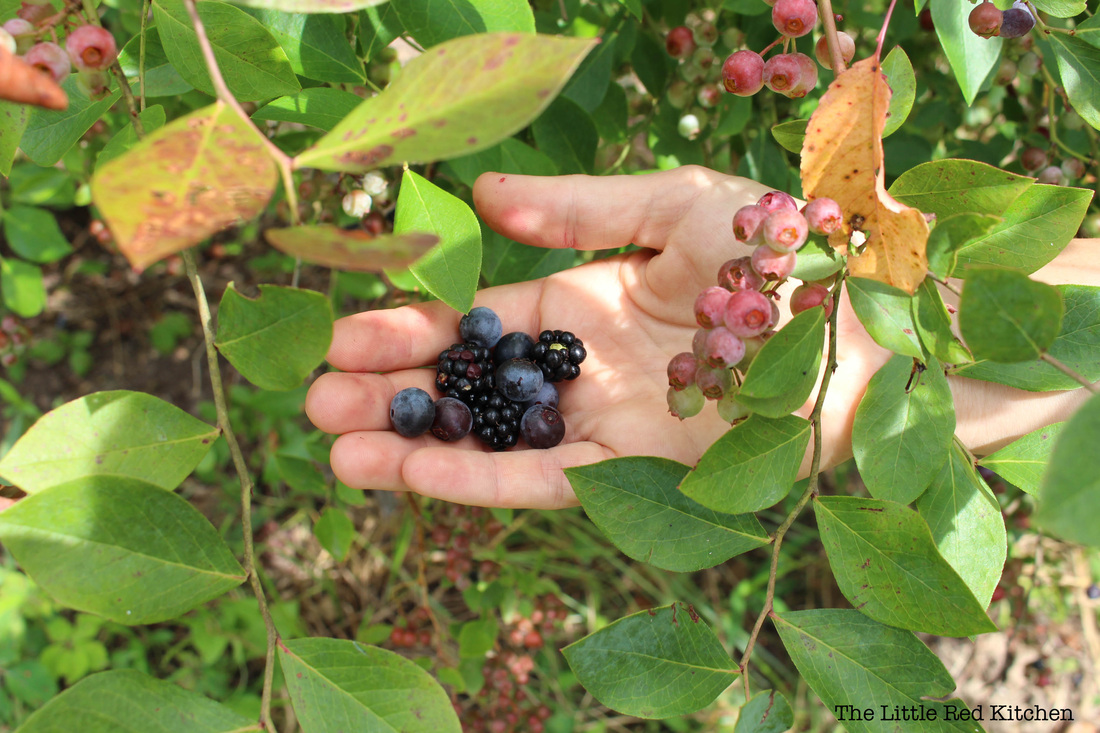
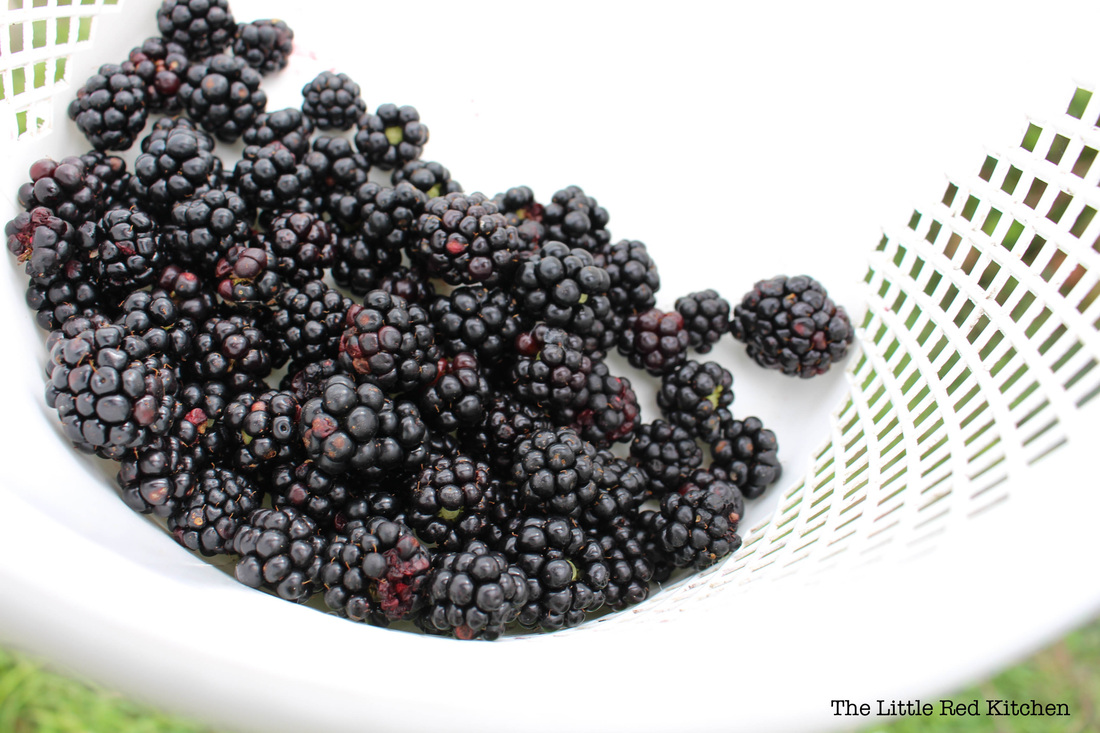
Optional: Go to work, or go do something fun! I went out to pick some local blueberries and blackberries with friends, grocery shop, and bake a pie with those berries (recipe coming soon).
Step 8: Shred it up!
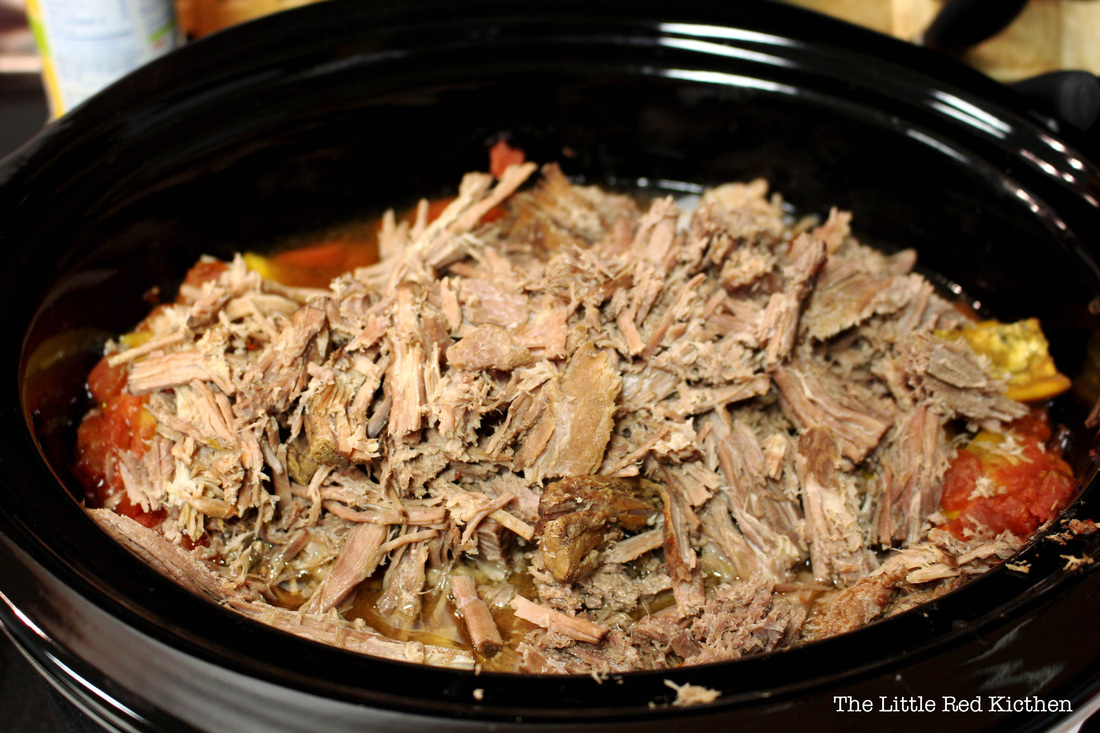
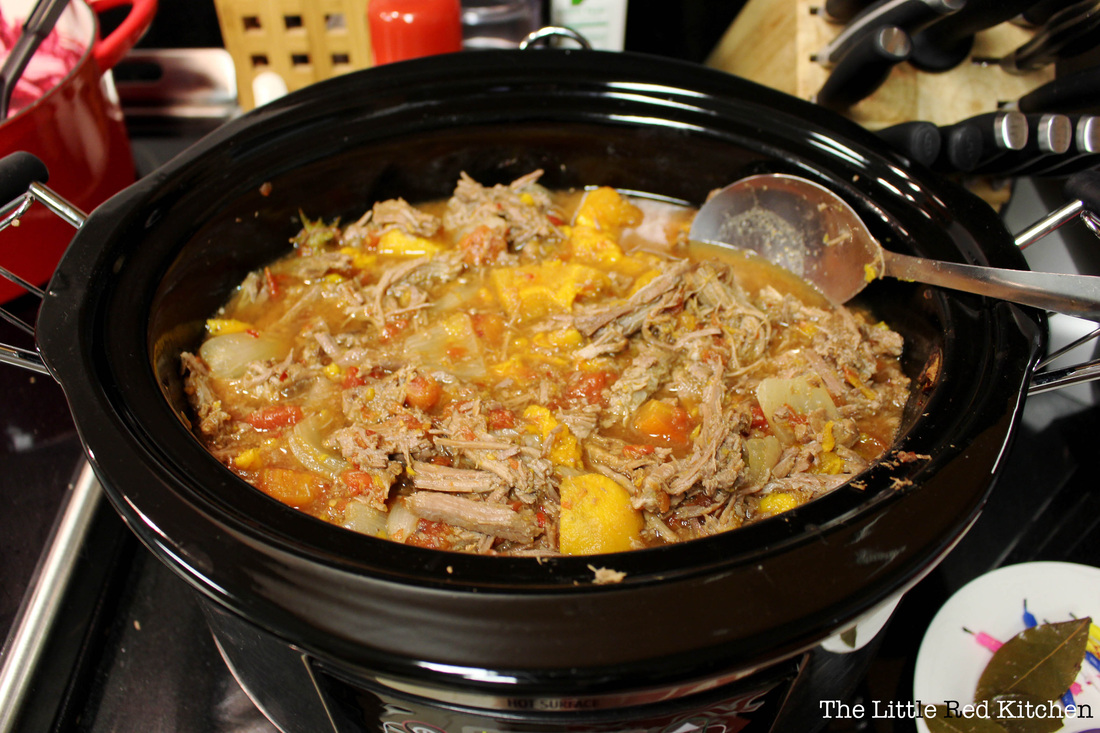
Once your meat has finished cooking, remove the bay leaves, and then carefully remove it from the crock pot (leaving the vegetables and broth). Place it into a large bowl or onto a large place. Using two forks, shred the meat, then return it to the crock pot. Step 9: Mix it in well, and taste. Adjust seasoning if desired. Then, enjoy with crusty bread or a great bottle of (red) wine!
Recipe: 10-minute Slow Cooker Beef Stew Ingredients
3-4 lb bottom round or sirloin roast
2 sweet potatoes, scrubbed, peeled, and roughly chopped
2 yellow onions, peeled, and roughly chopped
2 tsp kosher salt (or to taste-- we love salt, so we salt heavily)
1 tbsp garlic powder
1/2 tsp black pepper
1/2 tsp red pepper flakes (or to taste)
2-3 dried bay leaves, whole
1 large (28oz.) can of (Hunt's) diced tomatoes
14oz water (1/2 of the Hunt's can)
Directions
1. Place your roast in the bottom of a 6-quart crock pot, and pack the chopped vegetables around it (leaving the top of the roast exposed for seasoning).
2. Season the roast with the spices above, or change them to suit your tastes!
3. Cover the roast and vegetables with the diced tomatoes, then fill the can half-way with water, and add it in on top.
4. Cook for 8-9 hours on low, or until the meat is tender enough to be shredded with a fork.
5. Remove the bay leaves and discard. Carefully remove the roast from the crock pot, and place on/in a large plate or bowl*.
6. Shred the roast with two forks and replace in the crock pot, stirring to combine.
7. Enjoy!
*You can also shred the roast directly in the crock pot, but since the liquid is still hot/warm, you avoid burning yourself by doing it separately.
Thanks for reading!
- Kaitlin
If you ask me, and you kind of are, because you're reading this post, there are two egregious things that a cook can do when it comes to making marinara, or spaghetti sauce. And they are on opposite ends of a tomato spectrum.
The first thing is, buying jarred sauce. :( This deserves a frowning face, because jarred sauce is so bad, by and large. We are often fooled in the Italian aisle of our grocery stores, by the new nomenclature that these sneaky brands come up with--things like "4 cheese" and "Tuscan home style" and "basil and cheese"--how they get away with this, I don't know, but it fools us into thinking that there just might be something special in that jar. We forget the fact that any cheese or basil or "home style" ingredients they use have to be processed in such a way that makes them shelf stable, which puts them on the opposite end of fresh, and certainly on the opposite end of home style! If I have to make a final point against jarred sauces, just look at the price tags of some of the more gourmet brands...yeah, it really costs that much for fake marinara.
The other problem with marinara, the one that is sort of the opposite of store-bought sauce, is this idea that spending a Sunday afternoon in your Italian grandmother's kitchen, simmering tomato sauce for hours and hours, will produce the best sauce that any money can buy. Now, I mean no offense at all to the Italian grandmothers, but this is simply not the case either. See, the great advantage that homemade tomato sauce has over jarred sauce is freshness! But unfortunately, when you cook a sauce for hours to get that slow simmered taste, you are cooking out all the fresh tomato taste, all the fresh herb taste, all the fresh olive oil taste...you will be left with something bland, and possibly just as unappealing as the stuff on the grocery shelves.
That being said, HOW then, do you make the ideal sauce?! The one that tastes fresh, but not so fresh that it just tastes like a pile of tomatoes with some raw garlic on top. And how do you get that deeper flavor without cooking the sauce to death? Believe it or not, I think I have solved the problem.
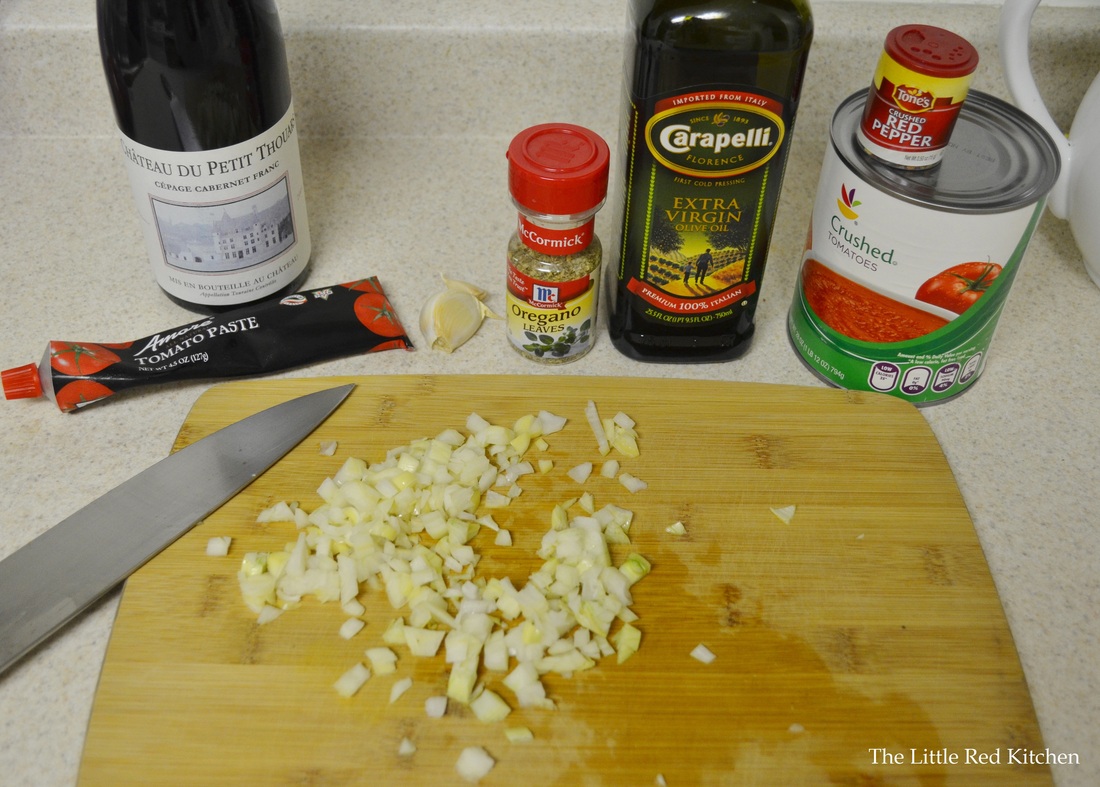
Ingredients:
2 tbsp. extra virgin olive oil
1 medium yellow onion, chopped medium
2 cloves of garlic, minced
1.5 tsp. dried oregano
1/4 tsp. red pepper flakes
2 tbsp. tomato paste
1/4 cup medium-bodied red wine
1 28-oz can crushed tomatoes
kosher salt and freshly ground black pepper
pinch of sugar
The science:
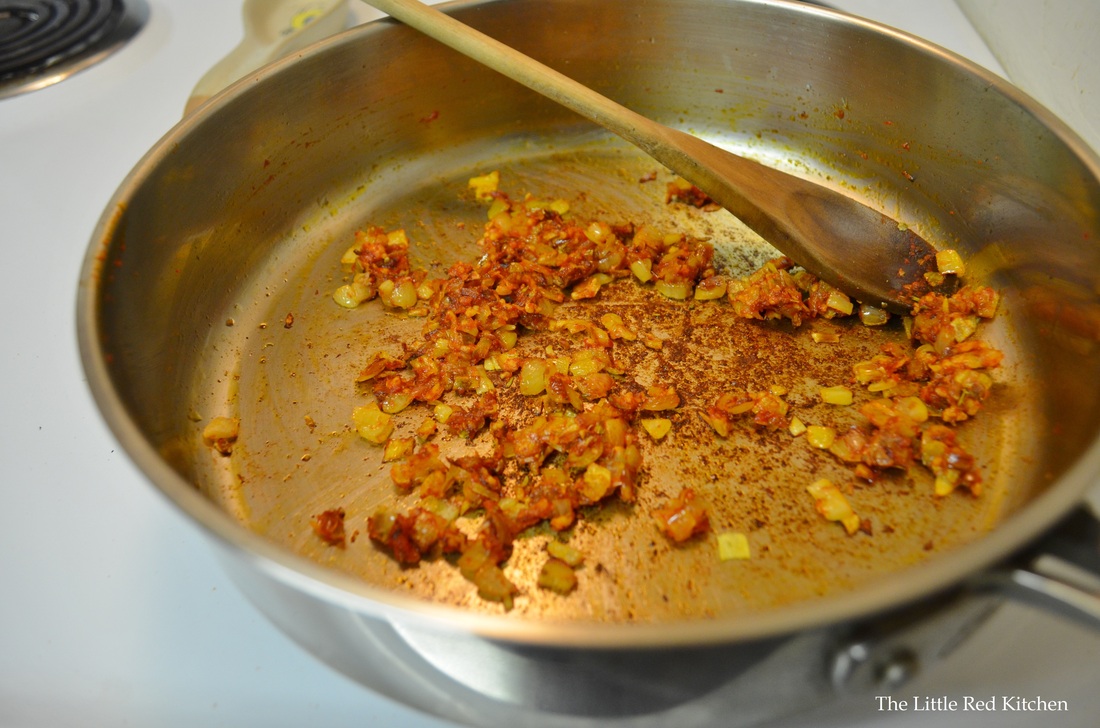
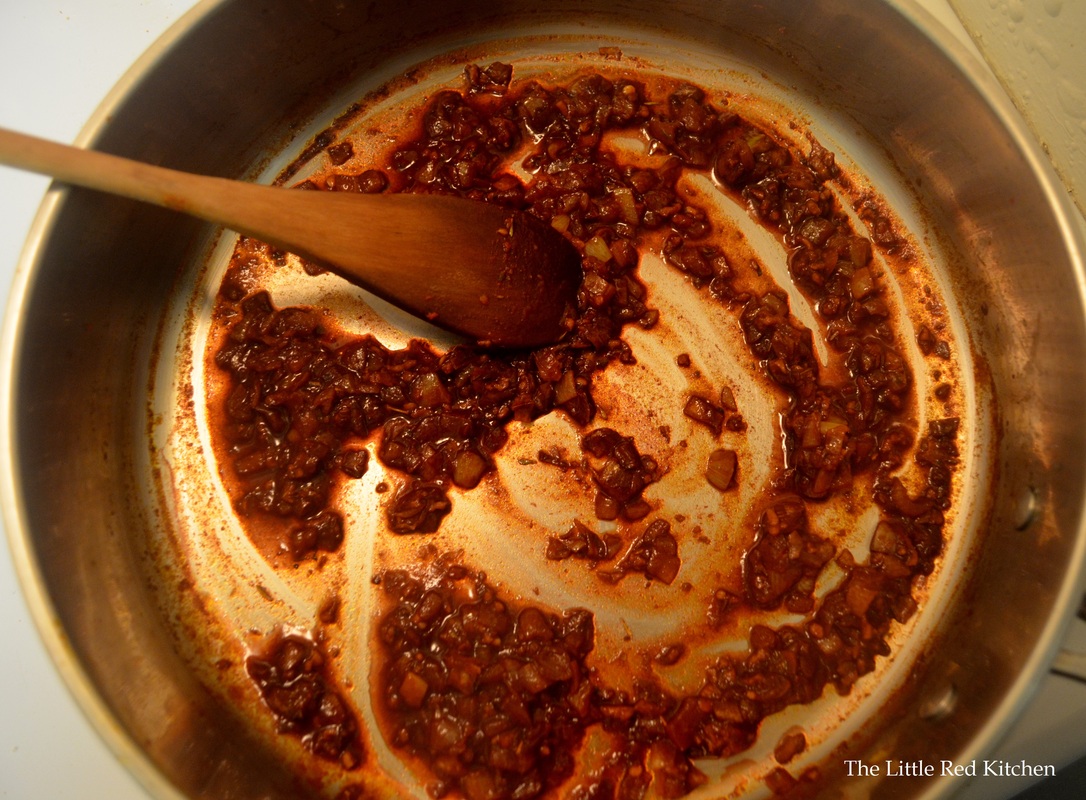
There are two things that make a homemade tomato sauce less than stellar. One is if it is bland and watery, and doesn't have a hearty flavor, and the other is if the sauce is overcooked...but wait, how do we get that hearty flavor without the 8 hour simmer? You will find the answers to this conundrum below. Step 1: Place the extra virgin olive oil in a large skillet and heat it over medium for a couple minutes. Add the onion and a pinch of salt and sweat for 3-5 minutes, until it starts to soften. Did you note that I'm using a 12-inch skillet and not a saucepan? Gasp! This is actually a great idea though, because the wide profile of a skillet encourages evaporation more readily, which means the liquid will reduce quickly, so you don't have to simmer for hours to get rid of that watery, bland taste. Once the tomatoes are in the mix, this will only take TEN minutes! Step 2: Add the aromatics--red pepper flakes, garlic, dried oregano, and tomato paste--to the middle of the pan. Mash it up to break up the tomato paste, and then cook for just 30 seconds to a minute, until the tomato paste starts to turn dark red/brown. If the pan is looking really ugly, you will know you are there! P.S. Amore tomato paste is seriously the best. I know that the squeeze tube costs a little more than the little cans, but the squeeze tube will last months; try storing that opened can of tomato paste in your fridge. Regardless of how you attempt to cover up the top, it will be growing all sorts of things on it before long. See? Looks bad, doesn't it? But tomato paste is an extra concentrated form of tomato. Browning it, just for a minute, deepens the flavor, and almost caramelizes it, so you are getting rich tomato flavor in addition to a fresh tomato flavor at the end. It's a beautiful thing.
Step 3:
Pour the 1/4 cup of wine into the pan and scrape up the browned bits at the bottom, and simmer this mixture until it is reduced to a sort of syrup, just a couple of minutes. This might seem weird, but that little bit of wine will give a robust depth to a quick-cooking sauce. I know it's just 1/4 of a cup, but it is a great excuse to get a bottle of wine going! P.S. Use a Beaujolais, a Merlot, or a Pinot Noir, but steer clear of a full-bodied Cabernet Sauvignon. I used a Cabernet Franc in this. Step 4:
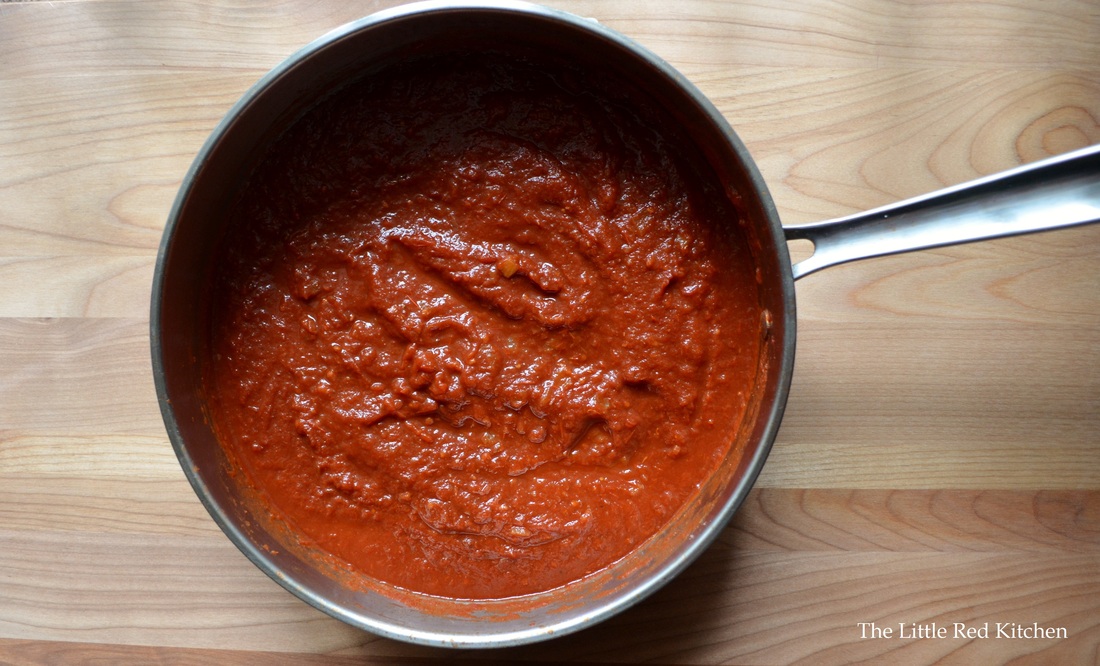
You are seriously almost done at this point, can you believe it? Simply pour in the can of crushed tomatoes, and gently simmer for about 10 minutes, until the sauce has thickened a bit. Season to taste with salt and pepper, throw in that pinch of sugar, and you are done!
Extras:
Now I know what some of you are probably thinking: She got up on her soap box about jarred sauce and now she is using canned tomatoes? But, for most of us, we can only get good tasting, fresh tomatoes, a month or two out of the year, if that. And, believe it or not, most 'fresh' tomatoes, don't taste very good the rest of the year. That being said, I used canned crushed tomatoes because that's something that tastes good year round. However, if you want to use fresh in this recipe, go right ahead! Or, if you don't want to use fresh but would prefer canned diced tomatoes, that is fine too. However, you will want to drain them but reserve the liquid, because it's got a lot of that good tomato flavor in it. And when you pour in and reduce the wine, pour in the tomato juice too, and simmer it a couple extra minutes.
Add-ins:
This is a fantastic, basic marinara sauce, perfect for not only pasta but for chicken parm, pizza, meatball sandwiches, you name it. I really did make the sauce this morning, and even at 10am my mouth was watering from the smells, and it was completely delicious. However, don't think of this recipe, or any recipe, as set in stone. Here is a great little list of things you can add to this pasta to make it extra special, and to suite any unique tastes:
1/2 cup grated parmesan cheese
a couple tablespoons of capers
more (or less) red pepper flakes
fresh chopped basil (stirred in at the very end)
??? Whatever you want!
I hope I have successfully proven to you that a fantastic sauce doesn't necessarily come from a jar, but it also doesn't have to take hours to prepare. In about 20 minutes, including prep work, you can have a fantastic marinara sauce that, I promise, would make any Italian grandmother proud.
Stay hungry!
~Lauren
First, I apologize that this recipe doesn't contain any associated pictures. Since my husband is gluten-intolerant (it gives him migraines), this original version isn't something we've been able to eat. I'm planning to come up with a modified (grain-free) version in the near future, so I promise that that post will be photograph-heavy.
My husband often jokes that he married me for this recipe alone. (Similarly, our friend Chip swears he married his wife for her chocolate cake.) Although it seems complicated, this is a reasonable dish to put together on a weeknight. I often save it for special occasions, though, because it’s really that good. I credit my mom for the original recipe, although I always find myself changing it when the mood strikes.
Mushroom Stuffed Chicken Breast
(makes 6-8 servings)
Ingredients:
3-4 boneless, skinless chicken breasts, sliced in half lengthwise and pounded flat (~1/2 inch thick)
1-2 lbs mushrooms, chopped (you can use white mushrooms, but portabellas taste better)
1/2 stick butter
1 teaspoon nutmeg
1/4 teaspoon salt
1/4 teaspoon pepper
1/4 – 1/2 cup breadcrumbs
1/2 cup chicken stock
1/2 cup heavy whipping cream
Directions:
0. Preheat the oven to 350 degrees F.
1. Prepare the chicken and lay flat in a large Pyrex baking pan, pop in the fridge until you need it. (The mushrooms take a little while.)
2. Melt the butter in a large, non-stick skillet and add the mushrooms, nutmeg, salt, and pepper.
3. Saute mushrooms until they have released some of their liquid, and absorbed the majority of the butter. This can take a little while…if you get impatient, you can skip to step 4 without losing too much flavor. Remove from heat when you decide you’re done.
4. Add breadcrumbs to the mushroom mixture a little at at time, mixing as you go. Only add enough breadcrumbs to make the mixture cohesive (it should all stick together). If you add too much, the stuffing will be too dry.
5. Allow the mushroom “stuffing” to cool slightly (if still super hot), and then use it to make chicken “wraps”, as follows:
- Use a medium-sized spoon to place rounded mounds of stuffing on your flattened chicken
- Fold the chicken around the stuffing, and roll carefully so that the “seam” is on the bottom– if a little bit of stuffing falls out the sides of the wrap, that’s okay. You can always push it back in with your fingers.
- arrange neatly in your Pyrex pan
6. Pour chicken stock and heavy whipping cream over the whole pan of chicken, and top with a sprinkle of breadcrumbs. Bake at 350 degrees for about 30 minutes, or until the chicken is cooked through. (The time will depend on how thin your chicken is when you wrap it around the stuffing.)
We like to have this with lighter sides (steamed veggies, salad, etc.) which is a nice counterpart to the heavy dish.
Enjoy!
- Kaitlin
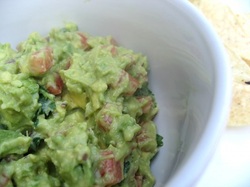 I recognize that there are probably as many guacamole recipes as there are food lovers, so I won't claim that I've found the best recipe out there (what if you like yours with more lime? less cilantro? no Tabasco?), but this one was pretty darn good. This recipe was transplanted and updated from an older blog of Little's. With fresh on-sale avocados and some red onions in hand, I felt it was time for some guac. How to choose a recipe, though? I hit up my old stand-by foodgawker and searched for “the best guacamole”. Despite the fact that I have, of course, messed with it (you'll learn very quickly that I don't really follow recipes unless I'm baking), I can’ t help but feel that the best is exactly what I got. Since it was gone before I got a chance to take a picture, I had to borrow one from the site that created this recipe: Life With Cake. This recipe is a bit unorthodox, and perhaps slightly less healthy because of it (whatever). That said, I’m in love. The recipe below includes my modifications to the original, and with mine you'll need fewer ingredients. Unorthodox Guacamole (Makes about 2 cups) 2 avocados, halved and scooped out 1/2 of a lime, juiced 1/4 cup red onion, minced 1/8 cup mayonnaise ( Homemade mayonnaise-- which will definitely get its own post shortly-- is amazing! It's far healthier than the store-bought stuff, and if you have an immersion blender, it'll take you 3 minutes.) 1-2tbs fresh cilantro, finely chopped a pinch of your favorite salt dash of Tabasco (green Tabasco, made with jalapenos, is my favorite) Optional add-ins: 1/2 tsp cumin, 1/2 roma tomato (seeded and diced)...Really the options are endless, it's up to you! Directions: 1.) Prepare your other ingredients before cutting into the avocado (This prevents browning if the avocado sits out in the air too long. Did you also know that you can increase the lifespan of a cut avocado my rinsing it thoroughly in water before sealing it up to store? Unlike keeping the pit intact, which is a myth, rinsing in water will actually slow the oxidation process.) 2.) Throw everything in a bowl and mash with a potato masher (or fork) to desired consistency. 3.) If you wrap up the guac (plastic wrap should be touching its surface) and refrigerate for 30 minutes to an hour, the flavors will blend really well. However, I can honestly say I've never done this, and it's always disappeared (clearly, since I wasn't able to take a picture)! If you're trying to minimize your fat intake (I, for one, say healthy dietary fats are amazing), you can omit the mayonnaise and it'll still be good... just not quite as good. Enjoy! - Kaitlin
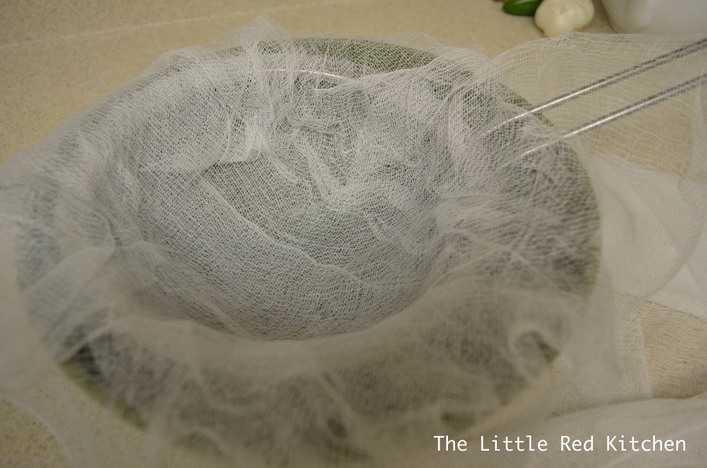
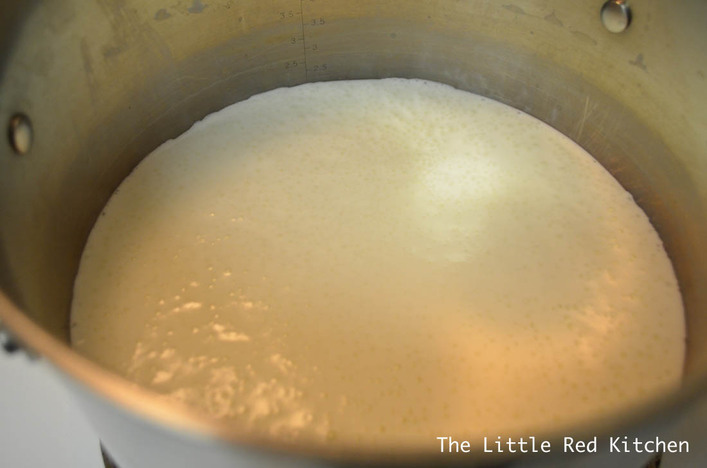
Cheese--Milk's leap towards immortality ~ Clifton Fadiman While the word “connoisseur” is a heavy one to throw around, I know I can safely say that I’m a cheese lover, and a cheese adventurer. There is no cheese I will not try, and while I rarely crave chocolate and starbursts (do people crave that?), I have had many a hankering for a crystalline chunk of cheddar, or a gooey baked brie with crunchy, salty pistachios atop. It’s just one of my go-to snacks; it’s the BFF of wine and crackers—some things I also love—and there’s so much variety at a good cheese counter, that you will never run out of things to try! That being said, when I saw a recipe for make-your-own cheese, that boasted versatility with a creamy and mild homemade happy ending, I had to give it a try. The recipe came to me, and now to you, from America’s Test Kitchen, and I’ve modified it slightly for best results. Ingredients: 1.5 quarts of whole milk 1.5 cups of buttermilk ½ tablespoon of salt The science: The acid in the buttermilk essentially curdles the whole milk, causing it to separate…in any other preparation, “milk” and “separate” are not two words you want together, but in this case, you need the curds (the good stuff) to separate from the whey (the watery stuff). Step 1: Line a colander or fine mesh strainer with a triple layer of cheese cloth, enough so that there is excess cloth hanging over the sides. Leave this in the sink and get to boiling the milk in a Dutch oven or large stock pot, over medium high heat. Whole milk is very viscous so this could take longer than you’d think, but be patient! Also, boiling milk is volatile! If you don't watch it carefully, I promise you you'll have a messy boil-over on your hands (I did). Step 2:
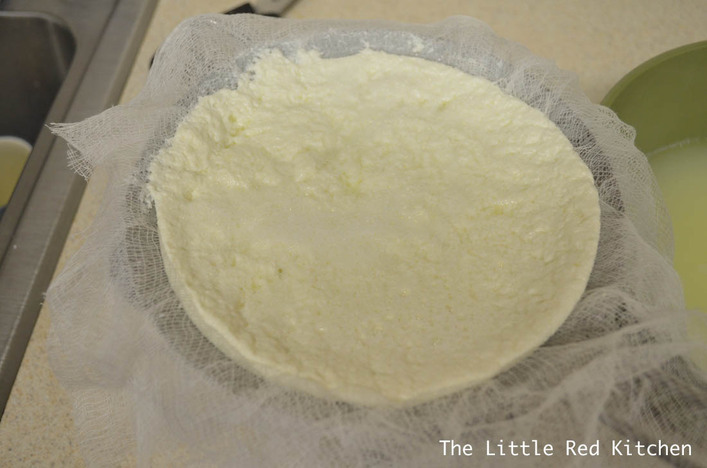
Once you’ve achieved said boil, whisk in the buttermilk and salt, let it stand for 1 minute, and then pour this mixture through the strainer with the cheese cloth in it. Let the newly formed curds drain for 15 minutes.
Step 3:
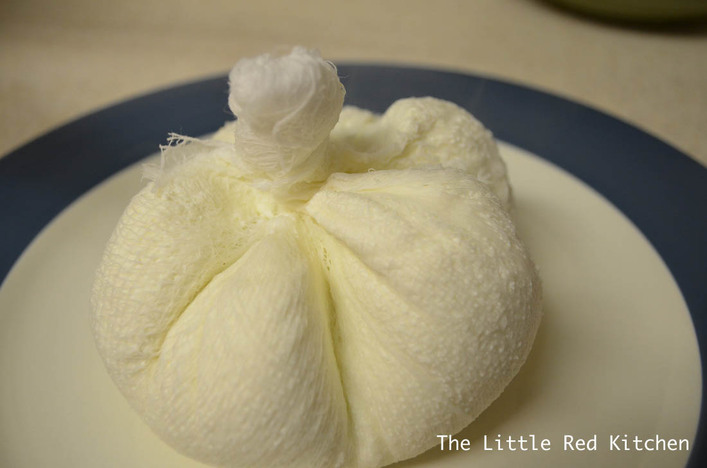
Next, pull those extra edges of cheese cloth together, and twist them to form a pouch of cheese. Note, the cheese will still be really hot at this point and fairly hard to handle, but if I can do it, so can you! You want to get out as much of that extra liquid as you can. Your curds will thank you!
Step 4:
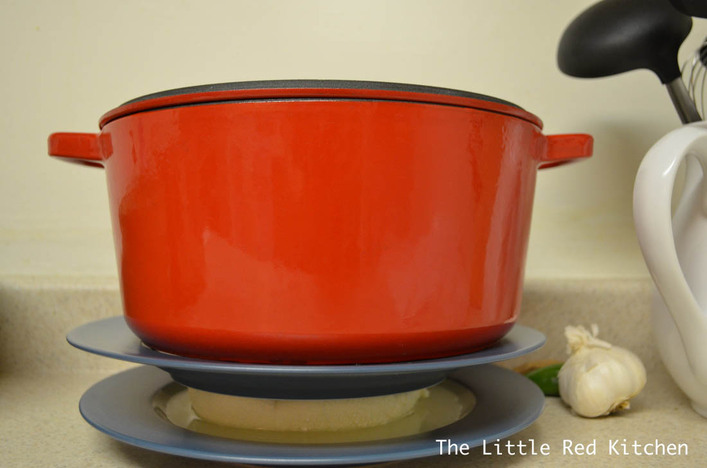
At this point, take your cheese pouch and place it between two large dinner plates, and weigh the top plate down with a heavy pot, a small child, whatever you have on hand.
Step 5:
Forget about it for 45 minutes to an hour and just let it continue to drain and firm up. Well, don’t forget it completely…I went back every so often and pressed down firmly on the whole contraption to squeeze out even more
juice.
Step 6:
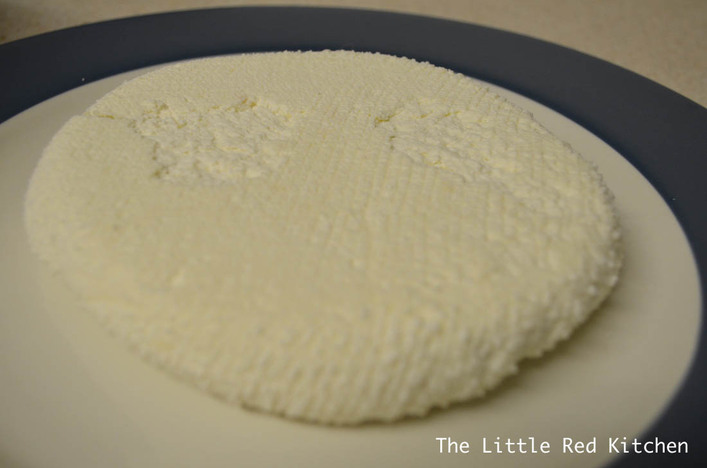
You’re done! You made cheese! At this point, you can do what I did and wrap it up in plastic wrap and refrigerate it until you want to use it. Uncut, this will keep in the fridge for up to 3 days. I used it for dinner that night, by making tikka masala sauce, cutting my cheese into ½ inch pieces, and simmering them for a couple minutes just to warm them through. Instant paneer tikka masala!
This recipe will make about 3 cups of the ½ inch pieces of cheese cubes.
Extras:
Actually, when I said in Step 6 that you made cheese, I was sort of lying, because you actually made cheese way back in Step 2. Once you have those loose wet curds, they are cheese! If you want you can combine the loose curds with fresh chopped herbs, a little cracked black pepper, spread it on some baguette slices, stick it under the broiler, and you will be singing show tunes with your makeshift ricotta.
If you enjoy cheese as much as I do, stay tuned on The Little Red Adventures, as I am currently writing to you from the cheese capital of America, Wisconsin, and will be sharing some tidbits of my trip on the blog!
Stay hungry!
~Lauren
|












 RSS Feed