
Cheese--Milk's leap towards immortality ~ Clifton Fadiman
While the word “connoisseur” is a heavy one to throw around, I know I can safely say that I’m a cheese lover, and a cheese adventurer. There is no cheese I will not try, and while I rarely crave chocolate and starbursts (do people crave that?), I have had many a hankering for a crystalline chunk of cheddar, or a gooey baked brie
with crunchy, salty pistachios atop. It’s just one of my go-to snacks; it’s the BFF of wine and crackers—some
things I also love—and there’s so much variety at a good cheese counter, that you will never run out of things to try!
That being said, when I saw a recipe for make-your-own cheese, that boasted versatility with a creamy and mild homemade happy ending, I had to give it a try. The recipe came to me, and now to you, from America’s Test Kitchen, and I’ve modified it slightly for best results.
Ingredients:
1.5 quarts of whole milk
1.5 cups of buttermilk
½ tablespoon of salt
The science:
The acid in the buttermilk essentially curdles the whole milk, causing it to separate…in any other preparation, “milk” and “separate” are not two words you want together, but in this case, you need the curds (the good stuff) to separate from the whey (the watery stuff).
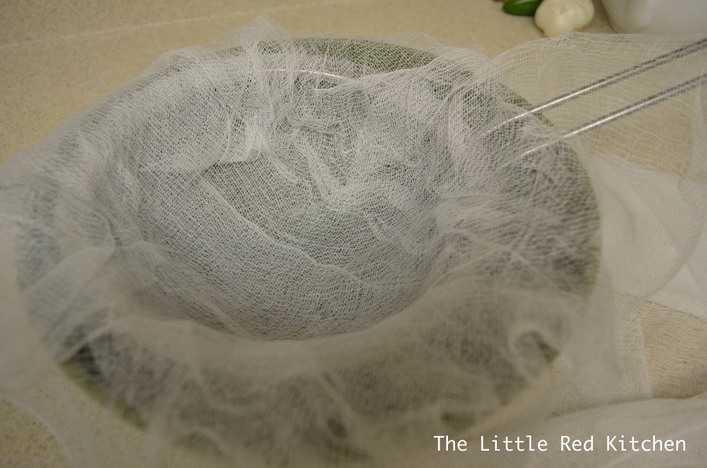
Step 1:
Line a colander or fine mesh strainer with a triple layer of cheese cloth, enough so that there is excess cloth hanging over the sides. Leave this in the sink and get to boiling the milk in a Dutch oven or large stock pot, over medium high heat. Whole milk is very viscous so this could take longer than you’d think, but be patient! Also, boiling milk is volatile! If you don't watch it carefully, I promise you you'll have a messy boil-over on your hands (I did).
While the word “connoisseur” is a heavy one to throw around, I know I can safely say that I’m a cheese lover, and a cheese adventurer. There is no cheese I will not try, and while I rarely crave chocolate and starbursts (do people crave that?), I have had many a hankering for a crystalline chunk of cheddar, or a gooey baked brie
with crunchy, salty pistachios atop. It’s just one of my go-to snacks; it’s the BFF of wine and crackers—some
things I also love—and there’s so much variety at a good cheese counter, that you will never run out of things to try!
That being said, when I saw a recipe for make-your-own cheese, that boasted versatility with a creamy and mild homemade happy ending, I had to give it a try. The recipe came to me, and now to you, from America’s Test Kitchen, and I’ve modified it slightly for best results.
Ingredients:
1.5 quarts of whole milk
1.5 cups of buttermilk
½ tablespoon of salt
The science:
The acid in the buttermilk essentially curdles the whole milk, causing it to separate…in any other preparation, “milk” and “separate” are not two words you want together, but in this case, you need the curds (the good stuff) to separate from the whey (the watery stuff).
Step 1:
Line a colander or fine mesh strainer with a triple layer of cheese cloth, enough so that there is excess cloth hanging over the sides. Leave this in the sink and get to boiling the milk in a Dutch oven or large stock pot, over medium high heat. Whole milk is very viscous so this could take longer than you’d think, but be patient! Also, boiling milk is volatile! If you don't watch it carefully, I promise you you'll have a messy boil-over on your hands (I did).
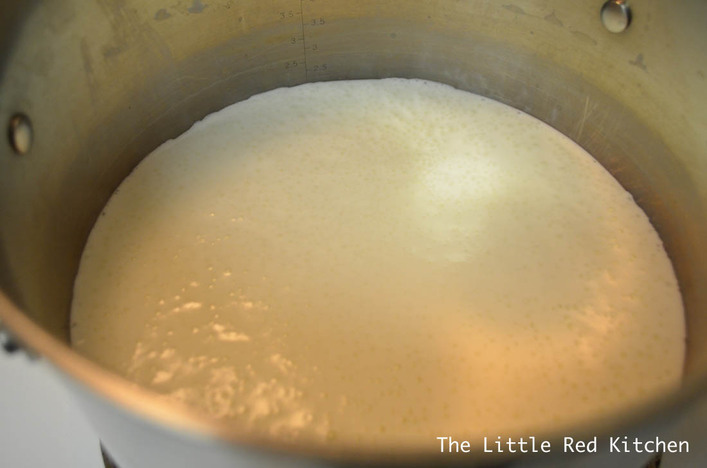
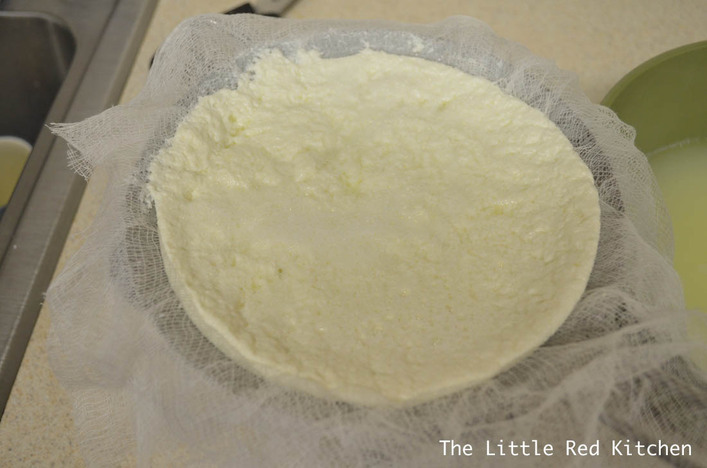
Step 2:
Once you’ve achieved said boil, whisk in the buttermilk and salt, let it stand for 1 minute, and then pour this mixture through the strainer with the cheese cloth in it. Let the newly formed curds drain for 15 minutes.
Once you’ve achieved said boil, whisk in the buttermilk and salt, let it stand for 1 minute, and then pour this mixture through the strainer with the cheese cloth in it. Let the newly formed curds drain for 15 minutes.
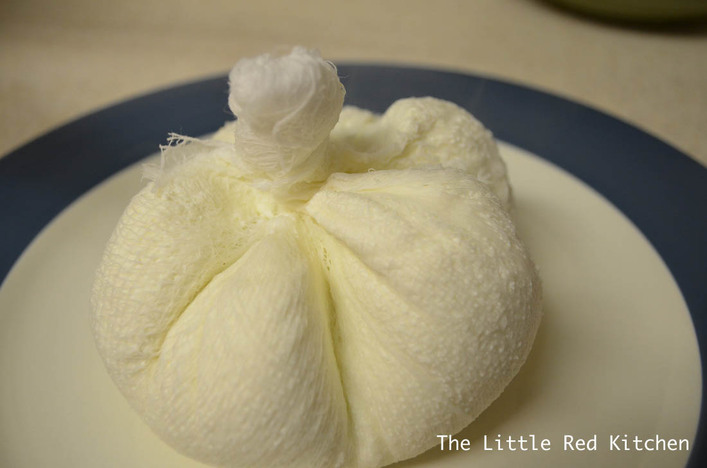
Step 3:
Next, pull those extra edges of cheese cloth together, and twist them to form a pouch of cheese. Note, the cheese will still be really hot at this point and fairly hard to handle, but if I can do it, so can you! You want to get out as much of that extra liquid as you can. Your curds will thank you!
Next, pull those extra edges of cheese cloth together, and twist them to form a pouch of cheese. Note, the cheese will still be really hot at this point and fairly hard to handle, but if I can do it, so can you! You want to get out as much of that extra liquid as you can. Your curds will thank you!
Step 4:
At this point, take your cheese pouch and place it between two large dinner plates, and weigh the top plate down with a heavy pot, a small child, whatever you have on hand.
At this point, take your cheese pouch and place it between two large dinner plates, and weigh the top plate down with a heavy pot, a small child, whatever you have on hand.
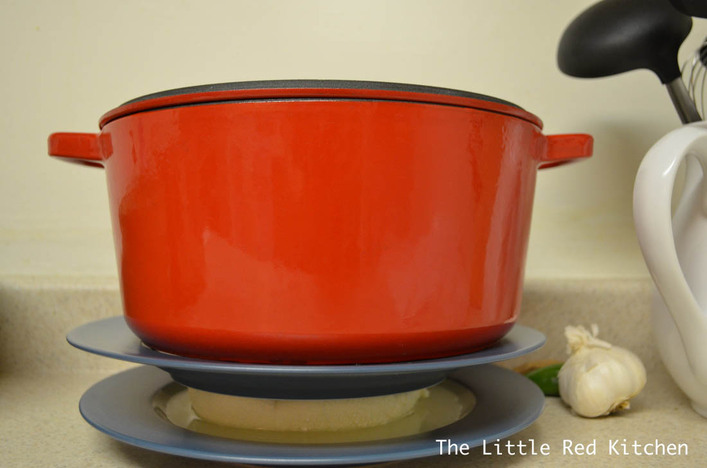
Step 5:
Forget about it for 45 minutes to an hour and just let it continue to drain and firm up. Well, don’t forget it completely…I went back every so often and pressed down firmly on the whole contraption to squeeze out even more
juice.
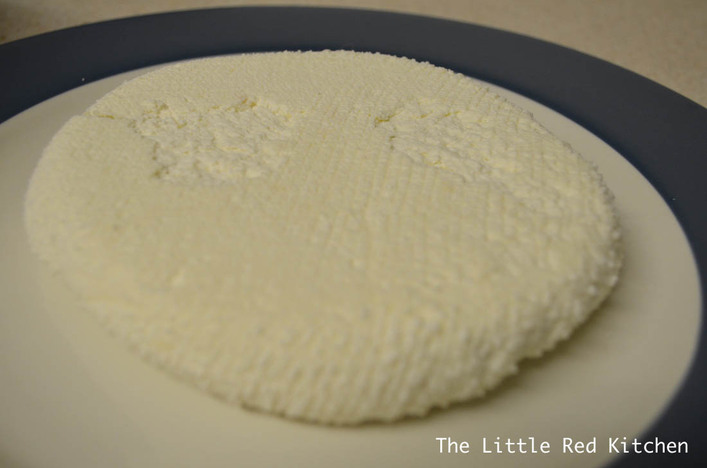
Step 6:
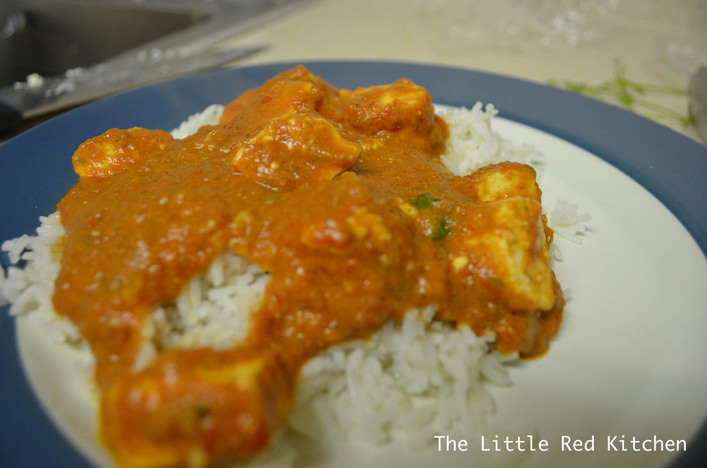
You’re done! You made cheese! At this point, you can do what I did and wrap it up in plastic wrap and refrigerate it until you want to use it. Uncut, this will keep in the fridge for up to 3 days. I used it for dinner that night, by making tikka masala sauce, cutting my cheese into ½ inch pieces, and simmering them for a couple minutes just to warm them through. Instant paneer tikka masala!
This recipe will make about 3 cups of the ½ inch pieces of cheese cubes.
Forget about it for 45 minutes to an hour and just let it continue to drain and firm up. Well, don’t forget it completely…I went back every so often and pressed down firmly on the whole contraption to squeeze out even more
juice.
Step 6:
You’re done! You made cheese! At this point, you can do what I did and wrap it up in plastic wrap and refrigerate it until you want to use it. Uncut, this will keep in the fridge for up to 3 days. I used it for dinner that night, by making tikka masala sauce, cutting my cheese into ½ inch pieces, and simmering them for a couple minutes just to warm them through. Instant paneer tikka masala!
This recipe will make about 3 cups of the ½ inch pieces of cheese cubes.
Extras:
Actually, when I said in Step 6 that you made cheese, I was sort of lying, because you actually made cheese way back in Step 2. Once you have those loose wet curds, they are cheese! If you want you can combine the loose curds with fresh chopped herbs, a little cracked black pepper, spread it on some baguette slices, stick it under the broiler, and you will be singing show tunes with your makeshift ricotta.
If you enjoy cheese as much as I do, stay tuned on The Little Red Adventures, as I am currently writing to you from the cheese capital of America, Wisconsin, and will be sharing some tidbits of my trip on the blog!
Stay hungry!
~Lauren


 RSS Feed