I have a wonderful friend who is a vegetarian, and she lives in New York, where my husband and I try to make several trips a year to visit. For my birthday this summer she got me a book full of recipes from beloved NYC restaurants, and I wanted to cook up a vegetarian entrée from it and use it on the blog in her honor, but the pasta I liked the most had prosciutto in it. Now, I happen to love this tasty little cured ham, but I knew that would not fly for a veggie-only eater, so I figured I could just remove the meat and we'd be good to go...except that left literally just the pasta and the cheese sauce, which would make for a heavy, coma-inducing meal.
The prosciutto, besides being awesome, does the important job of cutting through all that dairy with a salty bite, so I knew it was a simple question of adding in ingredients that would do that same job, but instead of the pig, I'd turn to veggies instead for the task!
Ingredients:
1 lb. ziti or penne dried pasta
2 tbsp. extra virgin olive oil
1 tbsp. butter and 1 tsp. butter, separated
1/4 tsp. red pepper flakes
1 medium shallot, minced
2 medium cloves of garlic, minced
8 oz. baby portabella mushrooms, sliced 1/4 inch thick (you can buy them pre-sliced)
2-3 tbsp. capers, drained and rinsed
1 cup half and half
1 28-oz. can petit diced tomatoes, drained of their juices
1/4 tsp. black pepper
salt
9 oz grated parmesan cheese, or 3 cups
*This dish will serve 6 people.
Step 1:
Fill a large stockpot with water, bring to a boil, throw in a hefty amount of salt, and cook the pasta, until it is about 1 minute underdone. At this point, drain the pasta then add it back to the pot along with the tomatoes, and stir to combine. Keep warm, allowing the pasta to soak up any excess tomato juices.
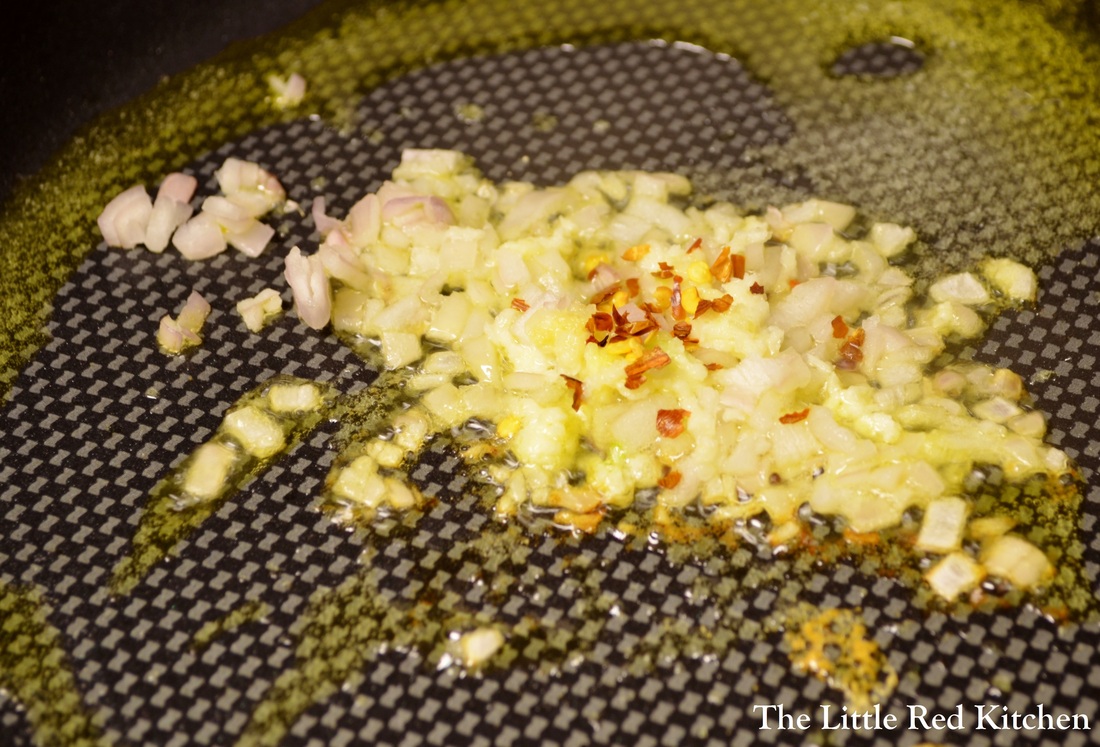
Meanwhile, while the pasta is cooking, heat the extra virgin olive oil and tsp. of butter over medium heat in a 12-inch nonstick sauté pan. (The cheese sauce will be formed in this pan later. If you don't want a scorched mess on your hands, it has to be nonstick!) Add the shallot, garlic, red pepper flakes, and a pinch of salt and sauté for about 1 minute.
Step 2:
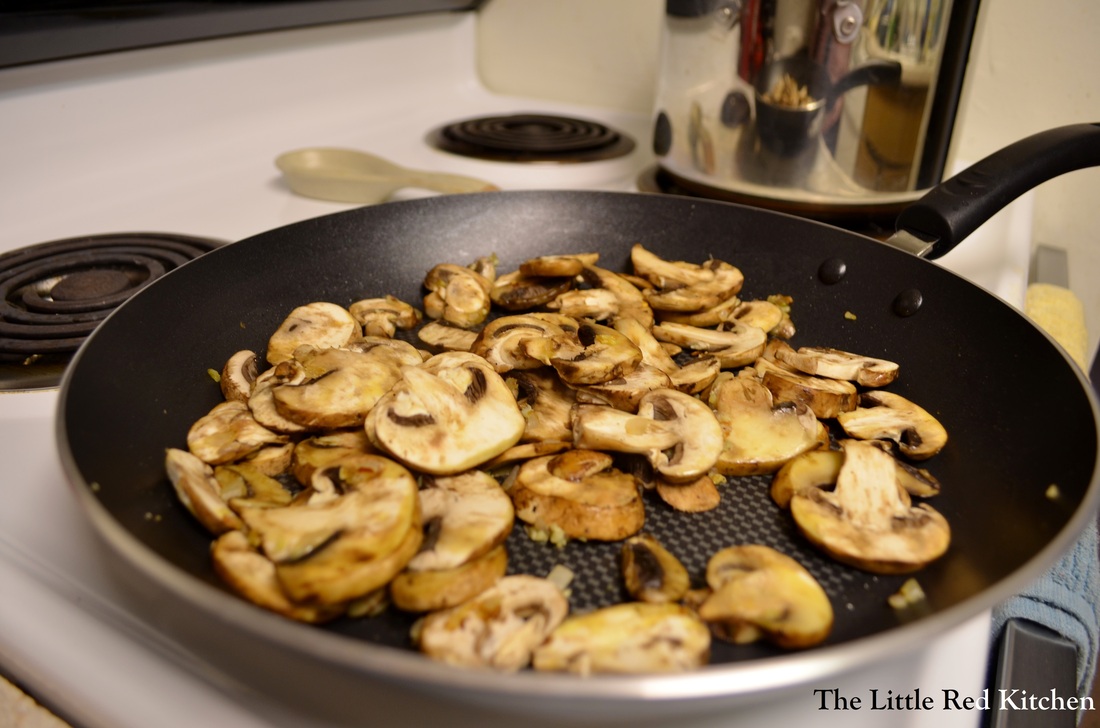
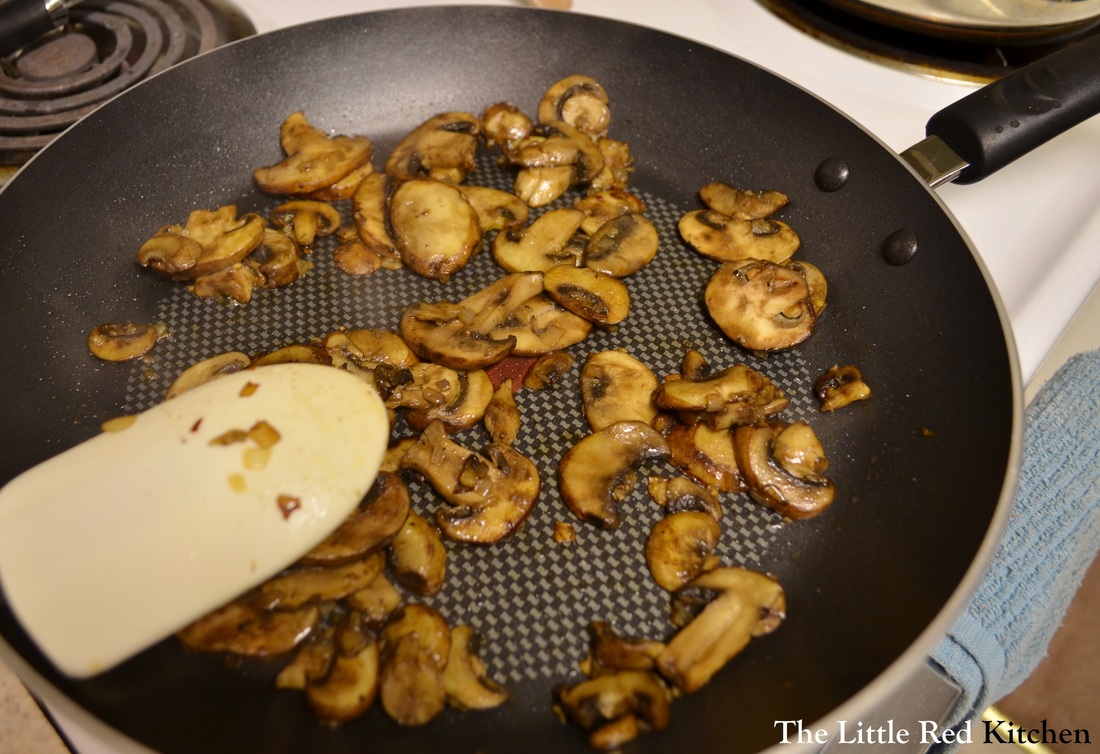
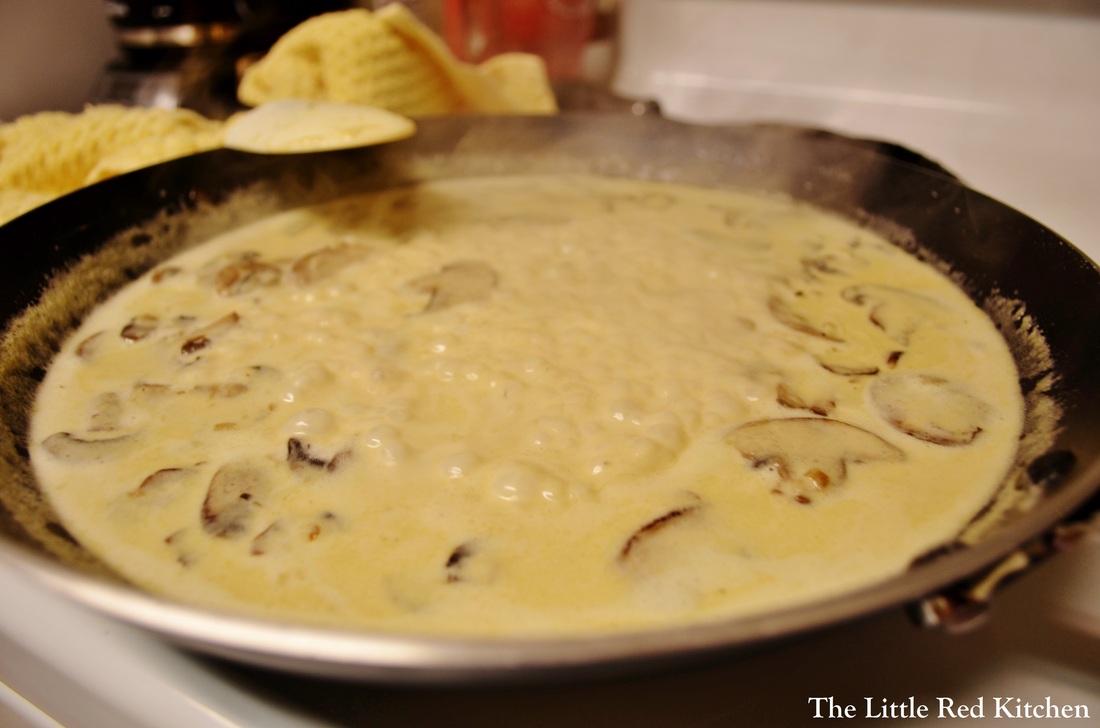
Add the mushrooms, another pinch of salt, and cook for 6-8 minutes, until the mushrooms have browned and released their liquid. They should go from looking like this: To looking like this! Step 3:
Add the capers and cook for about 30 seconds. Then add the tbsp. of butter, the half and half, and 2 cups of the parmesan cheese, along with the black pepper. Turn the heat to medium-high and simmer for 2 minutes until all the cheese has incorporated into the sauce and it has thickened ever so slightly. It is also somewhere around this step that you want to pre-heat your broiler. Step 4:
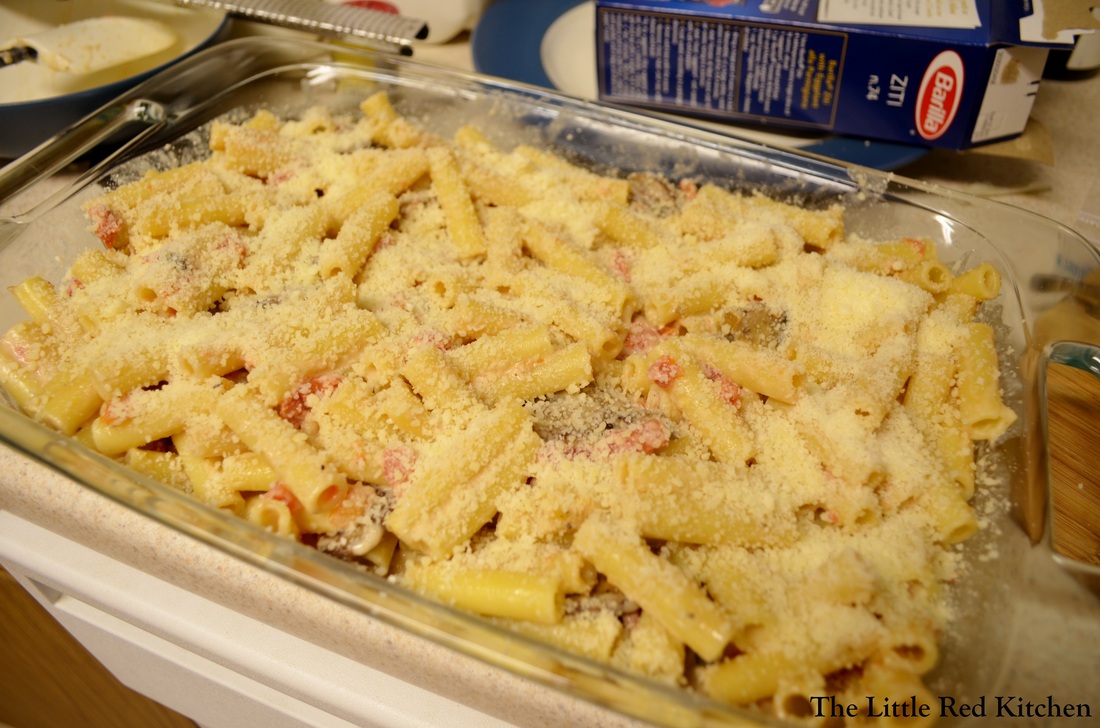
Add the pasta and tomatoes to the skillet and toss (carefully) to combine. Transfer to a 9x13 baking dish and sprinkle with the remaining cup of parmesan cheese. Step 5:
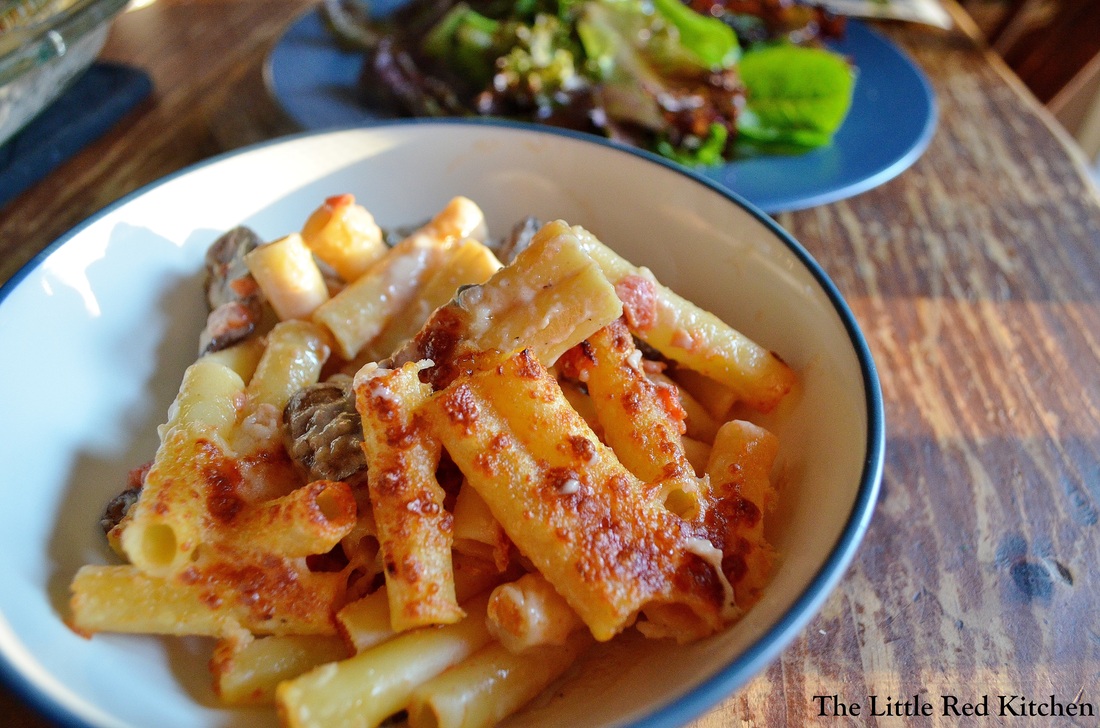
Place under the broiler for 4-5 minutes until the top is nice and brown. Serve immediately!
*Note, while I have never had a problem using a glass pyrex dish under the broiler for a couple minutes, I cannot advocate this action, as pyrex is technically not broiler-safe. Like I said, I've never had a problem, but there are documented cases of pyrex literally breaking, cracking, or exploding, because of exposure to intense broiler heat. Don't be a daredevil, and use a broiler-safe casserole dish if you have one! If you noted the use of capers, red pepper flakes, tomatoes, and mushrooms, and nodded your head knowingly, then you are a genius! These ingredients, whether for their saltiness, spiciness, acidity, or "meatiness", cut through the sauce and keep it from being too heavy. This is a very strong parmesan sauce, almost like an Italian mac and cheese. Serve it up with a glass of wine and a simple salad, and even somebody like me will never miss the prosciutto!
~Lauren
Ah the chicken breast. One of the greatest gifts to weeknight dinners, and also one of the worst. There are literally thousands of chicken breast recipes in existence, but a lot of them are really bland or boring. Yet since this staple is healthy, easy to prepare, and usually relatively inexpensive, I'm always trying to think of ways to keep it interesting in the kitchen.
Those ways usually involve flour dredges and wine reductions and pan sauces, but sometimes that is too much work and too much of a mess, especially when it's Wednesday night at 6:30 and we haven't eaten yet. Luckily, I stumbled into this great and easy recipe for Maple Dijon Chicken that takes about 20 minutes from start to finish to prepare, not to mention the fact of how yummy it is. And paired with a DELICIOUS, no frills, perfectly baked sweet potato (**Which does take 50 minutes to bake, hence the asterisk in the title of this post), this is an awesome quick and easy Autumn Supper!
Ingredients:
Chicken:
4 boneless skinless chicken breasts, trimmed of excess fat
1/4 cup maple syrup
1/4 cup Dijon mustard
2 tbsp. olive oil
salt
pepper
Sweet potatoes:
4 medium sweet potatoes
olive oil
1 tsp. salt
(Our readers are smart, so we know you deduced from the ingredients list that this meal serves 4 people.)
Step 1:
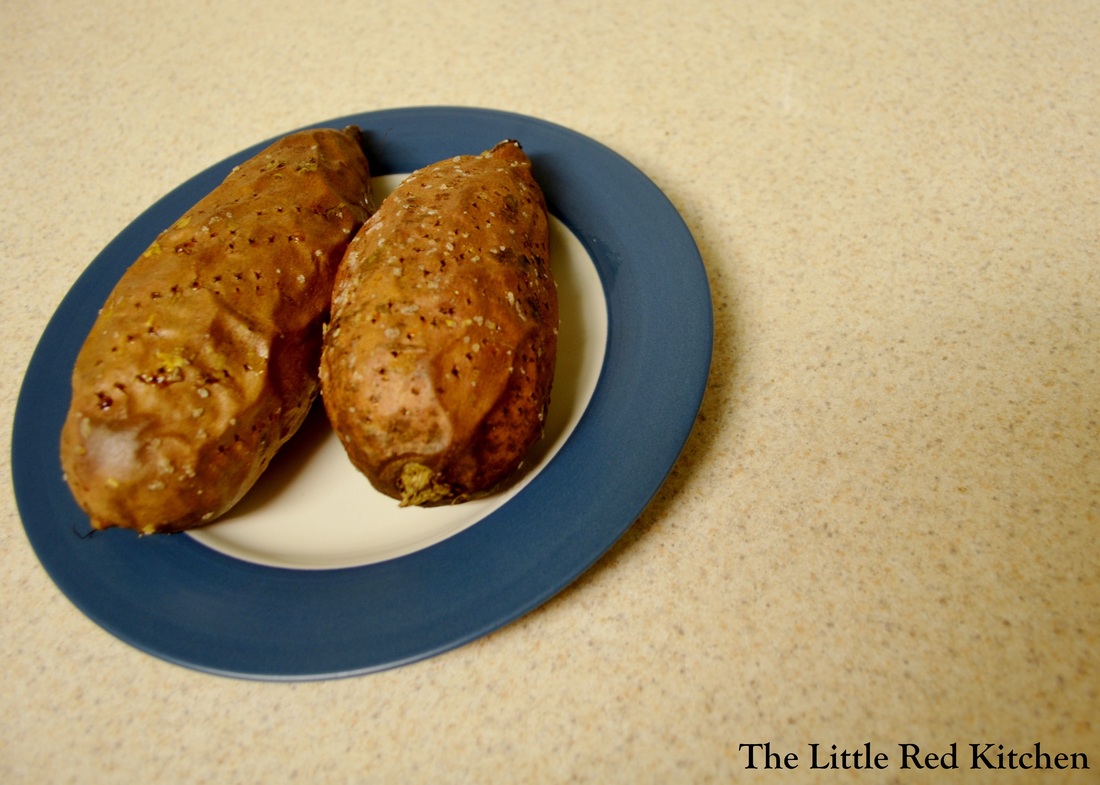
Preheat your oven to 400 degrees. Scrub the sweet potatoes to remove surface dirt and prick all over with a fork. Throw into a large bowl with a couple tablespoons of olive oil and toss to coat, then sprinkle with the salt. Place on an oven rack in the middle of the oven and bake for 50 minutes.
The science: Coating the potato with olive oil helps to regulate the temperature inside while it is cooking, and keeps it from drying out. The salt on the skin is mostly for if you are eating the skin (which you should, it's really good for you!) The olive oil might drip and cause smoke in the oven, so I put an 8x8 pan on the bottom rack with a little water in it to catch drippings. Step 2:
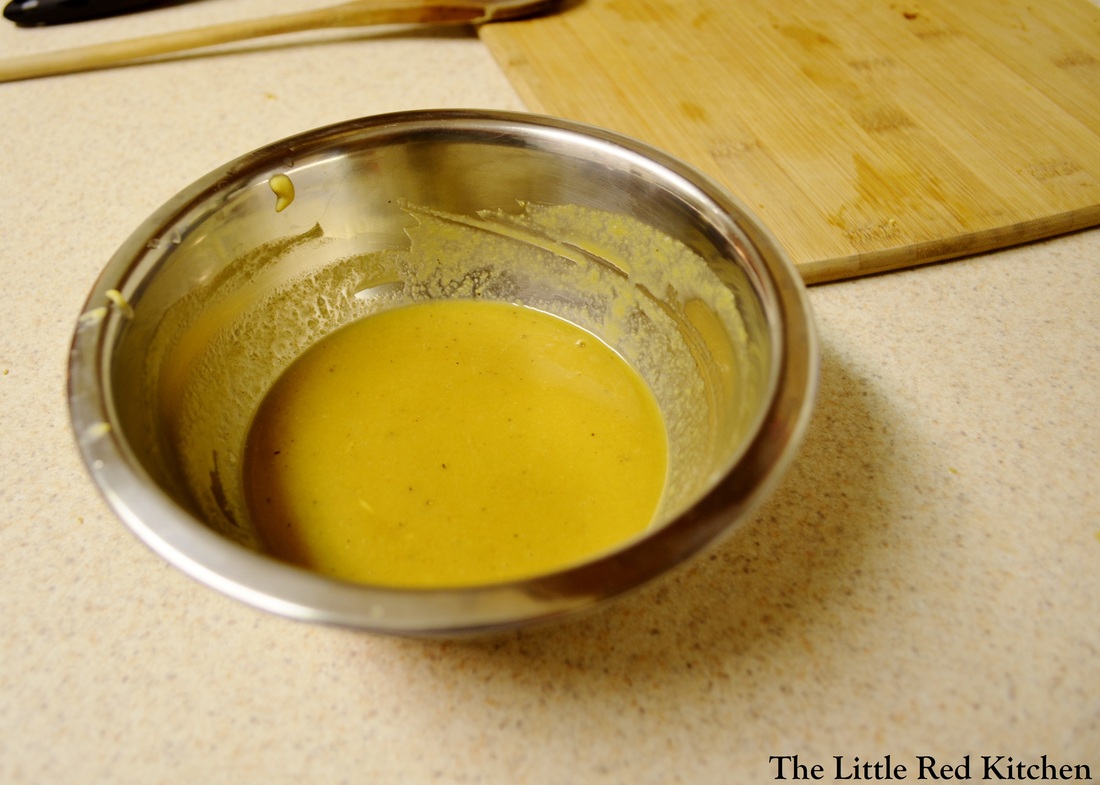
About 20 minutes before the sweet potatoes' cooking time is up, prep the sauce for the chicken by mixing the Dijon mustard, maple syrup, 1/2 tsp. salt and 1/4 tsp. pepper in a small bowl. Set aside. Step 3:
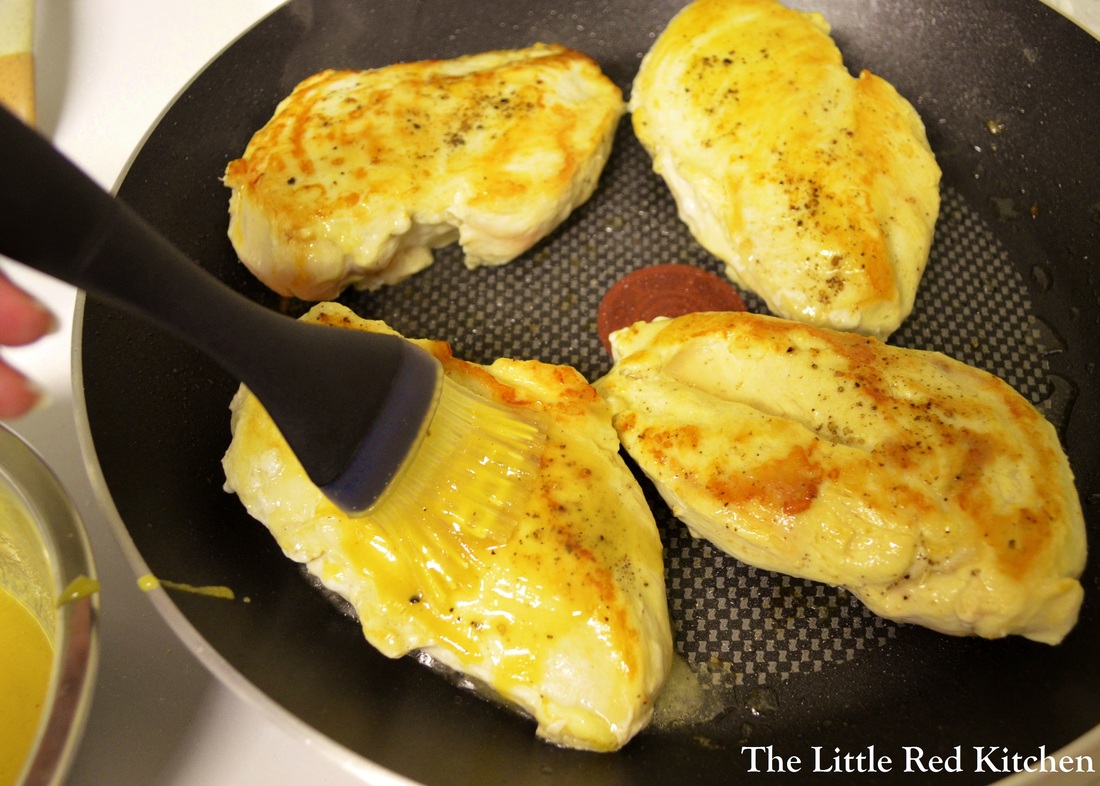
Blot the chicken breasts with paper towels to remove excess moisture and sprinkle on both sides with salt and pepper. Heat the olive oil in a 12-inch nonstick skillet over medium high heat and place the chicken breasts in the pan. Saute for about 6 minutes on one side, then flip. At this point, you can start brushing the sauce onto the cooked side of the breasts. Note, if you don't have a nonstick skillet, that's fine, but SKIP this 'basting' step. The sugars in the maple syrup will burn, burn, burn, and you may not burn down your kitchen but with all the smoke, your family/roommates will think you are trying to. Step 4: After another 6 minutes on the other side, just continue to flip and baste the chicken breasts until they are done, and by done I mean, register 160 degrees. (I use this thermometer. At only 15 bucks, it takes the guess work out of knowing if your food is cooked, and can save you from tough, dry meat!)
Step 5:
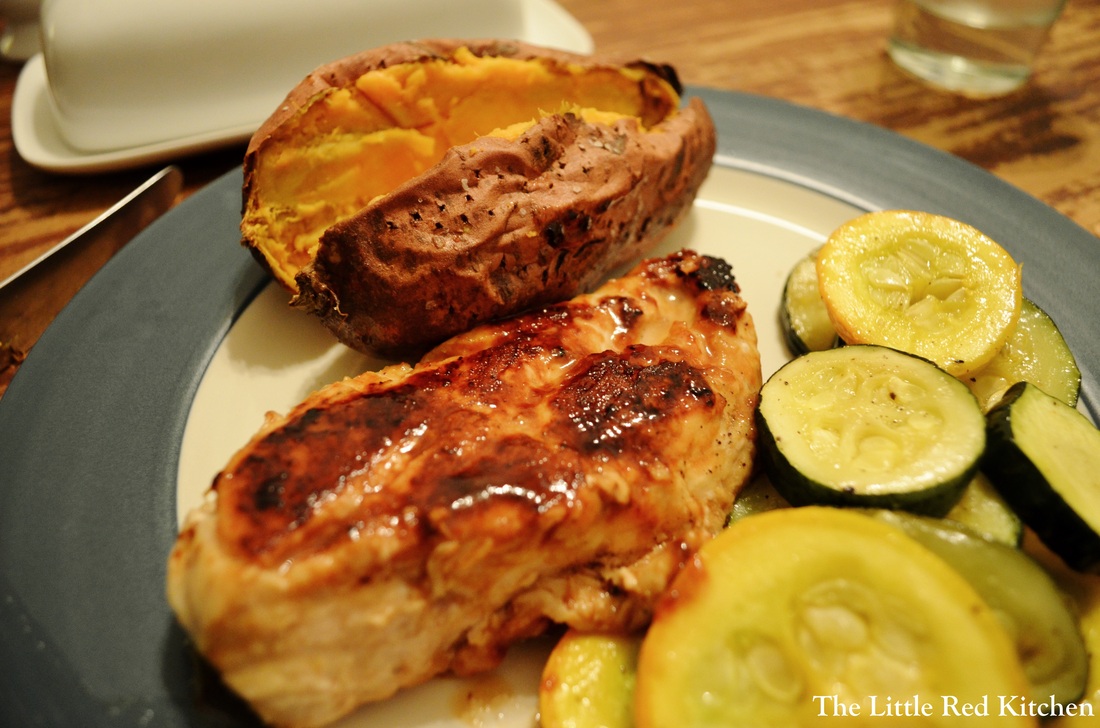
Transfer the chicken to a plate, pour the rest of the sauce on it and cover with aluminum foil and let rest for 5 minutes before serving. It's around this time that you can probably pull the sweet potatoes out of the oven and let them cool off a bit too! I don't know about you but I get cranky when I'm served sweet potatoes that are 'candied' or covered in marshmallows. If you let this potato stand on its own, you will be amazed. Baking and serving with a little olive oil, salt, and pepper is absolutely my favorite technique. The flavor and texture of a sweet potato cooked this way is transcendental! And it pairs wonderfully with the maple Dijon chicken.
P.S. Much like eating the skin, it is a good idea to serve the sweet potato with a little olive oil. The presence of a healthy fat actually helps to distribute some of those nutrients to your body!
Enjoy!
~Lauren
You know what they say about invention being the product of necessity? Well, I had a pound of ground beef, and some sorry-looking vegetables that were on their way out the door. Something told me that a meatloaf was in order!
Meatloaf can be wonderful, homey, comfort food that you just dig into and feel satisfied beyond words after eating.
Or, it can be dry, bland (or overly seasoned), chewy, tough, and about a dozen other unappealing adjectives. I tried to solve all of these issues with my recipe and I think I did a pretty good job! You will have to make it to see for yourself.
Ingredients:
Meatloaf:
1 lb ground beef (80/20 is preferable, but definitely no leaner than 85/15)
1 large carrot, diced fine
1 large rib of celery, diced fine
1 medium onion, diced, you guessed it, fine (Yellow or red is fine)
1 clove of garlic, minced
1 tsp dried thyme
1 piece of white sandwich bread, crusts removed
1/4 cup milk
1 large egg
1 tbsp. Worcestershire sauce
1 tsp Dijon mustard
1 tsp tomato paste
1/2 cup panko breadcrumbs
1 tsp oil
1 tsp butter
salt and papper
Glaze:
1/4 cup plus 2 tbsp. ketchup
1.5 tbsp. cider vinegar
1/4 tsp salt
1 tbsp. brown sugar
pinch of cayenne pepper
**I know these ingredient lists look long, but if you actually take a look at what's on them, it's almost all things that you have on hand already.
Because I know the importance and value of leftover meatloaf, I will tell you that this recipe makes enough for 2 with leftovers, or enough for 3 or 4 without. It's a little guy; hence, the little red meatloaf! I'd wager that you could easily double this recipe, but you may have to adjust your cooking times.
Step 1:
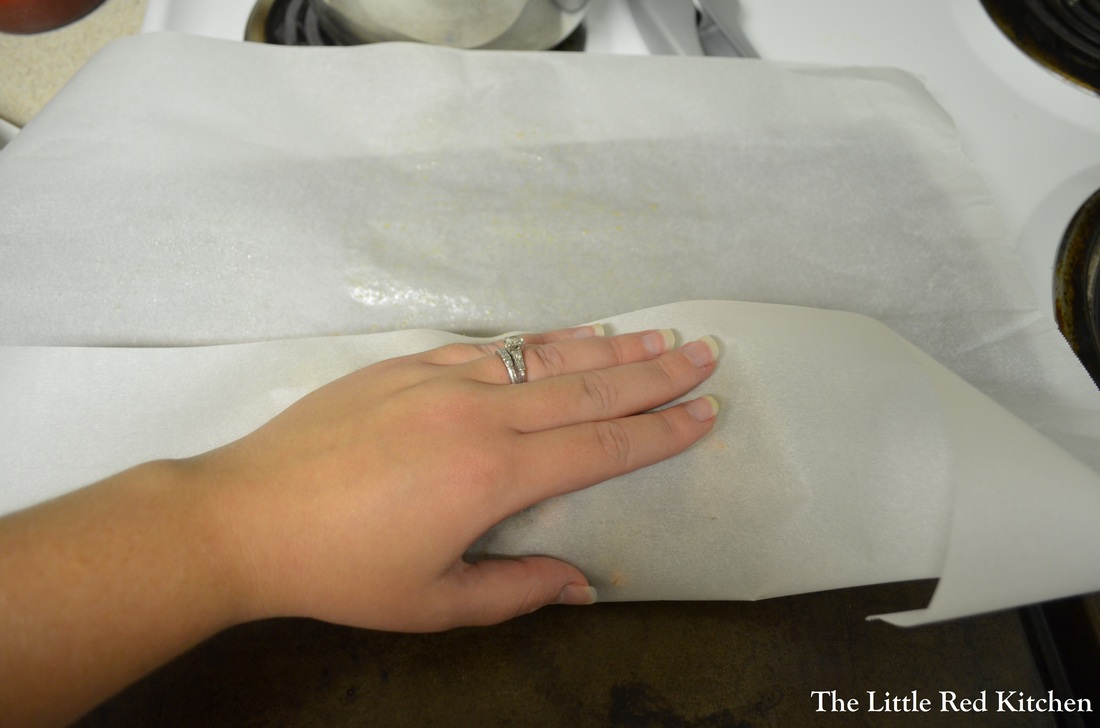
Pre-heat the oven to 350 degrees. Line a rimmed baking sheet with parchment paper.
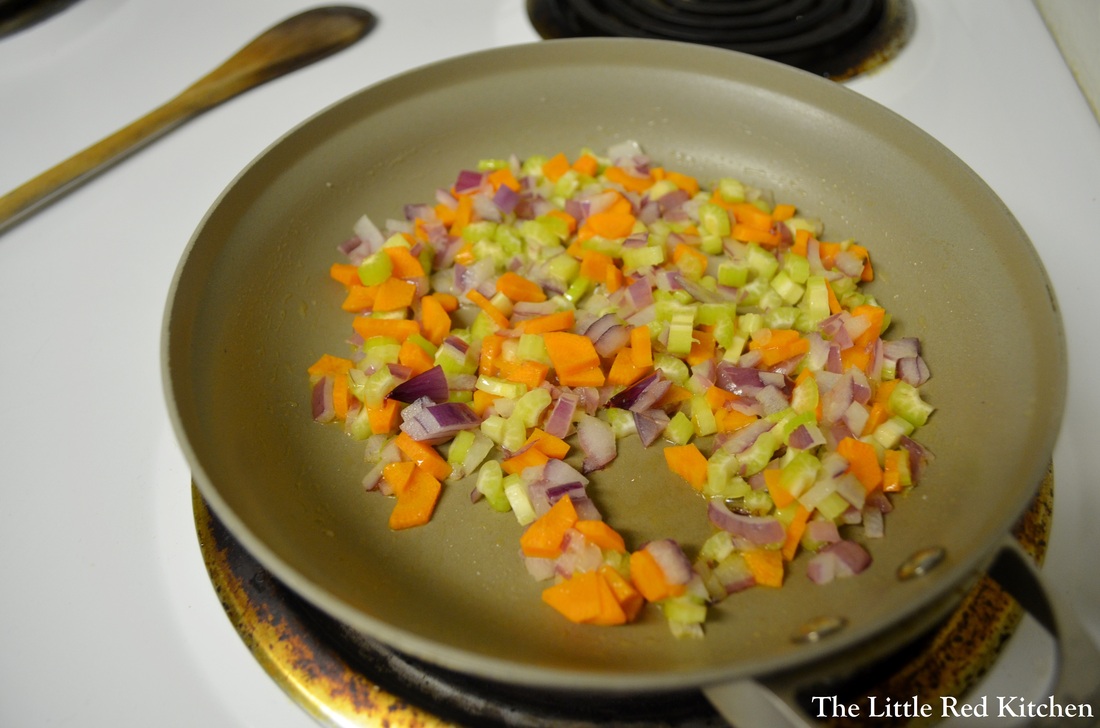
Melt the butter and oil together over medium-low heat, then sauté the carrot, onion, and celery with a tsp of salt for 6-7 seven minutes, until they are softened and translucent. We're not looking to brown here.
Then add the garlic and thyme and cook for 30 seconds, until fragrant. Remove from the heat and set aside. Step 2:
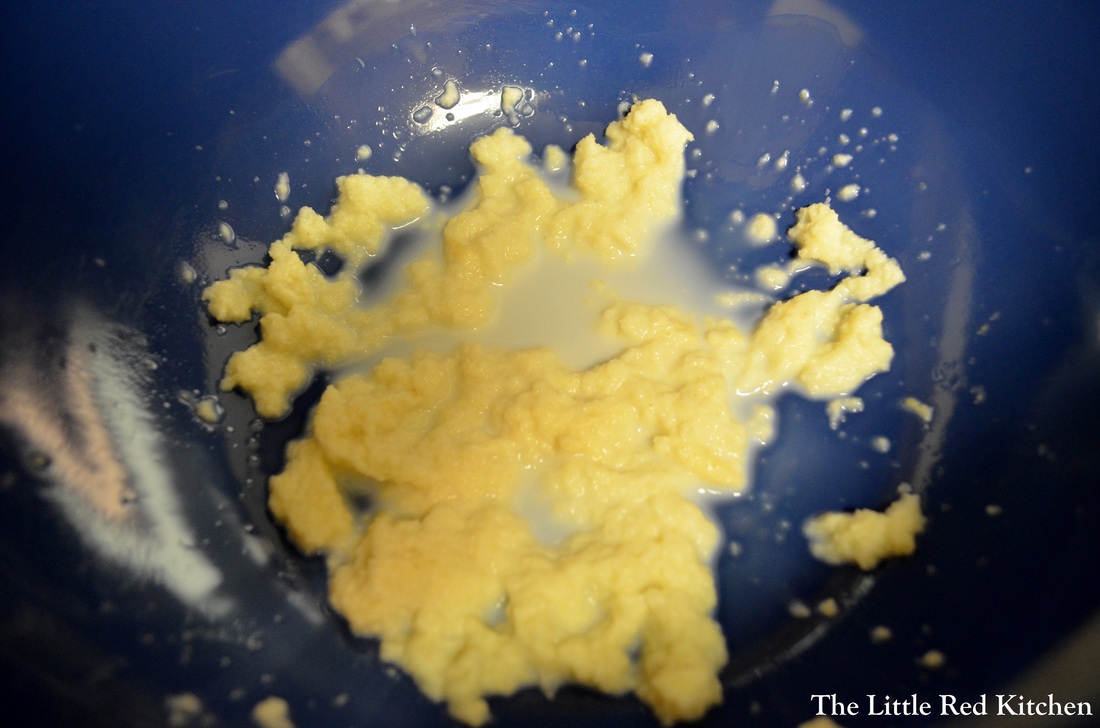
Put the piece of bread in a large bowl and pour the milk over it. Mash this up with a spoon or fork. Looks gross and unnecessary, doesn't it? Well, this mixture is called a panade, and as that milk-soaked bread distributes throughout the meatloaf, it's going to ensure that it stays moist. It's just as effective in meatballs too!
To this bowl, add the egg, Worcestershire, tomato paste, Dijon mustard, 1/2 tsp salt and 1/2 tsp pepper. Stir to combine.
Step 3:
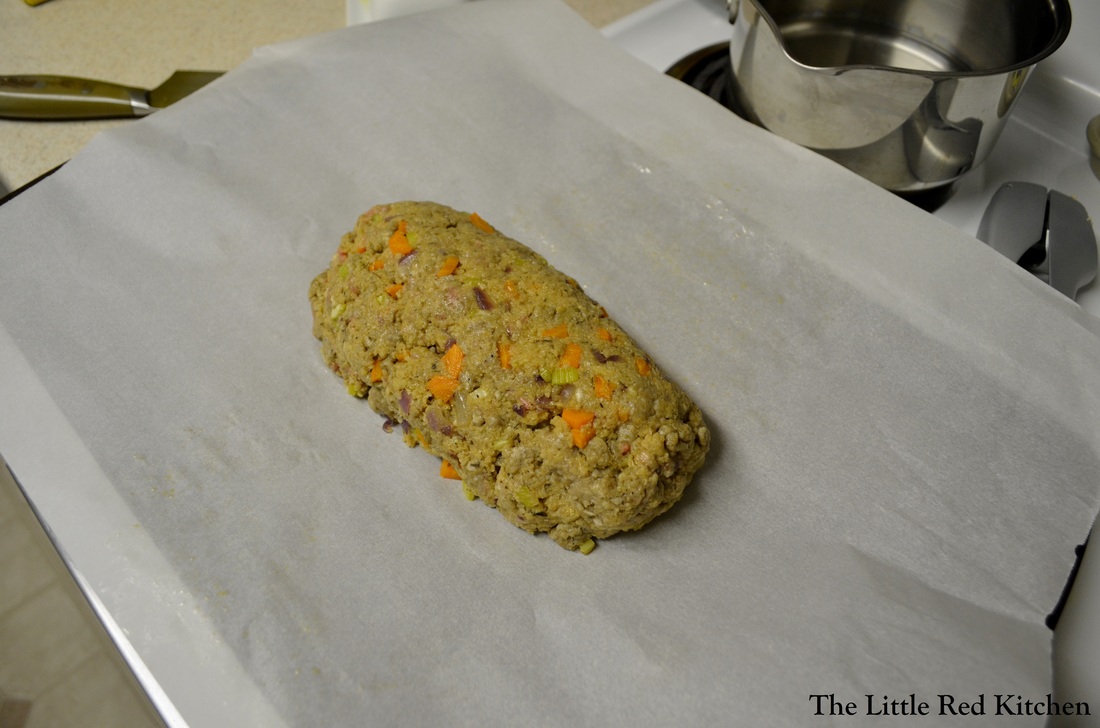
Add the vegetables from the pan to the bowl, followed by the ground beef and the breadcrumbs. This is where you want to mix the meatloaf together, preferably with your hands. It's pretty critical that you are gentle in this process. Don't compact the meat or overwork it; this is what produces that tough, chewy loaf in the end product. Instead you want to use your fingers to mix until everything is just combined.
Step 4:
Turn the mixture out onto the parchment, and shape into a loaf. This is where the parchment comes in handy. Bring the sides of the parchment up and use them to gently press the meat into the shape you want. Bake for 20 minutes at 350, then turn the oven up to 400 degrees and cook for an additional 15 minutes, or until the meat registers about 140 degrees, if you have an instaread thermometer (which I recommend having in your kitchen!). Step 5:
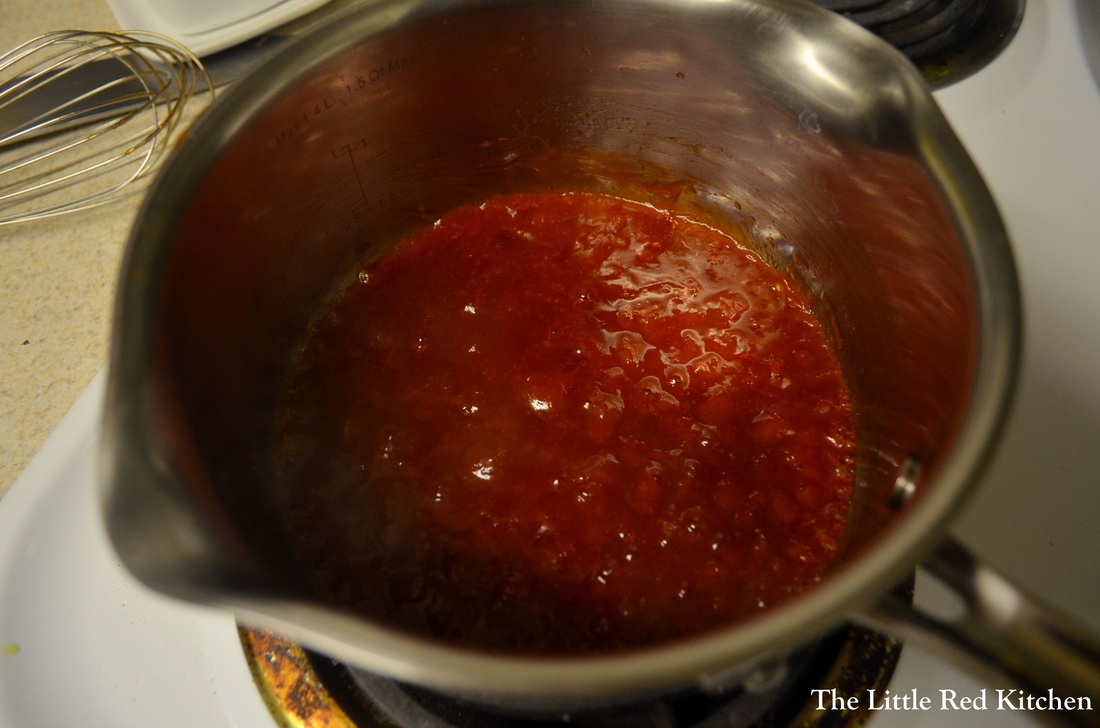
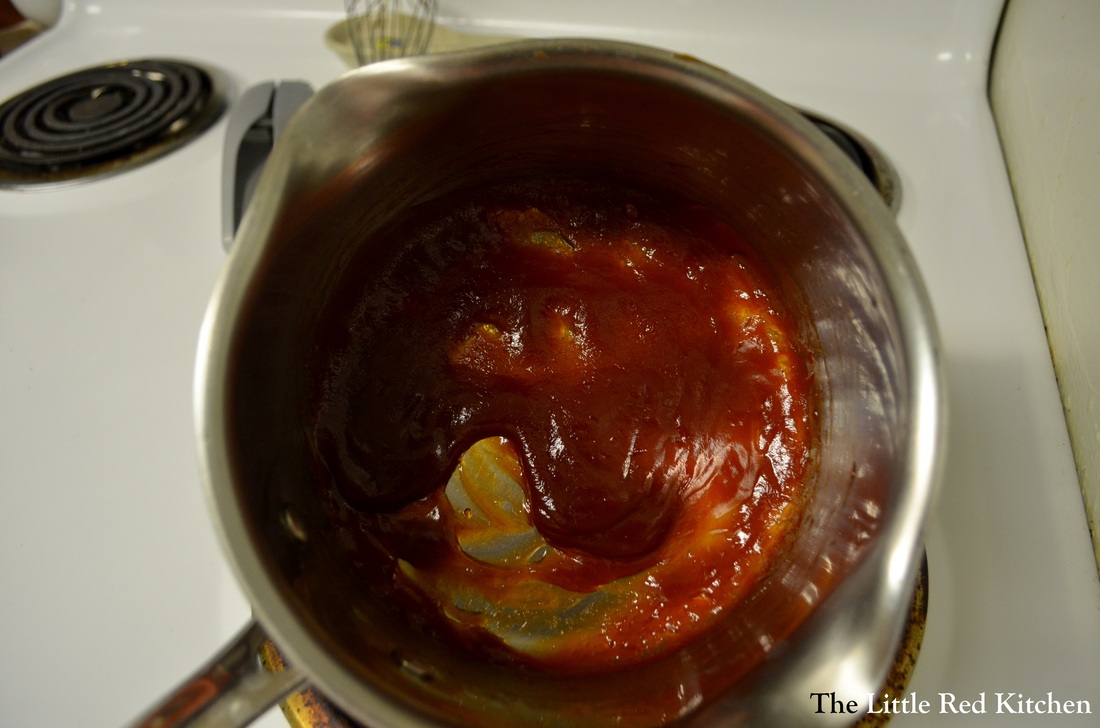
While the meat is cooking, you want to prepare the glaze, which is super easy. Simply add all of the glaze ingredients into a small saucepan and whisk to combine. Bring to a simmer, then reduce the heat to medium-low and simmer for 10 minutes, until the mixture has darkened, and thickened. A good trick is to hold the pan upright, and if the glaze doesn't slide down the bottom but clings to it, you are there. Step 6:
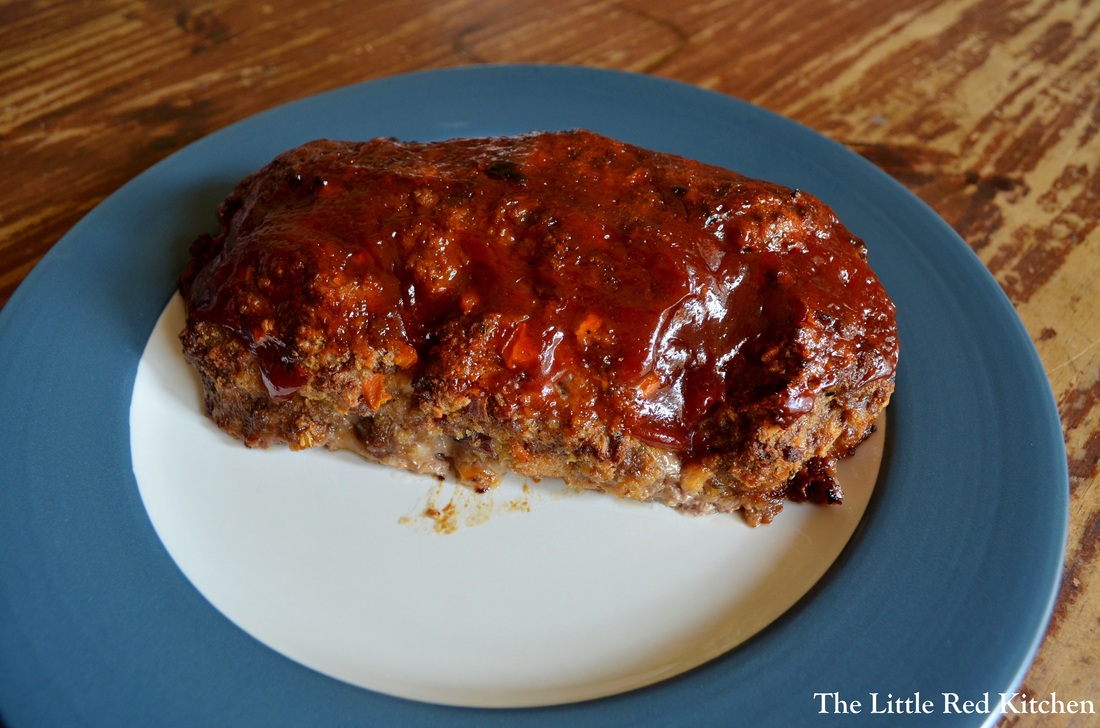
Just set the glaze aside, and once the meatloaf has cooked for those initial increments at 350 and 400, pull it out and paint the top and sides of the meatloaf with the glaze. Then crank the broiler on and bake for about 3 minutes, until the glaze has darkened even more and formed a tantalizingly sticky exterior.
Pull the meatloaf out and let it rest for 5 to 10 minutes before digging in! This meatloaf has great beefy flavor, with subtle kicks of the Dijon, Worcestershire, garlic, and veggies in the background. The glaze adds a great tangy, sweet contrast, and actually if you don't feel like making it yourself, substitute your favorite barbeque sauce. Or even just ketchup and brown sugar would work fine. Just serve it up with mashed potatoes and a nice glass of wine, and I don't think comfort food gets more comforting than that.
~Lauren
It is Monday. Note my specific avoidance of the phrase "Happy Monday". I don't want to be a downer, but Monday mornings are tough, and if you are like me, you are not fully yourself until well after lunchtime.
Believe it or not, having breakfast is a big part of feeling ready to tackle your day. It seems so easy to skip this meal in favor of sleeping in an extra 15 minutes, or grabbing some greasy breakfast sandwich at a fast food joint (I'll admit this is a guilty pleasure on special occasions), but trust me, with either of these options, you are not doing yourself any favors.
I work/study from home, so you'd think it would be easy for me to whip up a fabulous breakfast of eggs and homemade scones every morning, but I've got a schedule to keep to just like everybody else, and if I barely have the energy to shower when that alarm goes off, I'm certainly not going to make a gourmet meal either. However, I do have the energy to press a button, and that's why I love my go-to energizer breakfast, the smoothie!
There are probably thousands of smoothie recipes under the sun, and you should definitely experiment to find the fruits and add-ins that you like, but my Rise and Shine! Smoothie points out a few key things. First of all, frozen fruit. Gasp! But seriously, there is no harm or shame in using it. For one thing, I don't know about you but I don't live in a paradise where fresh Summery fruits are available year round. And a lot of the time, not to burst any bubbles, the stuff they ship frozen is fresher than what you actually buy fresh. When you buy a pint of berries, you don't know how long they've been sitting in your grocery store, let alone how long they took to get there. But most frozen fruit is frozen at the peak of it's freshness, and that freshness is preserved in its icy state. So it's convenient and delicious. Not to mention, rather than adding ice to your smoothie, frozen fruit pulverizes to the perfect consistency. And a second thing to note in this recipe, you don't need a fancy expensive juicer. I have a cheap blender, and it does just fine.
Ingredients:
3/4-1 cup frozen whole strawberries
1 cup peaches, cut into 3/4-inch chunks (I used fresh today, because I happened to have it, but frozen works fine)
1/4 cup yogurt (Anything goes here. You can use what you have on hand; today for me it was mixed berry.)
1/4 cup unfiltered apple cider
*This will make about 12 ounces, or 1.5 cups.
Step 1:
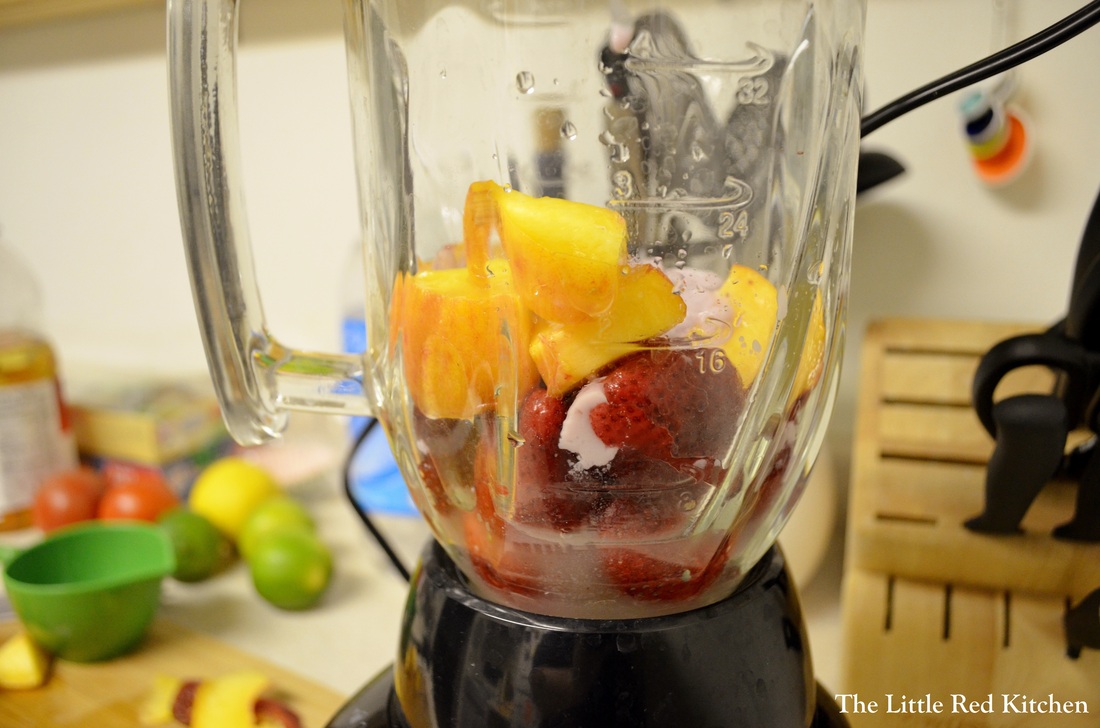
Throw the fruit into the blender, followed by the yogurt and apple cider. Step 2:
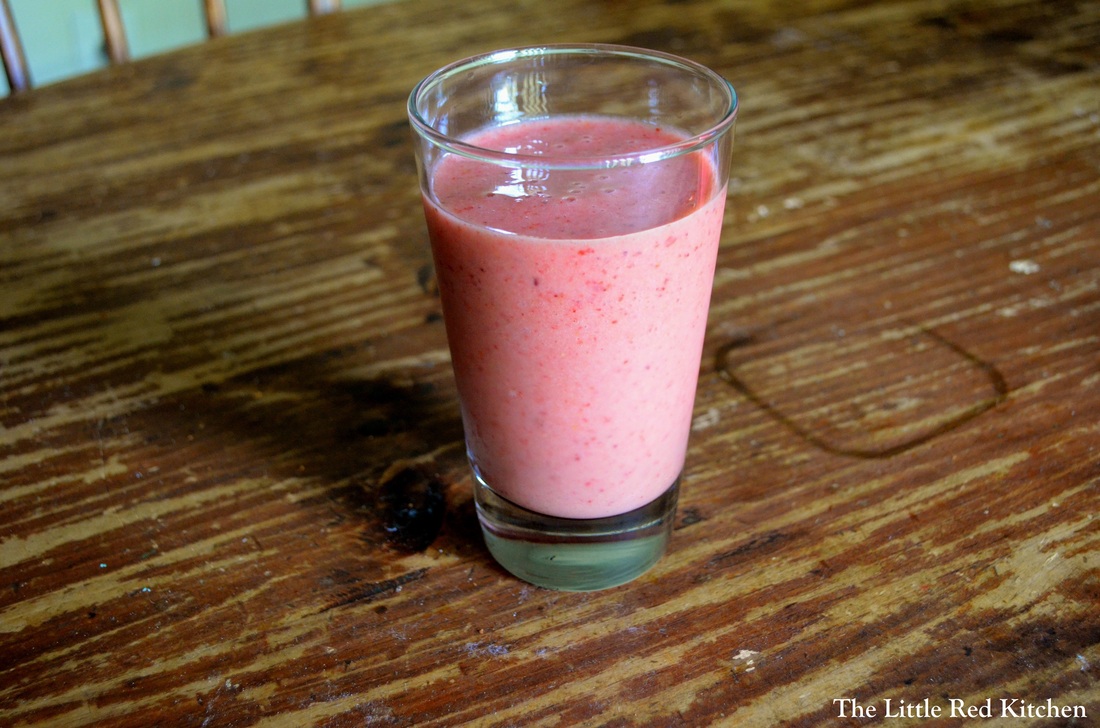
Blend on a high setting for about 15 seconds, until smooth and creamy. Note, sometimes you may have to add a bit more liquid to the mix. If after 15 or 20 seconds the concoction is still chunky and well, NOT a smoothie, drizzle in a bit more cider.
This smoothie is smooth, cold, sweet and slightly tangy. In a word, delicious. Oh, one last thing about this recipe: Don't ever let a recipe hold you back, even this one! If you like plain Greek yogurt, use that. Or omit it entirely if you want. Don't have apple cider, but you have V8 Splash? Great, throw that in instead. Allergic to strawberries but you've got another frozen berry blend in your freezer? Fantastic.
Recipes are guidelines, but they aren't set in stone. You may have to play around with ratios to get the consistency exactly as you want it, but that's fine! That's what cooking is all about, learning the basics and building on them to suit your taste, your life, your pantry.
Maybe, just maybe, it's a Happy Monday after all...
~Lauren
In the early years of my culinary life, I wasn't really one for slow-cookers, and in the early years of my whole life, the same could be said of pork. Pork is dry, pork is flavorless, and pork chops are a poor man's steak. Right?
Wrong!
Believe it or not, pork is a unique meat that needs to be treated and cooked very differently than chicken or beef. And when you get it right, oh how the magic does happen. Magic like my slow cooker pork au jus. Here's what you need.
Ingredients:
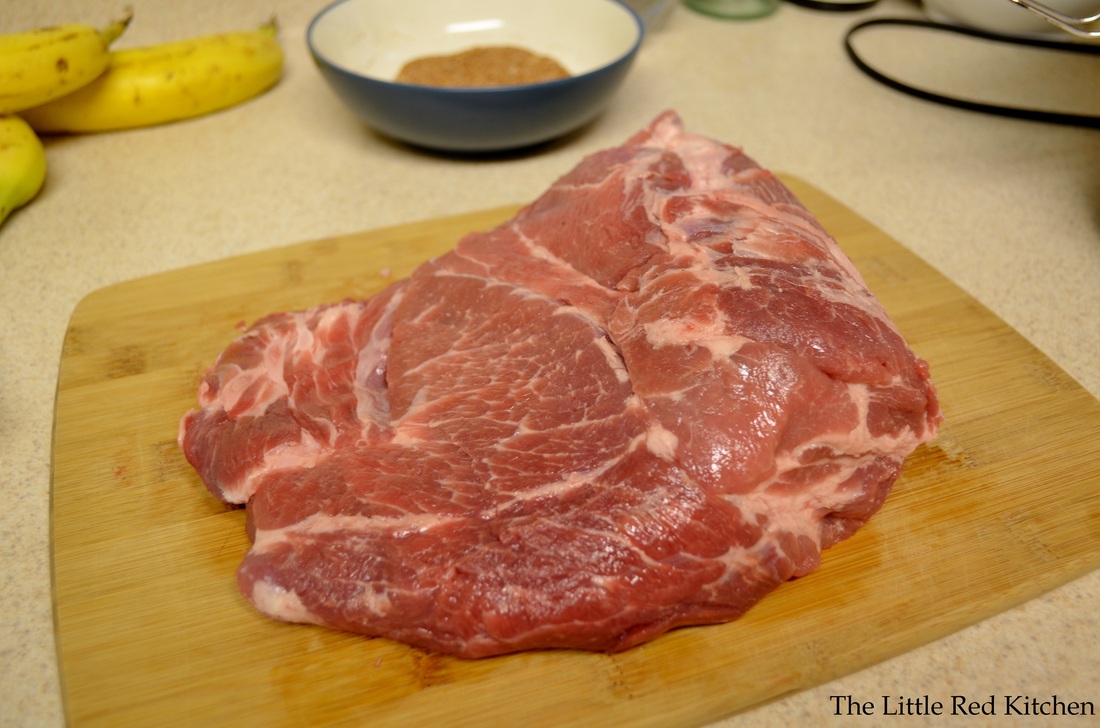
3-4 lb boneless pork shoulder/butt (yes, in the pig world, shoulders and butts are interchangeable)
4 cloves of garlic, crushed
1/2 cup chicken stock
1/4 cup white wine, something dry, and something that tastes good on its own (I used a California Sauvignon Blanc)
2-3 sprigs of fresh thyme
1.5 tbsp. vegetable oil
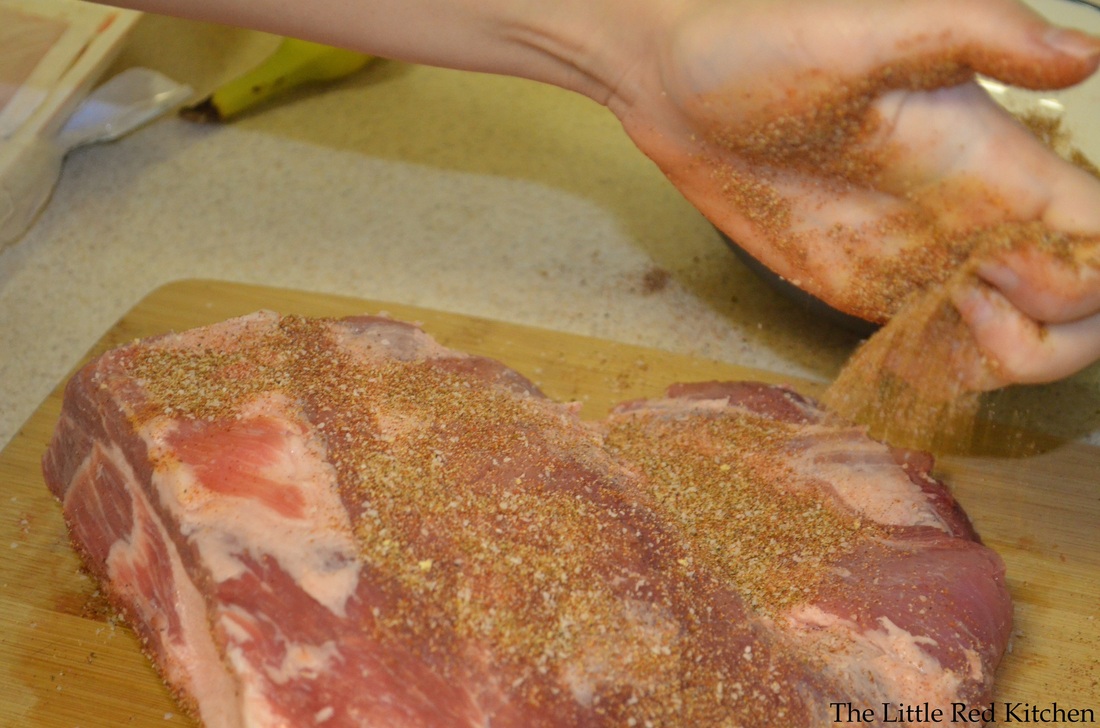
Spice Rub:
1 tbsp. sweet paprika
1 tbsp. Old Bay seasoning
1/2 tbsp. onion powder
1/2 tbsp. garlic powder
1 tbsp. kosher salt
1/2 tbsp. black pepper
I got the idea for this spice rub from a magazine article and I was completely intrigued with the concept of using Old Bay on pork. Who ever heard of such a thing?? And after playing around with ratios, I think I found an amazing rub. Even better, the ratios stay the same, so if you want to use it to smother, say, a bone-in rib chop, just halve the amounts and go right ahead!
Step 1:
Trim the pork roast of excess fat. By excess, I mean any fat that exceeds 1/4 inch thickness or is tough/sinewy. In this application though, fat is GOOD. Fat = flavor, and fat protects the meat during those long hours in the cooker, so don't go overboard.
Beautiful.
Step 2:
Apply the spice rub liberally to all surfaces of the meat, massaging it in as you go. Step 3:
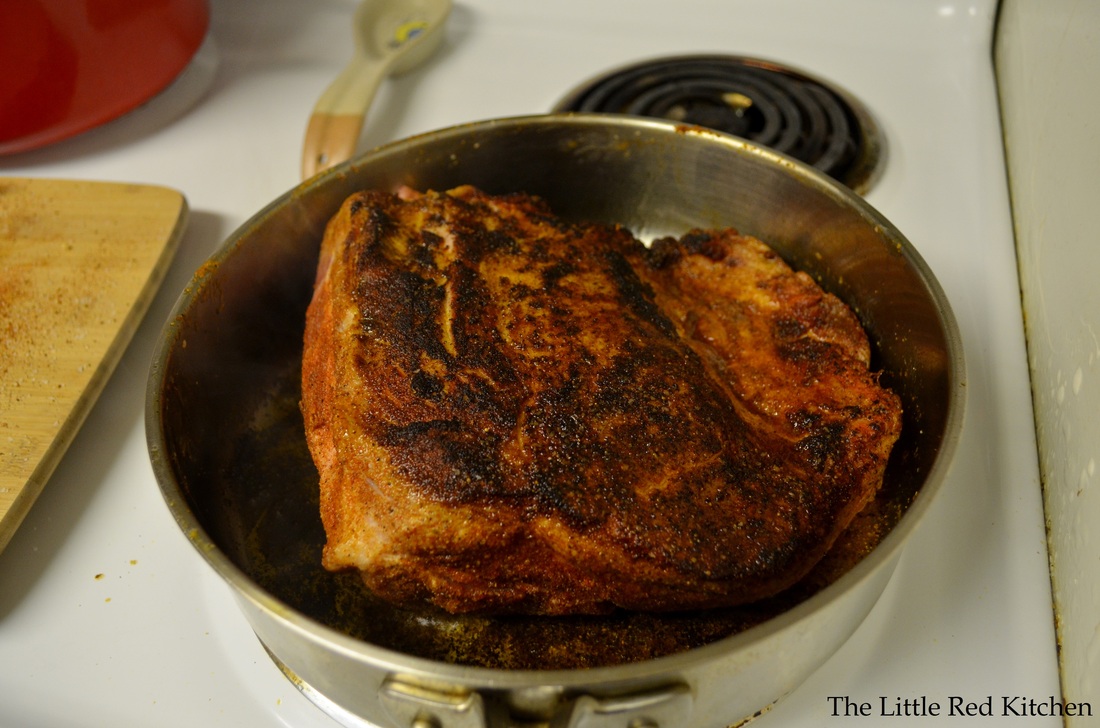
I know this step is going to be controversial for a slow cooker recipe, but you'll just have to hear me out and trust me; and, trust the science!
Heat the vegetable oil in a large skillet or Dutch oven over medium high-high heat, until it's shimmering and very hot. Then brown the pork roast on both sides, for a total of 4-5 minutes, and transfer it to your slow cooker.
I know what you are thinking: I thought this was a slow cooker recipe? Set it and forget it and whatnot! Well, it is, and after this step, this becomes a hands-off recipe. But the thing is, there are certain flavor compounds in spices that are only unlocked by fat, in this case oil, and that oil needs to be HOT in order to 'bloom' those spices. It is worth this extra 5 minute step and a dirty pan to get that extra flavor out of your rub! Just look at the amazing crust you will develop on your pork. Like fat, that dark color = flavor!
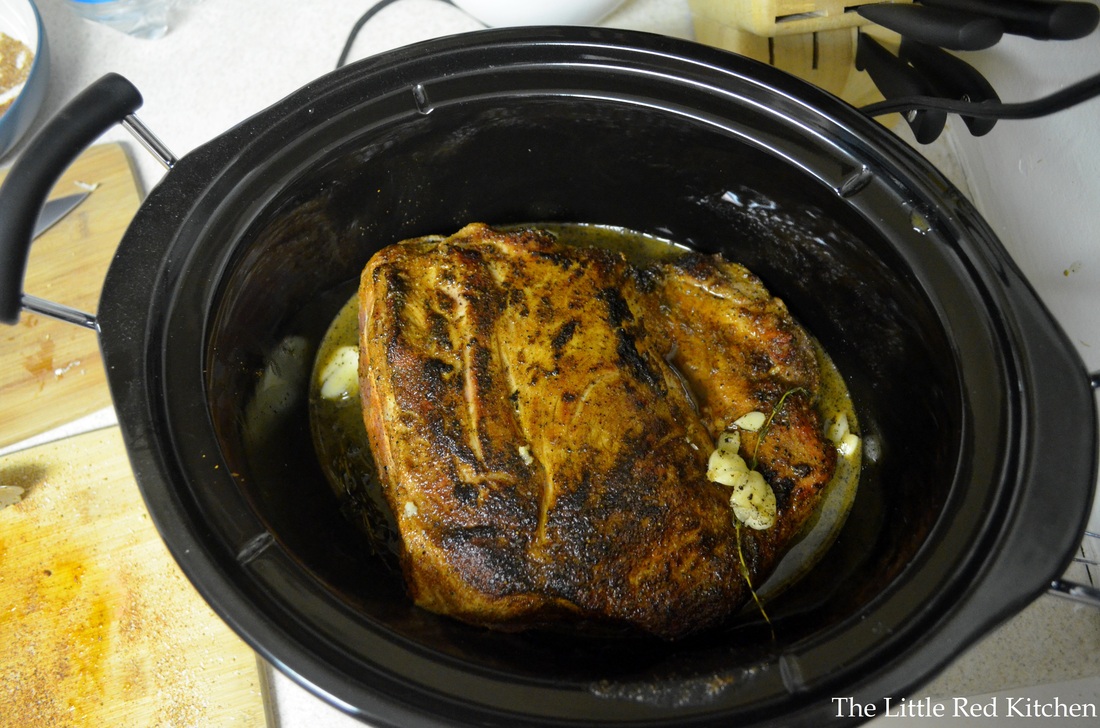
Step 4:
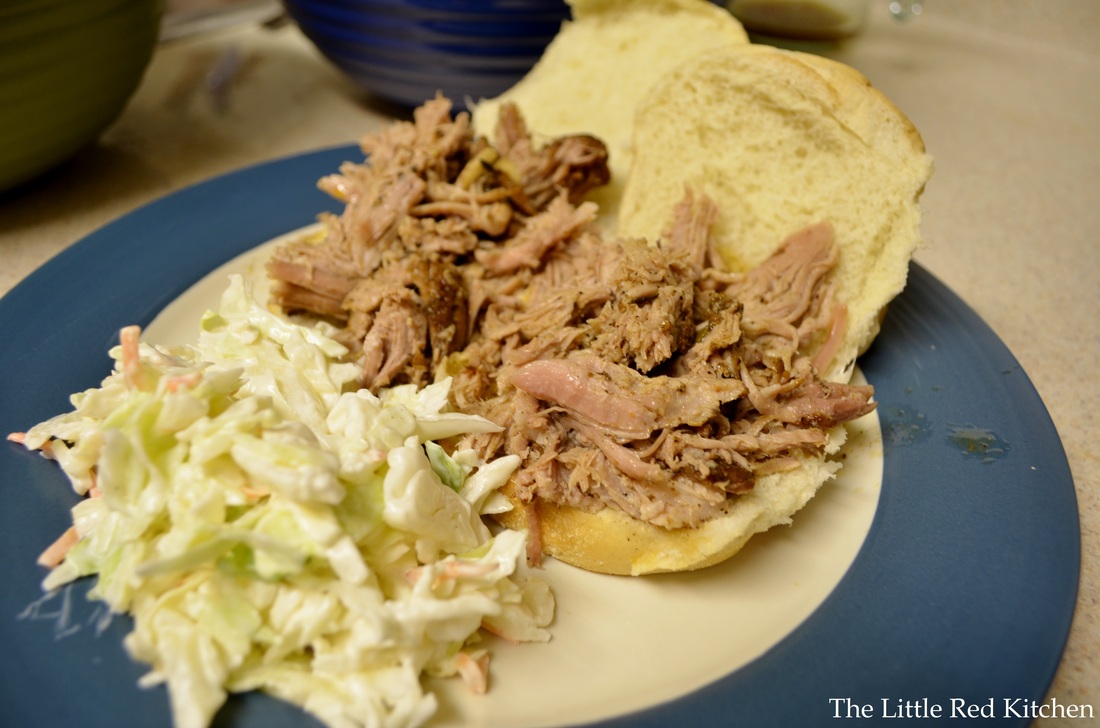
That pork left behind some yummy brown bits, or fond, in the bottom of the pan, and you will want them for the au jus! So at this point, deglaze that sucker with the wine and 1/4 cup of the chicken stock, scraping up the crust on the bottom as you go. Bring to a gentle simmer and add the remaining 1/4 cup of chicken stock, the garlic, and the thyme. Then dump the whole mixture into the slow cooker with the pork, and that's it! Cook the pork on low for 8-9 hours. You will know when it's ready; when you poke it with a fork or tongs, it will literally be falling apart. At this point transfer the roast to a large bowl and let sit for 10 minutes, then break up the meat into large shreds with 2 forks. It is so juicy and tender at this point, it's unreal. Fish the thyme sprigs out of the cooker and toss them, and mash up the garlic cloves into the liquid. If you want to try to skim the fat off of the jus right away you can, but it's easiest once the jus has cooled down, so I just waited until the next day to do that. And speaking of the jus, you should have around 2 cups of this insanely flavorful liquid, just waiting for a pork sandwich to be dunked into it.
I used a 3.75 lb roast and it made enough pork for 10-12 sandwiches on small hamburger buns, which was all we had, though this really is preferable on a large Kaiser roll or a long roll, like French dip sandwiches get served in. On larger buns you will probably get around 8 sandwiches!
If you're like me and you've had a strong aversion to pork, I hope you will give the other white meat a chance!
Happy cooking,
Lauren
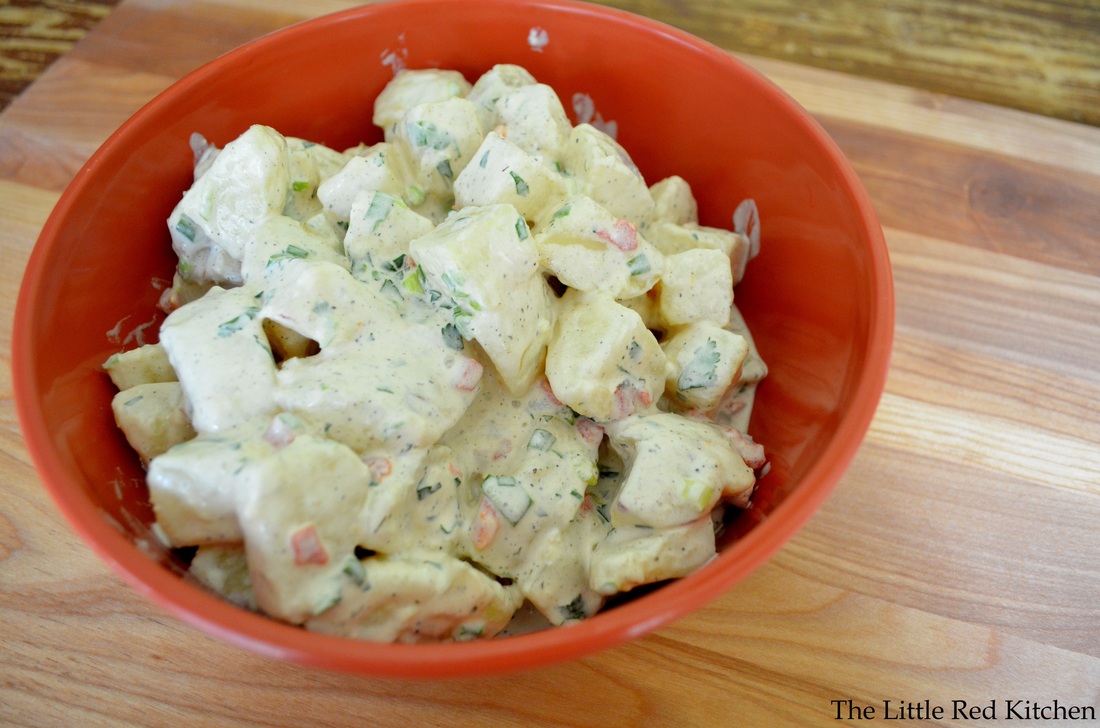
At the risk of sounding like an imperialist, ranch dressing just may be the greatest invention our country has given to the world. You're welcome, world. Somehow in recent history, this humble condiment has gone from a salad staple to an accompaniment of chicken wings, pizza, French fries, you name it. It's a wonderful blend of tang and creaminess, herbs and onions...well, it should be in theory. A lot of ranch sauces are insipid and heavy, or pretty bland, and while the original, Hidden Valley, is arguably the best bottled version out there, I'm hard pressed to think of a close second. But what if you made your own, and not only made your own, but used it as a dressing for that equal of American classics, potato salad?! I wanted a delicious and easy side dish to cook up for my Labor Day feast, and thanks to the good folks at Cook's Country, I got one in Ranch Potato Salad. Ingredients: 3 lbs red potatoes, peeled and cut into 3/4-inch chunks 3/4 cup mayonnaise 1/2 cup buttermilk (see our Peach Grunt post with quick steps on how to make your own) 1/4 cup white wine vinegar (if you don't have this, substitute plain white vinegar, or cider vinegar) 1/4 cup drained jarred roasted red peppers, chopped fine 3 tbsp. minced cilantro leaves (substitute fresh parsley if you absolutely don't like cilantro) 3 scallions, chopped fine 1 garlic clove, minced 1/8 tsp dried dill 2 tbsp. Dijon mustard
Step 1:
Put the potatoes in a pot and fill with water, enough to cover the potatoes by about an inch. Bring to a boil, then reduce heat to medium and simmer for 10 minutes, until the potatoes are tender but firm. A good test is, slide a paring knife into a potato chunk; it should go through cleanly and easily but the potato should not be falling apart or crumbling.
Step 2:
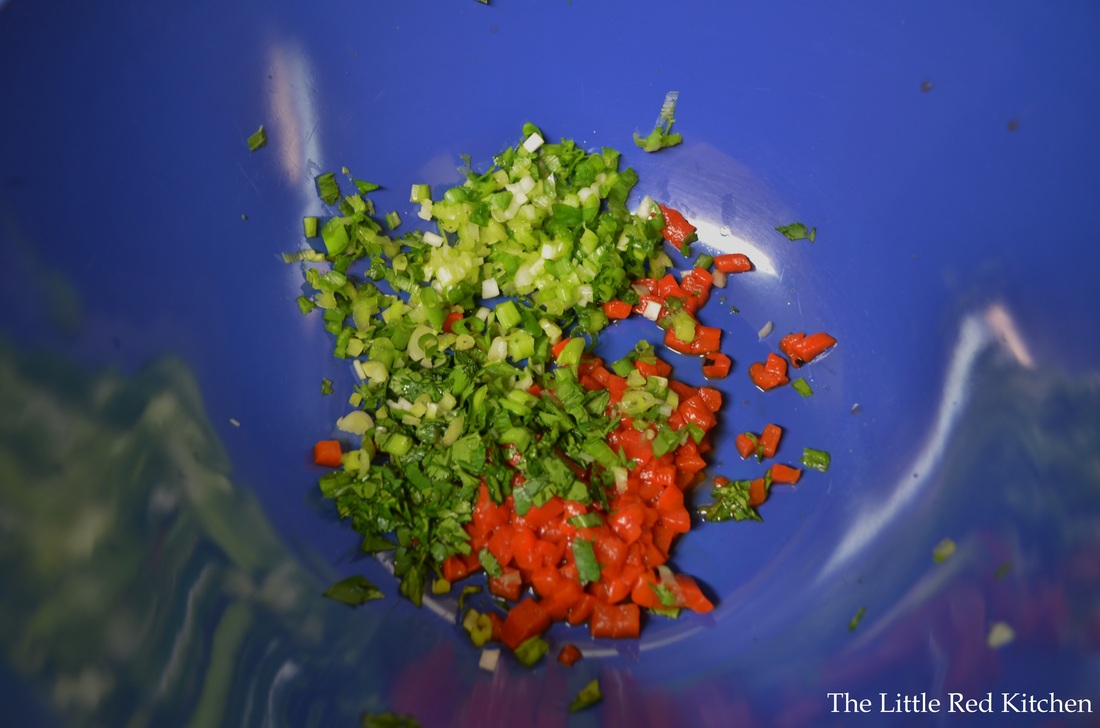
While the potatoes are simmering away, prepare the dressing. Add the chopped peppers, cilantro, and scallions to a large bowl. Add the mayonnaise, buttermilk, 2 tablespoons (half of the 1/4 cup) of the vinegar, the garlic, dill, 1 tsp of salt, and the pepper as well. Whisk to combine and set aside.
Step 3:
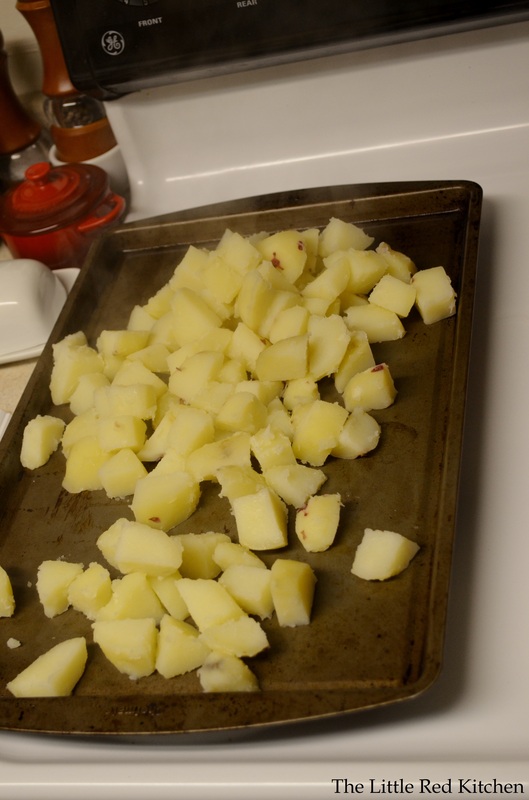
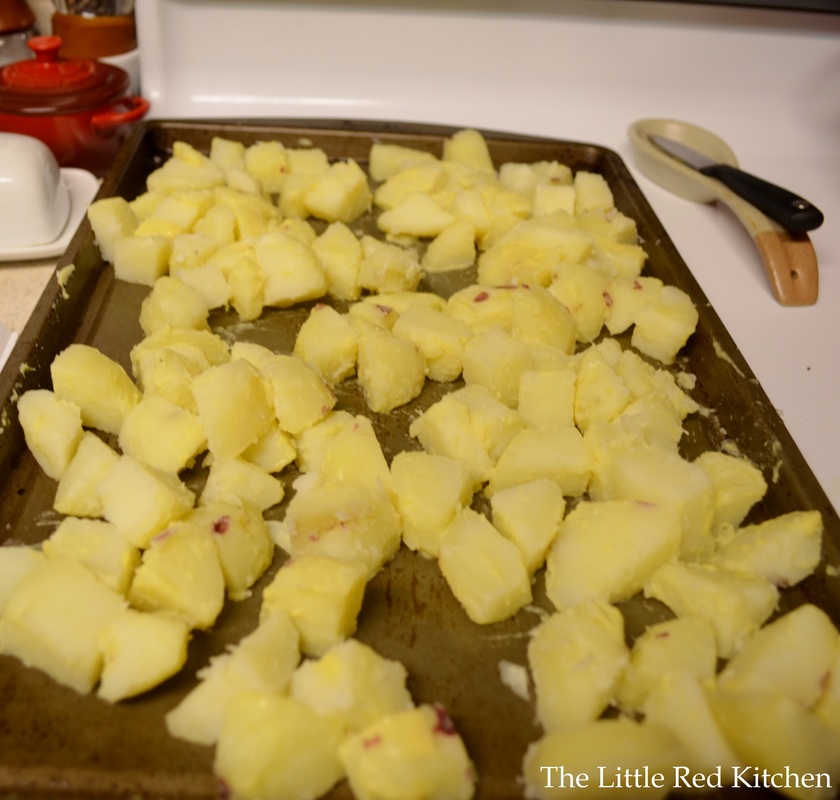
When the potatoes are finished cooking, drain them in a colander and let sit for a couple minutes so they dry off well. At this point, pour them out onto a rimmed baking sheet. Combine the remaining 2 tbsp. of vinegar, and the Dijon mustard in a small bowl, then pour this mixture over the potatoes and toss to thoroughly coat all of them. Refrigerate the pan until the potatoes are cool, 30 minutes.
The Science:
When the potatoes are hot they are ready and willing to absorb tons of flavor. This is why partially dressing them when they are still steaming is a good idea. They will take on the sharp bite of the Dijon and vinegar. Step 4:
After the 30 minutes are up, simply toss the cooled potatoes in the dressing, cover, and refrigerate until you are ready to serve! I promise you, it tastes as good as it looks. Happy cooking, and Happy Labor Day to all! ~Lauren P.S. Social media plug: Don't forget to follow us on Facebook, https://www.facebook.com/ourlittleredkitchen, and on Instagram, @thelittleredkitchen!
What can we say? Today is Friday and we're oh so happy! We want to share that happiness with you, so we're bringing you two fabulous vodka cocktails to kick off your weekend.
My cocktail loyalties lie with the bitter, the sour, and the fresh. You will never see me ordering a saccharine daiquiri or anything that is made with a 'mix'. Sour drinks should not be made with sour mixes, they should be made with fresh squeezed citrus, and if there is going to be fruit or vegetation in my drink, it has to be the real thing! That being said, I wanted to create a cocktail that is a perfect refresher for an end of Summer sip.
I was inspired by a drink I had while on vacation in Milwaukee, and believe it or not it had nothing to do with beer. So I present to you, the Cucumber Badger! It's a multi-step process, but then it's as easy as pouring and saying aaaah.
Cucumber-Infused Vodka
Ingredients:
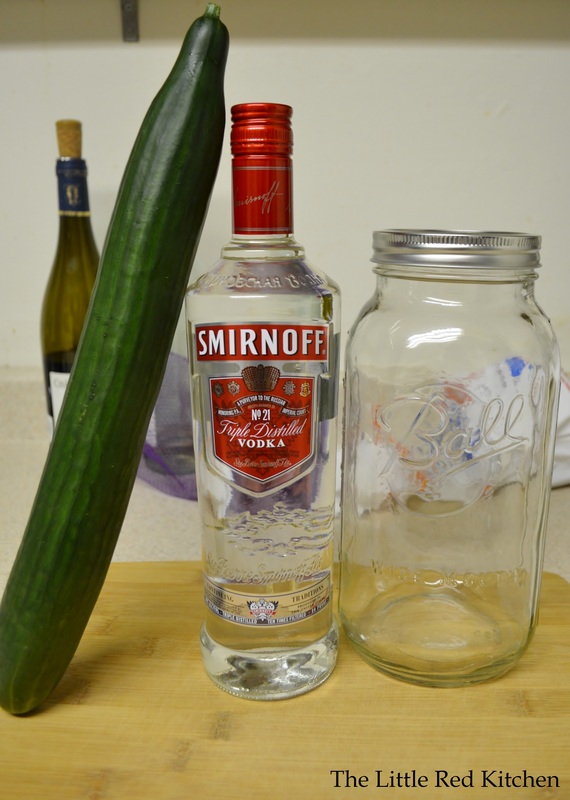
1 750-ml bottle of vodka; preferably Skyy, Absolut, or Smirnoff
1 English or, seedless cucumber
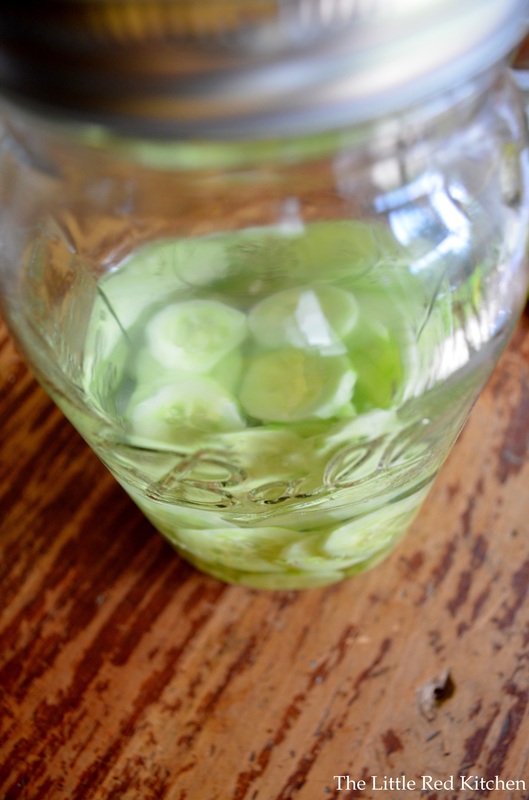
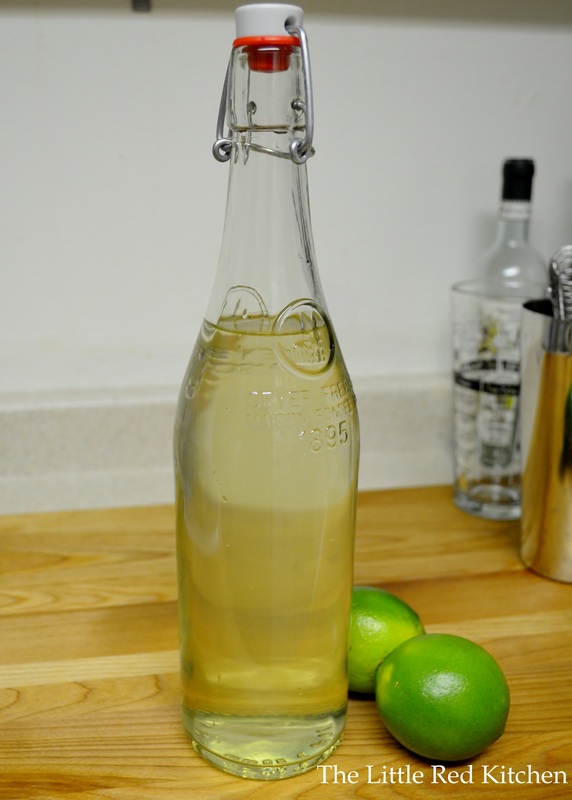
1 large glass vessel (I got this gigantic mason jar from Michaels for about $3.50) This couldn't be easier! Peel the cucumber and slice it about 1/4-inch thick. Toss it in the glass vessel, pour in the vodka, and let it sit! 3 days minimum, no more than a week. Note, the cucumber will probably discolor, and the vodka won't be perfectly clear when all is said and done, but that's because it's taking on that sweet, fresh flavor! You can definitely store the infused vodka in the original bottle, and maybe add an extra label so you remember it tastes like cucumbers now. Or you could be annoyingly cutesy, like me, and pour it into an awesome French soda bottle with a hinged pop top.
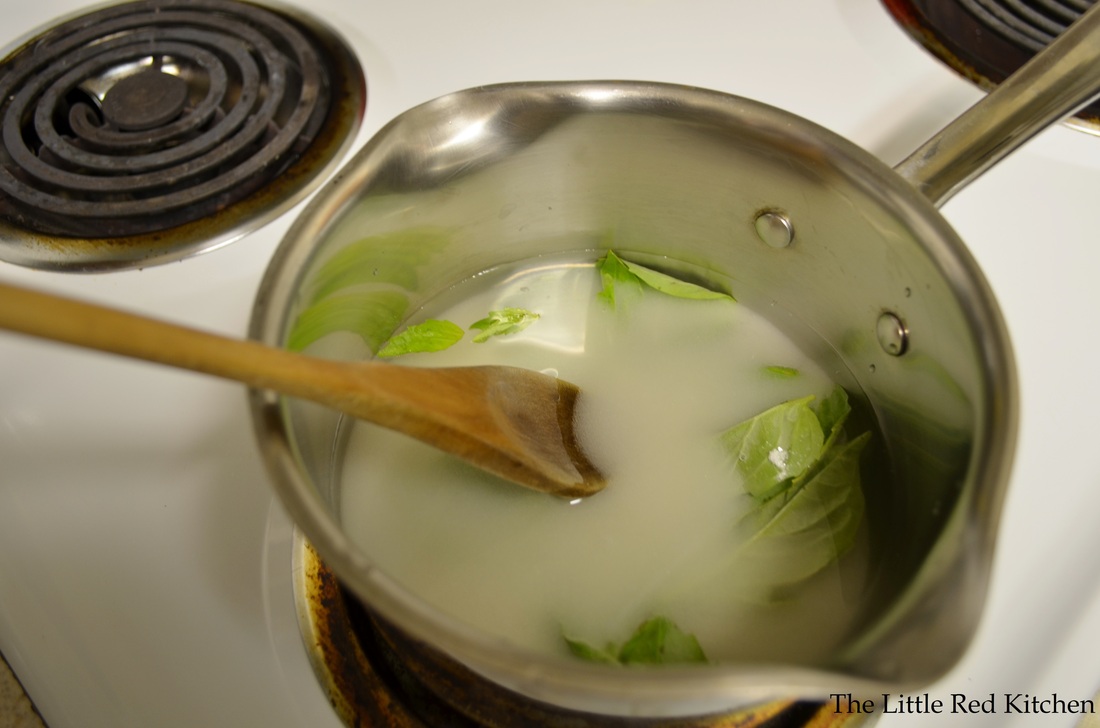
Basil-Infused Simple Syrup
Ingredients:
Fresh basil leaves, between 1/4 cup and 1.5 cups, depending on how strong you want it
1 cup of water
1 cup of sugar
Again, this could not be simpler. Pour the water into a small saucepan, followed by the basil leaves and the sugar, crushing the basil leaves a bit in the pan. Simply bring to a boil and let it stay there until the sugar has dissolved completely. Then get it off the heat, remove the basil leaves, let it cool, and it's ready to use! Note: if you leave the mixture boiling longer than it needs to, the sugar will start to darken, and your mixture will discolor; not necessarily a problem, but you won't have that crystal-clear syrup. What you have leftover after you make drinks will store in the fridge. Now you are all ready to make your drink! And it will come together in about 30 seconds.
Cucumber Badger
Makes 2 large cocktails or 4 small cocktails
Ingredients:
4 oz cucumber-infused vodka (see above)
12 oz plain seltzer water
1 oz fresh squeezed lime juice (this might take 2 limes, so buy 2 just in case)
1 oz basil-infused simple syrup (see above)
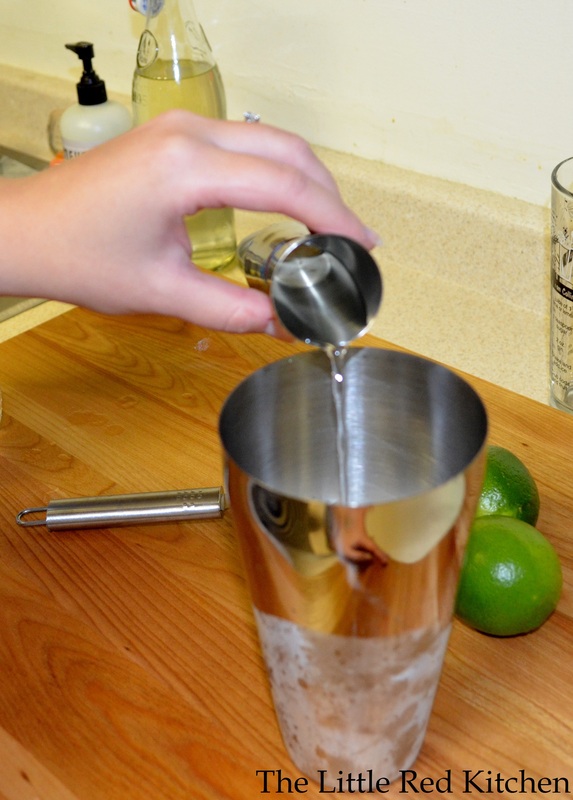
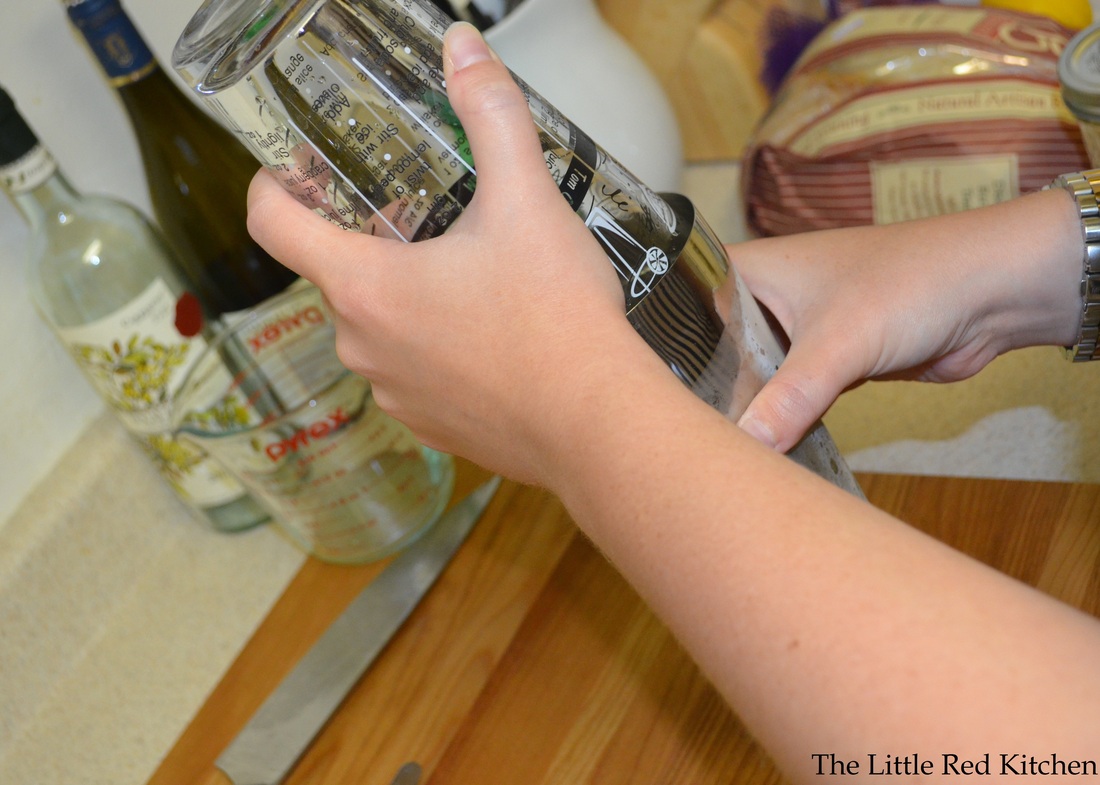
Step 1:
Fill a cocktail shaker with ice. Add the vodka, lime juice, and simple syrup. Shake vigorously for about 30 seconds. Seriously, shake it until it's so cold you can barely hold it. Very cold cocktails > slightly cold cocktails. Step 2:
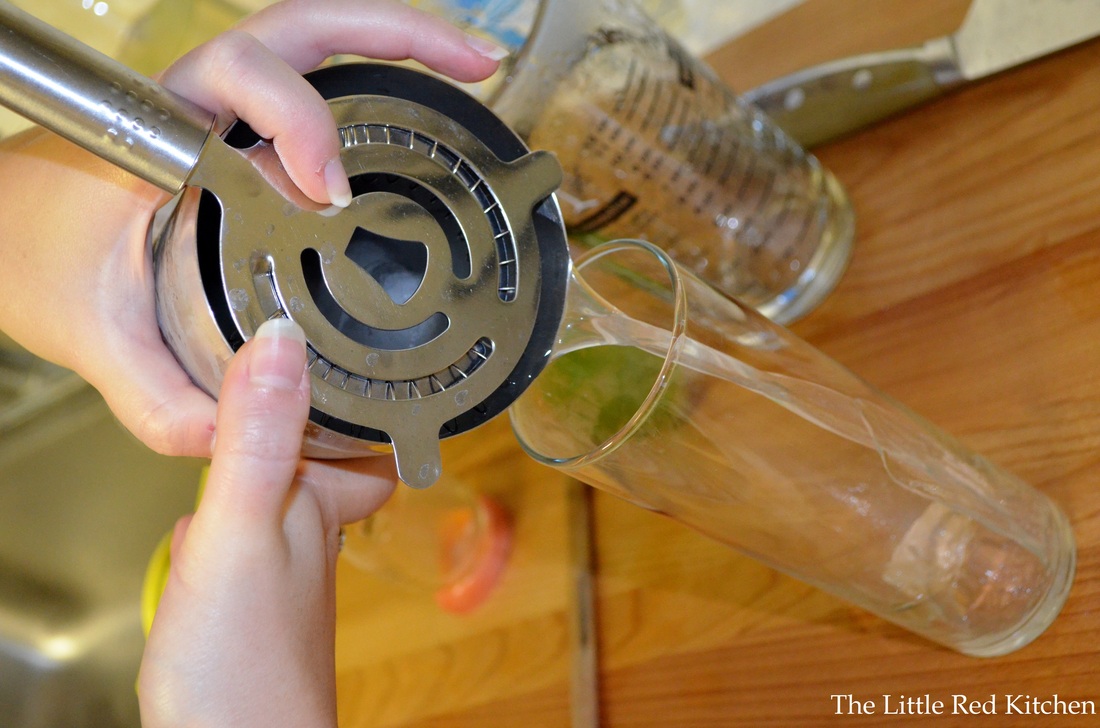
Pour into 2 highball glasses (if you are making 2) and add 6 oz of the seltzer to each glass. Stir briefly, top with a few ice cubes and a lime wedge or fresh cucumber slices if desired. This drink is completely delicious. The cucumber flavor is mild, because cucumbers themselves are, but it's a very present flavor in the cocktail, not to mention it's addictively refreshing. And with just a touch of acid, sweetness, and herbs, it hits all the notes a cocktail should. Feel free to experiment with the syrup and vodka you have left over. Here's just a couple ideas for add-ins:
~mashed strawberries
~candied ginger
~muddled mint leaves
~rosemary sprigs
Bottoms up!
~Lauren If your tastes are on the sweeter, fruity side, check out the recipe below using one of our favorite summer ingredients: Watermelon! Watermelon Zip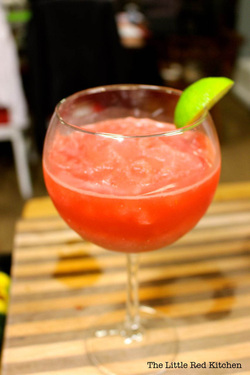 Ingredients (makes two hefty drinks)
2 cups cubed, frozen watermelon (seedless!)
1/2 cup lime juice
2 tsp honey (optional)
1/2 cup plain vodka (although I imagine coconut would be great, too!)
This recipe was originally intended for margaritas, but when you have company on a Saturday night and find yourself without tequila... you make do with what you have! As a happy accident, this turned out really well, and is a refreshing drink in either its cocktail or virgin form.
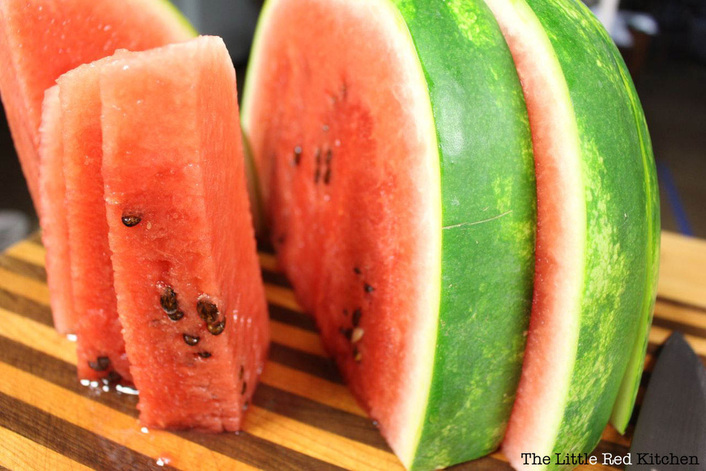
The idea came about when I realized that I had a watermelon that needed to be used... it was at its very sweetest, and there was no way that my husband and I could finish the whole thing ourselves.
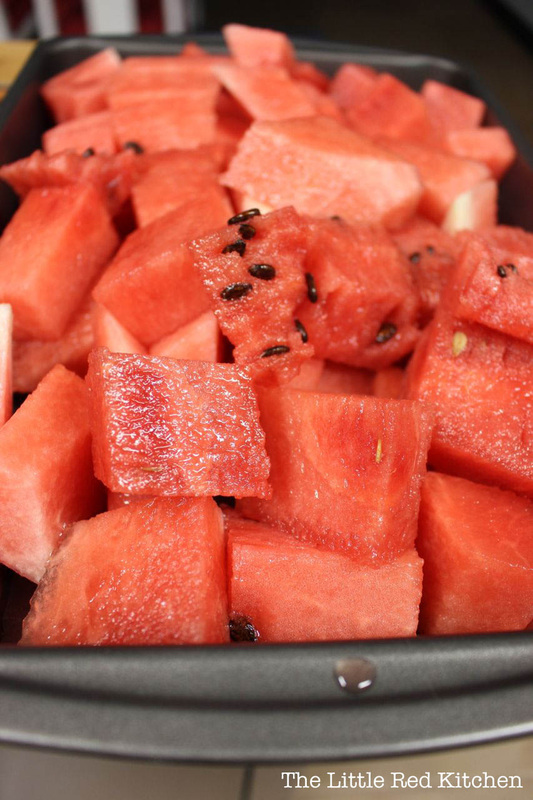
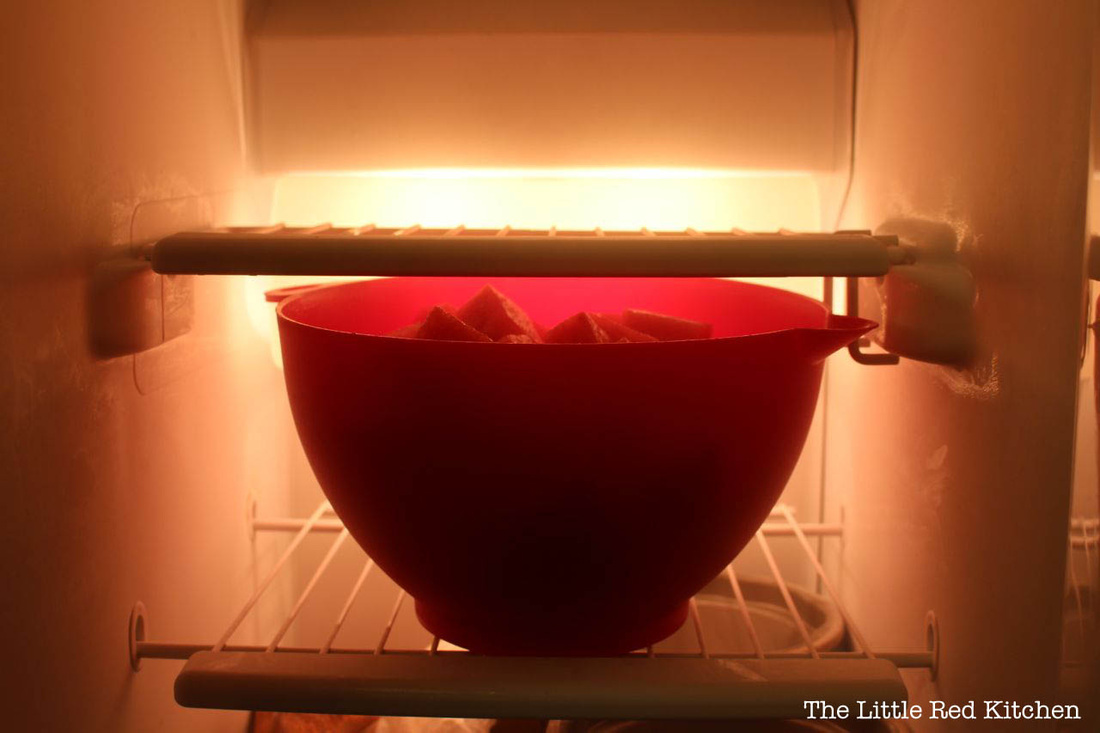
I decided to cut it up into cubes and freeze it, and then meditate on the best way to make it into something delicious and full of liquor...
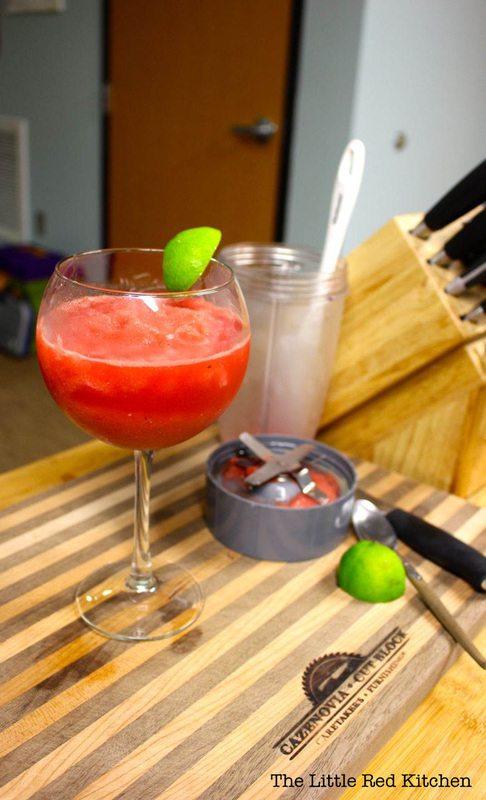
I'm sure you can spot the blunder I made here: not using seedless watermelon. (When I bought this bad boy, I was thinking, "It's just not summer if you're eating watermelon without spitting out the seeds." As a drink ingredient, however... not so much.) Once the watermelon cubes were frozen (that being the most-labor intensive part of this drink)... ...I threw everything into a blender (honey last, so it didn't stick to the blades), and pureed it into ice cold deliciousness: Deliciousness which is, of course, best enjoyed with friends (and maybe a lime wedge or two)! The lime flavor really brightens this whole drink, and the citrus bite is a great compliment to the sweet watermelon flavor-- hence the name! Enjoy!
- Kaitlin
We hope you liked our first Friday Evening Cocktail Hour! If you enjoy these themed posts, please let us know, and thanks for reading!
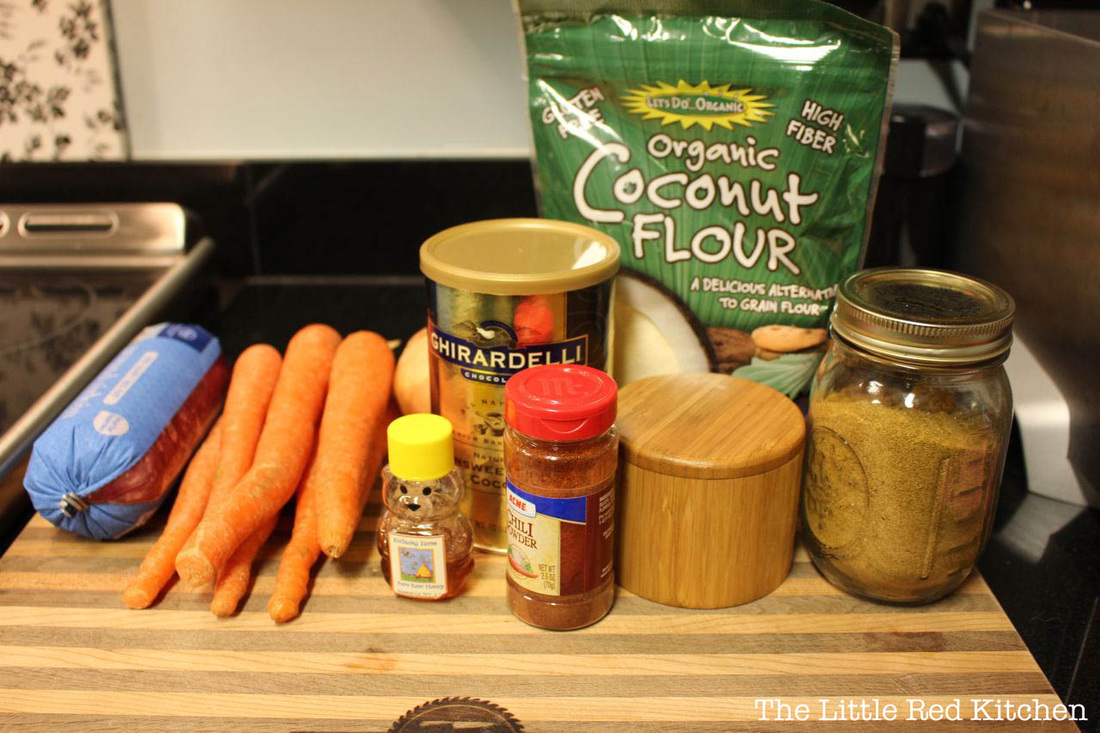
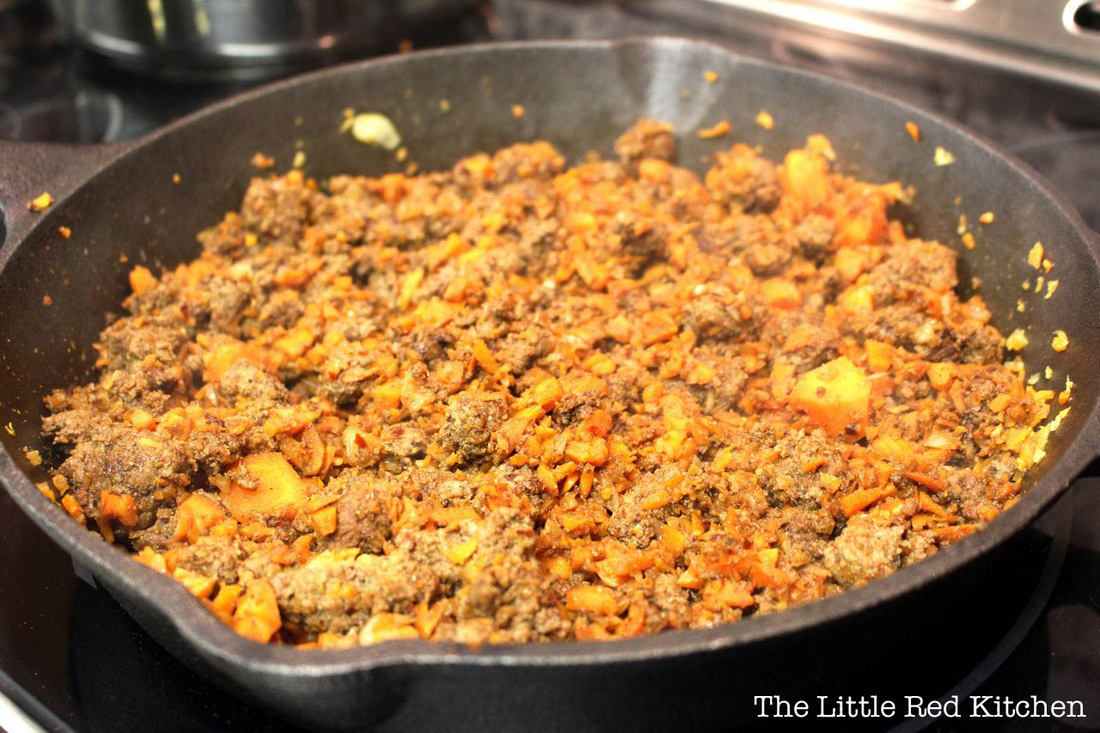
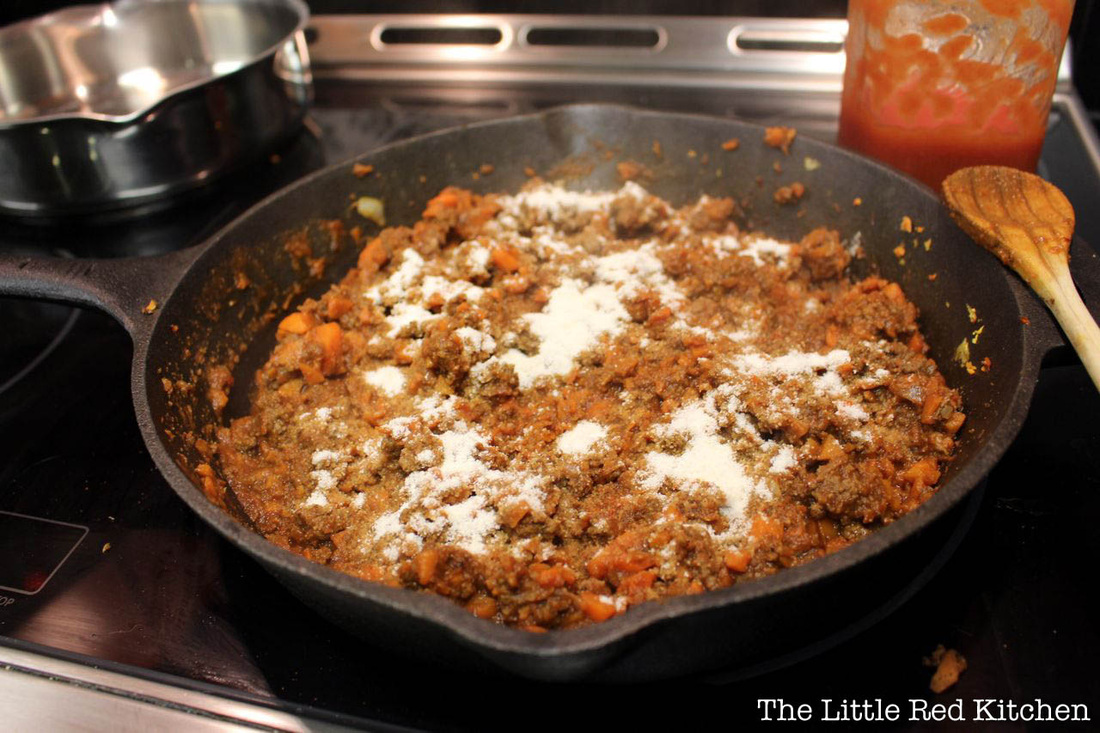
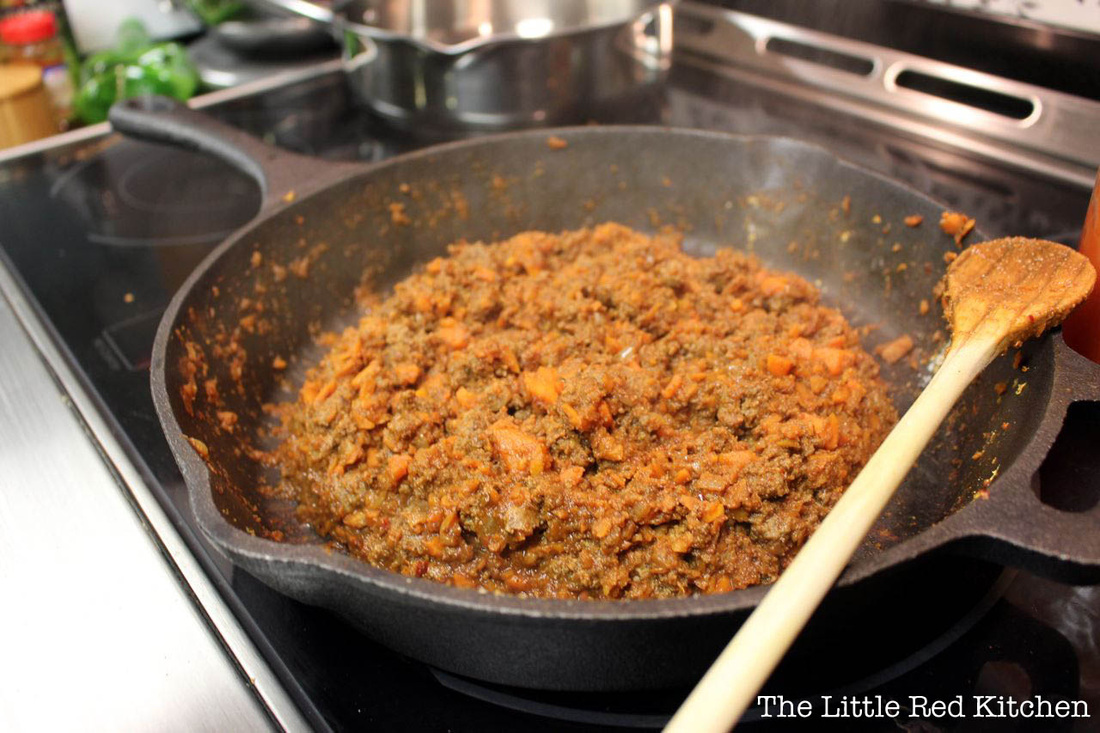
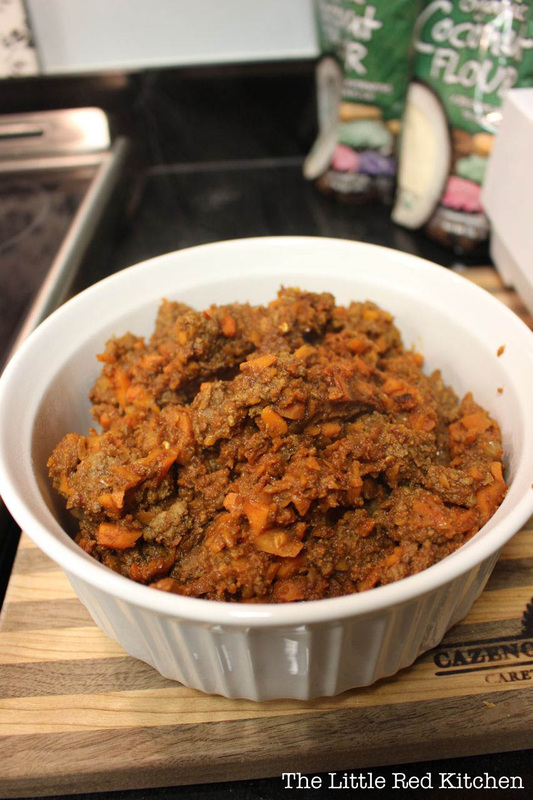
Growing up, I want to say that 99% of the sloppy joes I ate were straight from Manwich... which is fine! It was quick, easy, and 20 years ago, probably had a lot fewer unpronounceable ingredients. And since I haven't made sloppy joes many times during my adult life, it didn't occur to me until recently that they don't have to originate from a can. During my first Whole30, however, I was craving some sloppy joes fiercely. In addition to a lot of other amazing things, one of the greatest benefits to my Whole30 experience was that it encouraged/forced me to cook almost everything I ate from scratch. The "Paleo" sloppy joe recipes I found didn't do much for me, but I really wanted something without a ton of brown sugar (and that wouldn't be thickened with wheat flour). Thus, this recipe was born. I should probably tell you two things (disclaimers), though: 1. It's called "Not Your Momma's" for a reason! It won't taste exactly/much like something from a Manwich can. This bad boy is sweetened with the addition of carrots and honey, but it still delivers that meaty, umami goodness that's thick enough to serve on a bun. 2. It is just as good aaaall on it's own, as a kind of chili. I bet it would be ridiculously good under a fried egg or two for breakfast. Just saying. Not Your Momma's Sloppy Joes What you'll need: 1lb ground beef (I've used both 85/15 and 90/10) 1 yellow onion, minced 3/4 cup carrots, minced 3 garlic cloves, minced Jalapenos to taste, minced (I use 1 small, usually) 1 can (16oz) Hunt's tomato sauce (you'll see this featured a lot in my recipes-- I love this stuff!) 2 tsp honey (can be omitted if you're Whole30) 1 tsp salt 1 tsp cumin 1.5 tsp cocoa powder 1 tsp chili powder 1.5 tbsp coconut flour
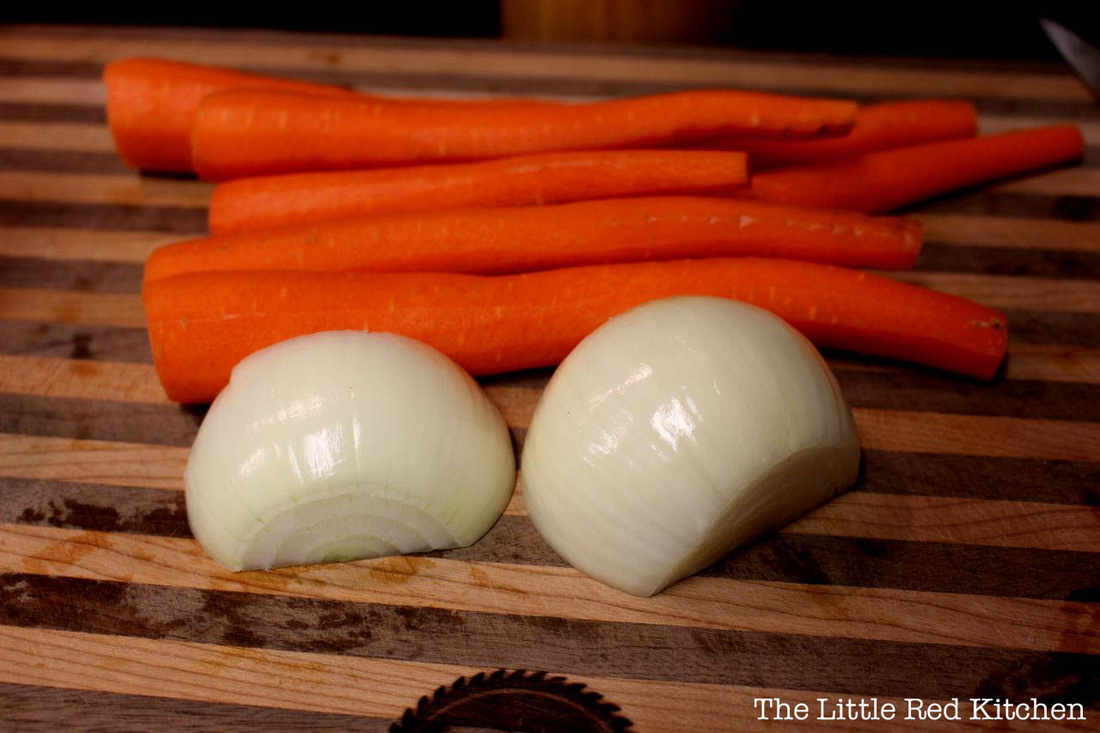
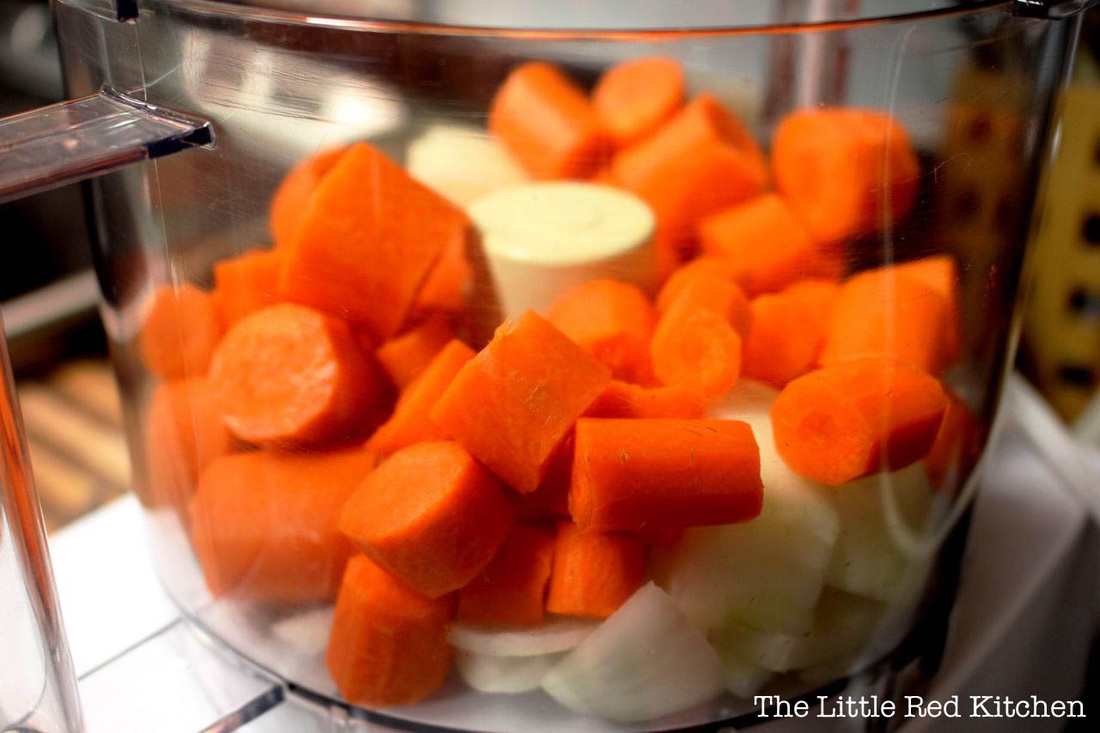
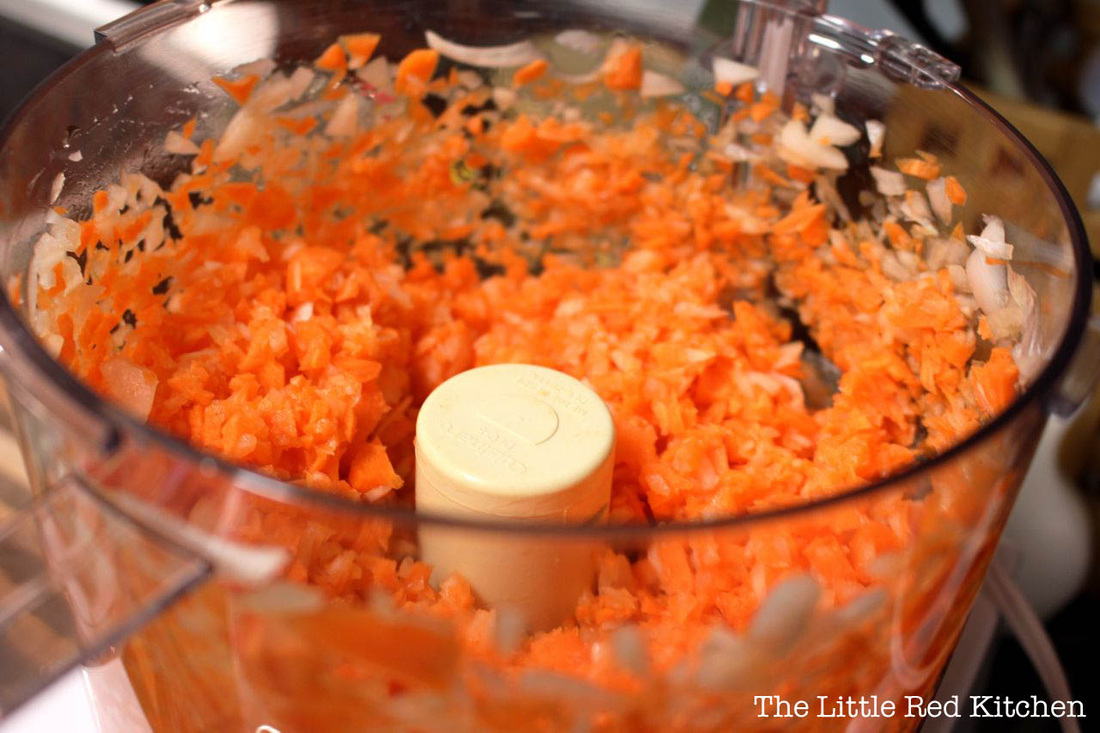
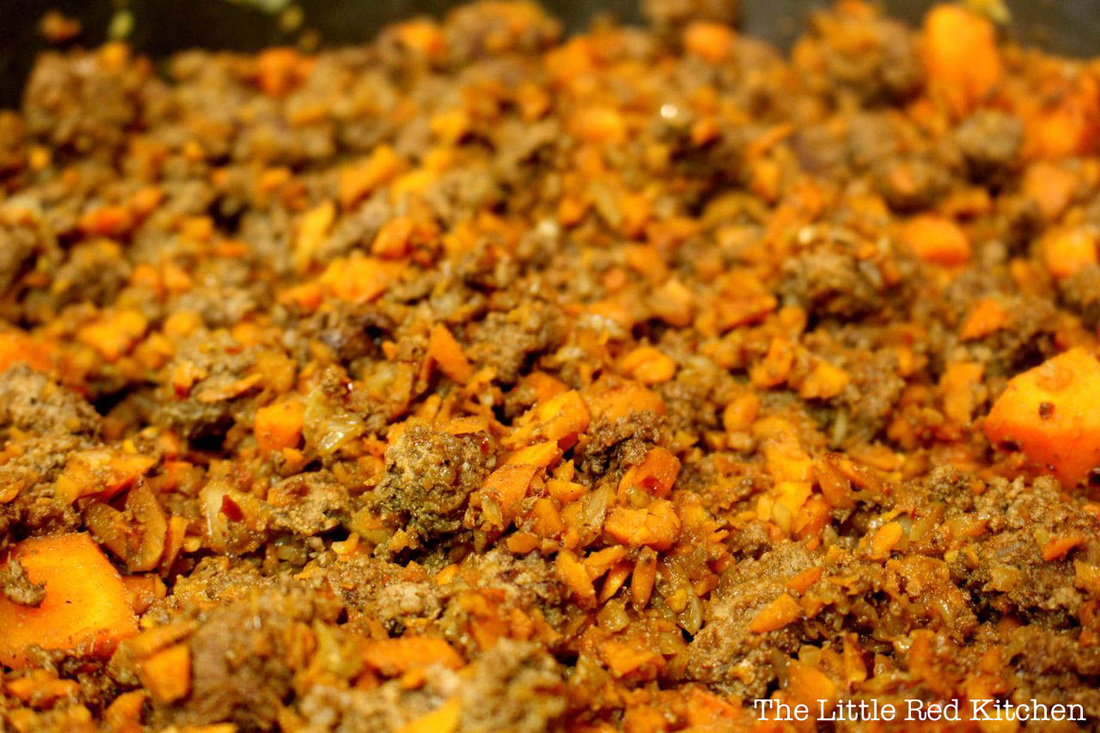
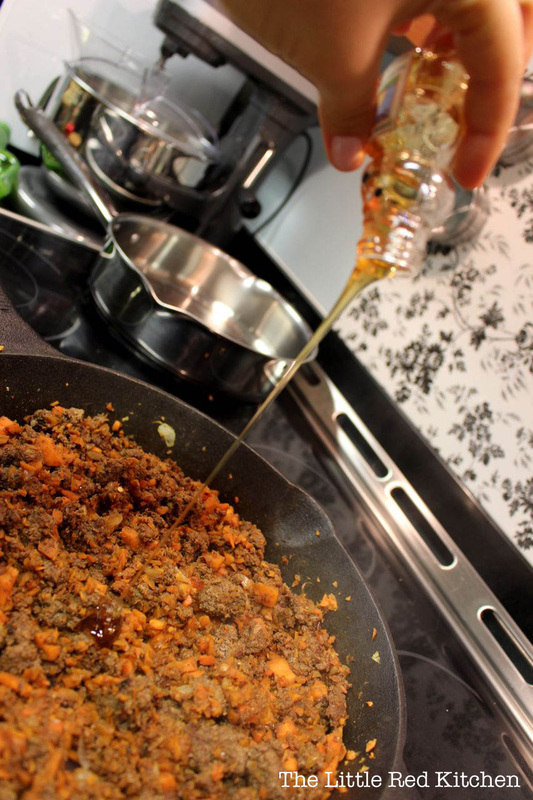
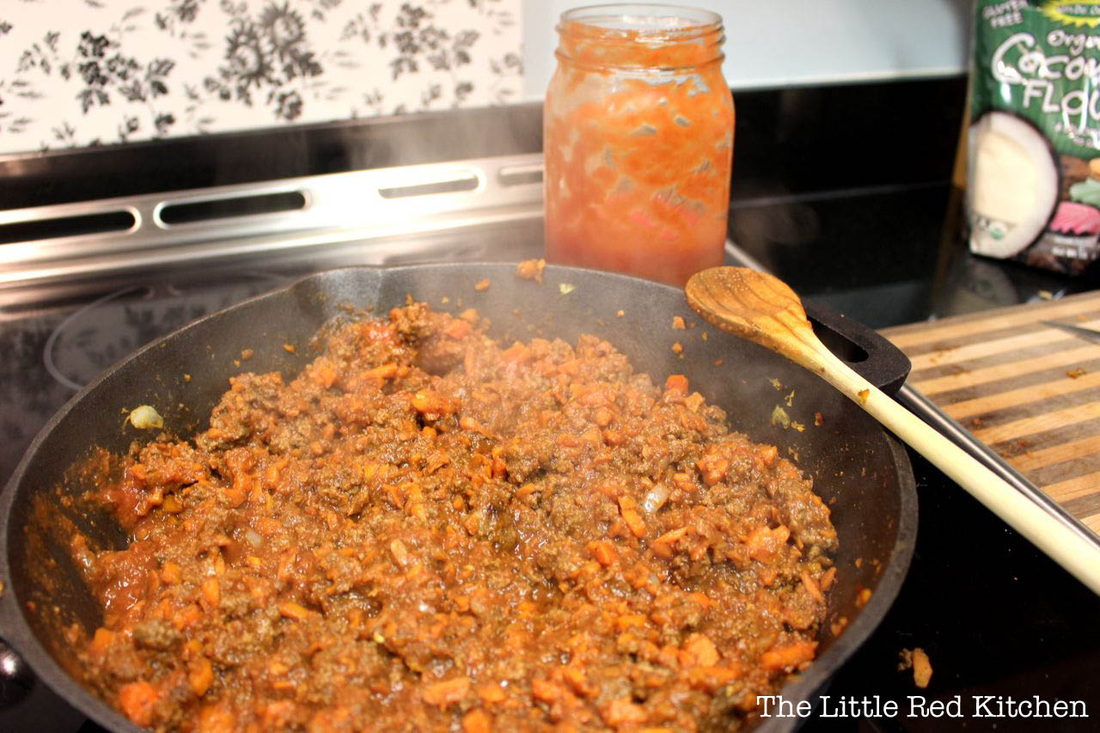
Step 1: Gather your ingredients (not shown: jalapenos), and preheat a large skillet over medium-high heat. I always use my 12-inch cast iron skillet. Step 2: Crumble your ground beef into the pan, and brown. While you're cooking the beef, you can start prepping the root vegetables: peel and mince. I let my food processor do all of the hard work, but if you're chopping by hand you may want to prepare your vegetables before starting to cook the meat! Step 3: Once your meat has cooked through, add in the chopped vegetables, minced garlic, and minced jalapenos. I'm not afraid of animal fat, so instead of greasing the pan, I let the vegetables cook in what comes out of the meat! You're going to saute this mixture until the vegetables have softened up, which shouldn't be too long (3-5 minutes) since they're so finely chopped. Step 4: As the vegetables begin to soften, add in your spices and mix well. Allow the flavors to meld for a minute or two. Step 5: Add in your honey, and stir well to combine. If you like your sloppy joes sweeter, feel free to add some more! Step 6: Add in the can of Hunt's tomato sauce, and reduce heat to medium-low. Stir to combine, and simmer for 2-3 minutes to reduce the liquid from the tomato sauce, and also allow the flavors to blend a bit. Step 7: Add in the coconut flour, and mix well. This will absorb the additional moisture from the tomato sauce, and thicken the 'joes up so they'll stay together on a bun. You don't have to include this step, though, as it doesn't affect the flavor. Ta da!! Feel free to devour immediately, but this will also freeze very well. Enjoy!
- Kaitlin
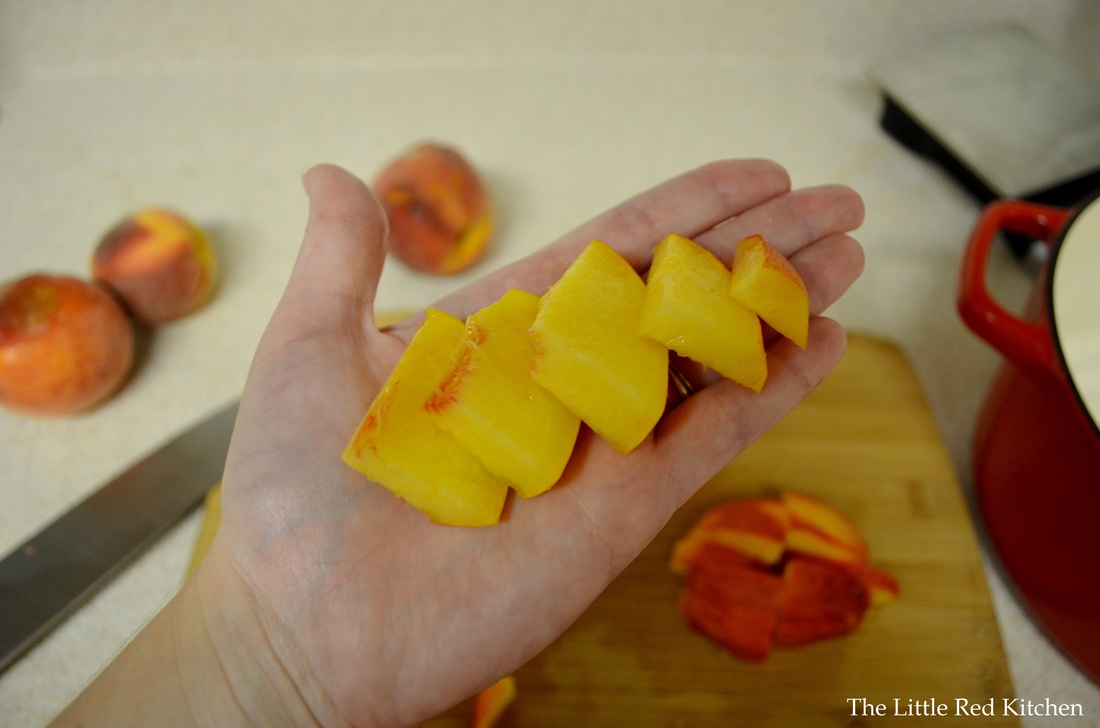
I don't know about you, but usually by this point in August, while I am ready to do without the heat, the humidity, the Friday beach traffic (when I'm not actually one of the ones going to the beach)...I am just not ready to give up on Summer produce! Fresh corn!? Watermelons and honeydews so crisp and refreshing that they practically quench your thirst?! Peaches and nectarines that are literally dripping with sweetness?! I'd be willing to take these foods year round if I could, and I always love finding new ways to cook with them, even though they are just plain fine on their own. That being said, when I came across an old-fashioned recipe for Blueberry Grunt on the Cook's Country website, I thought to myself, "I really hate blueberries." But, I happen to love fruit desserts and any type of topping that falls into the family of cobbler, so I wondered if I could give the formula some big tweaks and use fruits that I love, not to mention cut the original portion size down from 12, because I can't even host that many people in my tiny apartment. Luckily for me, and for you, I did! So, presenting Peach and Raspberry Grunt! Ingredients: Fruit Filling: 2.5 lbs peaches, firm to ripe, but not overripe 6 oz raspberries (one 1/2 pint container) 1/2 cup sugar 1/2 tsp. ground cinnamon 1 tbsp. water 1 tbsp. triple sec or other orange liqueur (optional, and if you don't use it, use 2 tbsp. water instead) 1 tsp. grated lemon zest plus 1 tbsp. lemon juice 1 tsp. cornstarch Topping: 1/3 cup buttermilk 3 tbsp. unsalted butter, melted and cooled slightly 1/2 tsp. vanilla extract 1 cup all-purpose flour plus 2 tbsp. 3/4 tsp. baking powder 1/4 tsp. baking soda 1/4 tsp. salt 1/4 cup sugar 1/4 tsp. ground cinnamon For the Filling:
Step 1: Halve the peaches and remove the pits. Cut into 1/2 inch thick slices, and then cut these slices in half widthwise. Like so: Step 2:
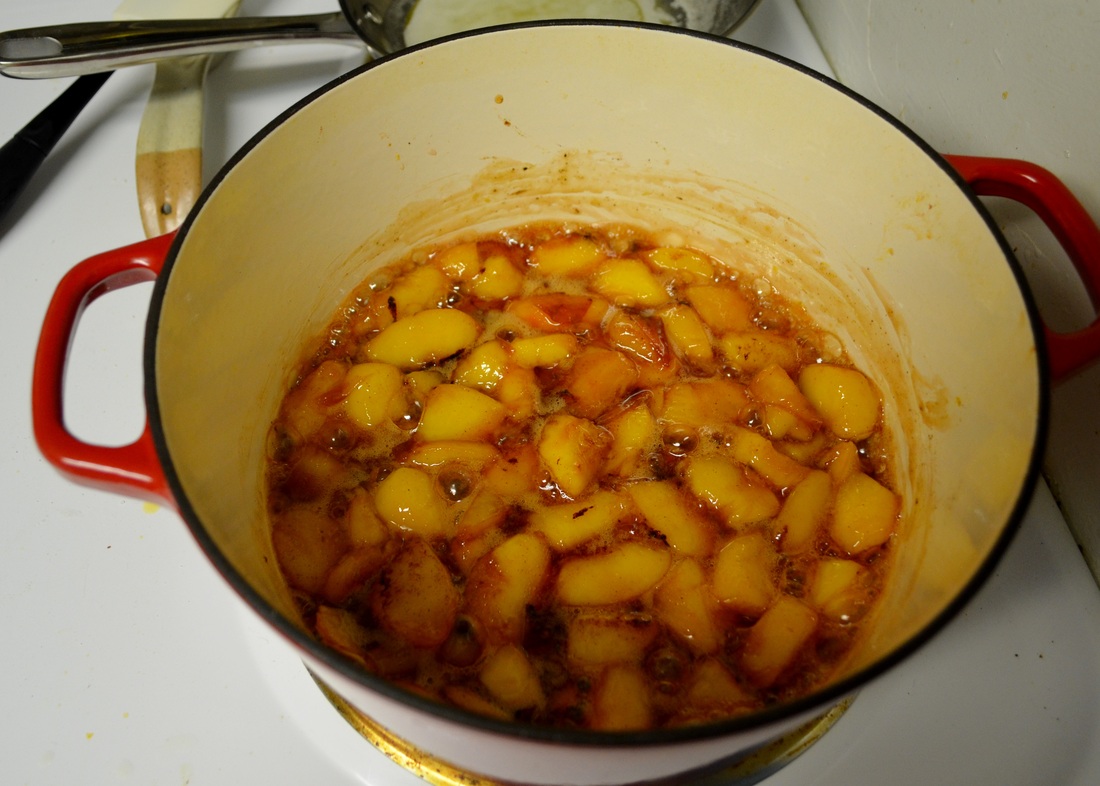
Toss the peach slices in a large Dutch oven or heavy-bottomed pot with the sugar, cinnamon, water, triple sec, and lemon zest. Cook over medium-low to medium heat for 10-12 minutes, stirring occasionally to make sure nothing is burning on the bottom of the pot; there is a lot of sugar in there! The mixture will start to look jam-like and smell tantalizing. Step 3:
At this point, whisk the lemon juice and cornstarch together in a small bowl and stir it into the peaches. Then turn off the heat and scatter the raspberries on top but do not stir them in! Remove the pot from the heat and cover, while you work on making the grunt dough.
For the Topping:
Step 4:
Combine the buttermilk, melted butter, and vanilla in a small bowl or glass measuring cup. It is important that the buttermilk is not freezing cold because as soon as you add the melted butter it will start to solidify again. If this does happen, just pour the whole thing into a small skillet and cook over very low heat, stirring frequently, until the butter has re-melted.
Note: Don't have buttermilk on hand? No problem. You can make buttermilk from regular milk and white vinegar. For a cup of milk you add 1 tbsp. of vinegar to it, stir to combine, and let sit for at least 10 minutes. If the milk looks chunky and weird, you know you're there. So, for the 1/3 cup called for here, you'll need just a tsp. of vinegar.
Step 5:
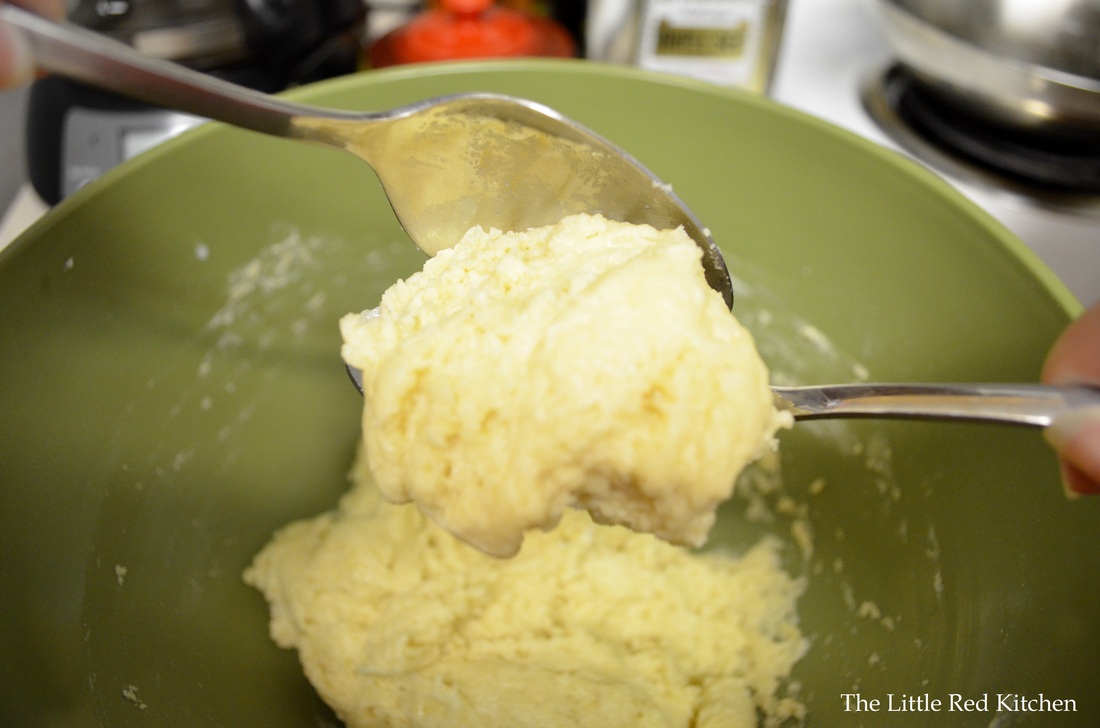
Whisk the flour, baking powder, baking soda, salt, and just 3 tbsp. of the sugar together into a bowl. Then pour the wet ingredients in and stir just to combine, until there are no streaks or spots of flour left in the dough.
Step 6:
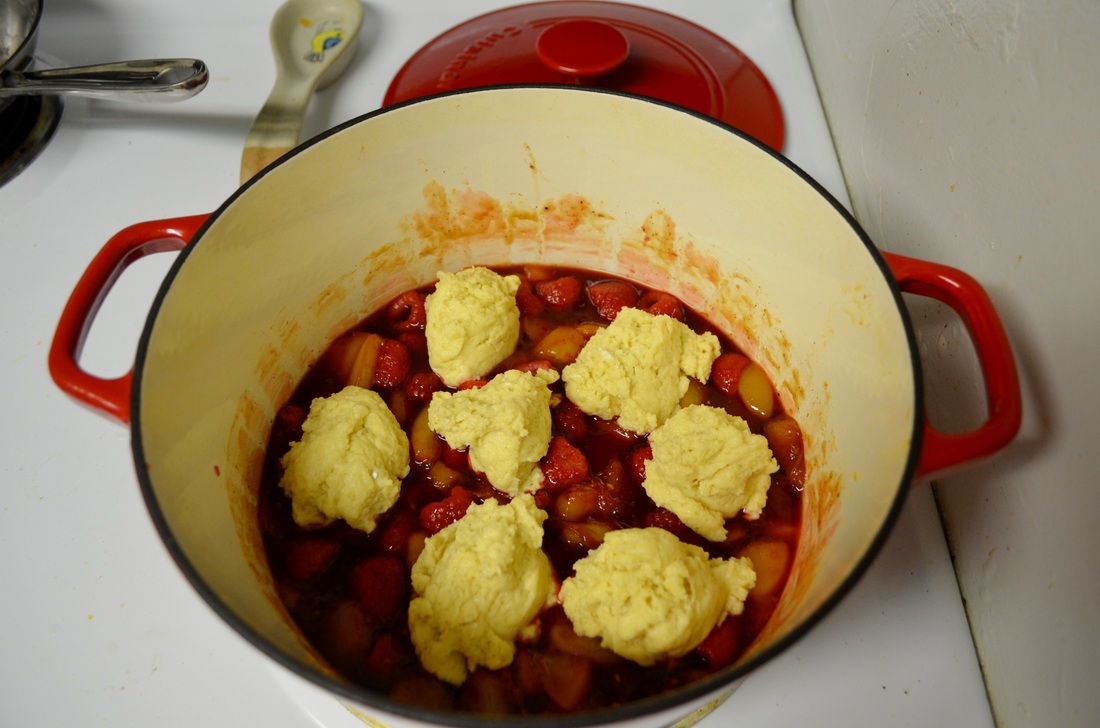
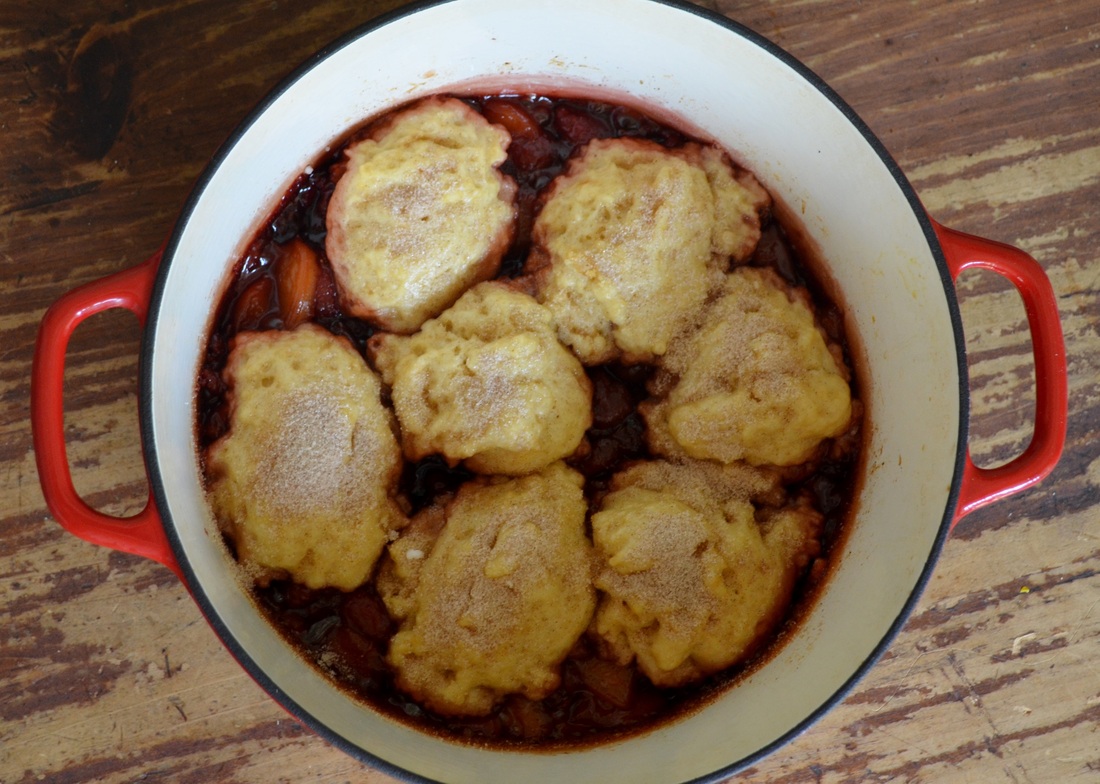
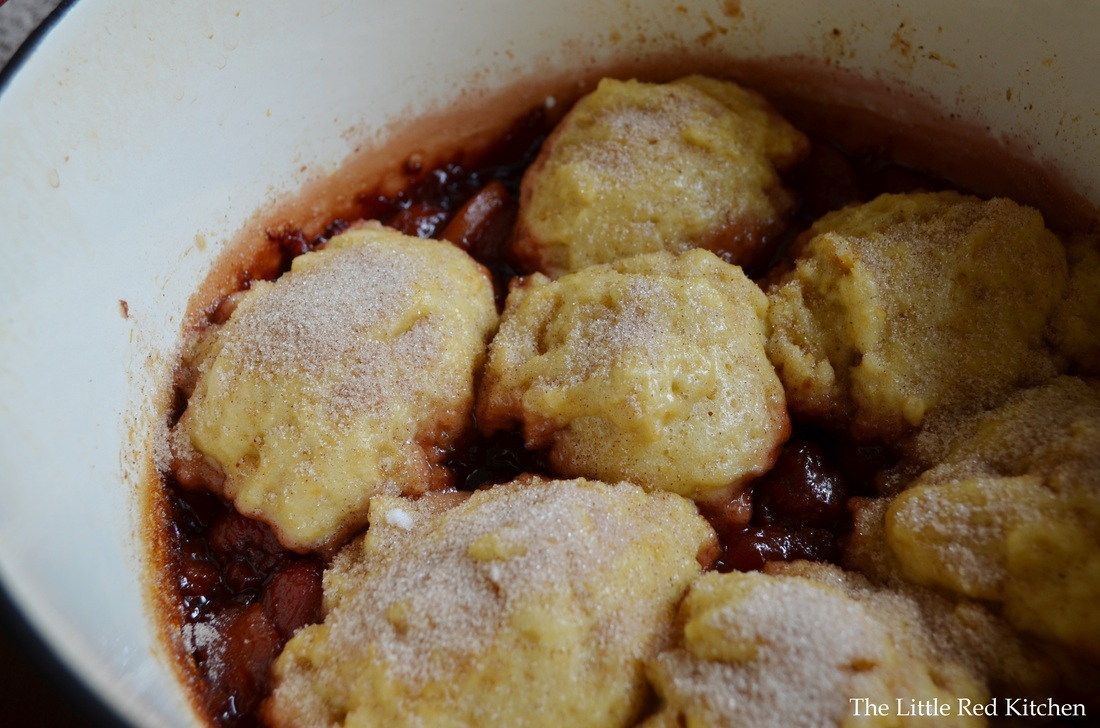
Using two spoons, scoop out the dough and shape into golf ball-size mounds. At this point just drop them onto the peach mixture in the pot. You should get seven "biscuits". Step 7:
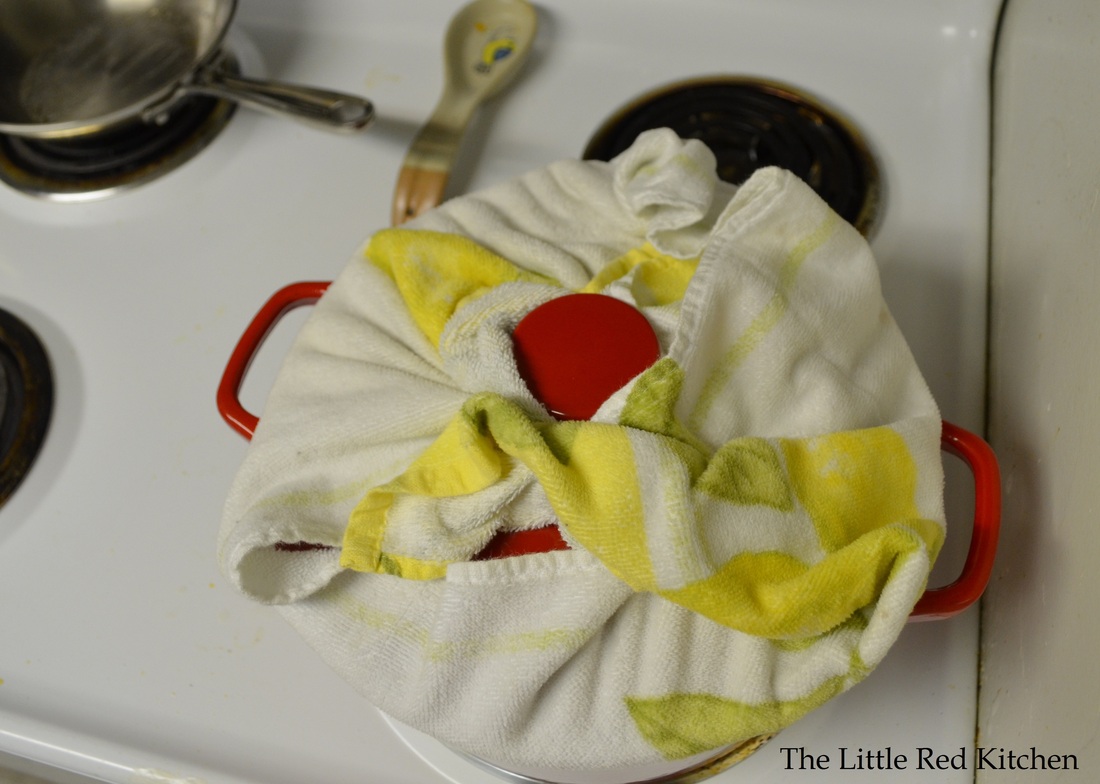
This last step is kind of weird, but necessary. Take the lid of your Dutch oven and wrap it in a clean kitchen towel. Then place the lid on top of the pot. See, the biscuits will be cooked by the steam in the pot, but that steam will go up to the lid and drip right back down, making soggy biscuits instead of fluffy ones. By wrapping the lid in a towel, the towel traps that excess moisture.
Safety Note: If you have a gas burner, PLEASE make sure that the towel cannot, and will not, fall down and come in contact with the flame. You really don't want to burn your kitchen down over Peach Grunt. Simmer the biscuits gently, over medium-low, or even low heat. This is very important. If you have the contents going at a full boil, the biscuits aren't your concern, but the fruit burning and blackening into a tar-like substance on the bottom of your pot is. Low, and slow, and steady, wins this race. Cook at this gentle simmer for about 16-18 minutes, then head into the pot with a toothpick and test the biscuits. As soon as your toothpick comes out clean, they are ready. Again, if this takes longer at the risk of not burning the fruit, it's worth it.
Then, just combine the remaining tbsp. of sugar with the cinnamon and sprinkle over the top. This combo will create a deliciously crunchy and craggy exterior, the perfect contrast to those fluffy biscuits. This dessert will serve 4-6 people, depending on how much filling they want versus how many biscuits they want. But if they are smart, they will want a lot of both. Also, a dollop of fresh whipped cream on top never hurt anybody.
Happy eating!
~Lauren
If you ask me, and you kind of are, because you're reading this post, there are two egregious things that a cook can do when it comes to making marinara, or spaghetti sauce. And they are on opposite ends of a tomato spectrum.
The first thing is, buying jarred sauce. :( This deserves a frowning face, because jarred sauce is so bad, by and large. We are often fooled in the Italian aisle of our grocery stores, by the new nomenclature that these sneaky brands come up with--things like "4 cheese" and "Tuscan home style" and "basil and cheese"--how they get away with this, I don't know, but it fools us into thinking that there just might be something special in that jar. We forget the fact that any cheese or basil or "home style" ingredients they use have to be processed in such a way that makes them shelf stable, which puts them on the opposite end of fresh, and certainly on the opposite end of home style! If I have to make a final point against jarred sauces, just look at the price tags of some of the more gourmet brands...yeah, it really costs that much for fake marinara.
The other problem with marinara, the one that is sort of the opposite of store-bought sauce, is this idea that spending a Sunday afternoon in your Italian grandmother's kitchen, simmering tomato sauce for hours and hours, will produce the best sauce that any money can buy. Now, I mean no offense at all to the Italian grandmothers, but this is simply not the case either. See, the great advantage that homemade tomato sauce has over jarred sauce is freshness! But unfortunately, when you cook a sauce for hours to get that slow simmered taste, you are cooking out all the fresh tomato taste, all the fresh herb taste, all the fresh olive oil taste...you will be left with something bland, and possibly just as unappealing as the stuff on the grocery shelves.
That being said, HOW then, do you make the ideal sauce?! The one that tastes fresh, but not so fresh that it just tastes like a pile of tomatoes with some raw garlic on top. And how do you get that deeper flavor without cooking the sauce to death? Believe it or not, I think I have solved the problem.
Ingredients:
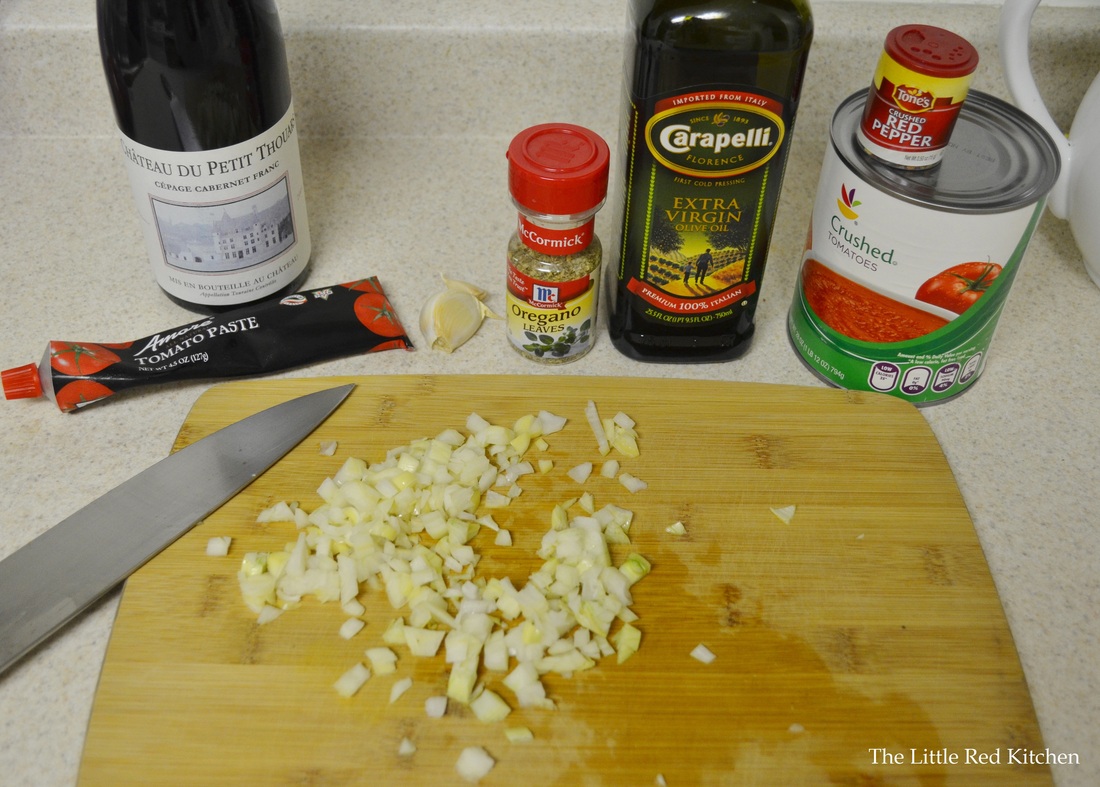
2 tbsp. extra virgin olive oil
1 medium yellow onion, chopped medium
2 cloves of garlic, minced
1.5 tsp. dried oregano
1/4 tsp. red pepper flakes
2 tbsp. tomato paste
1/4 cup medium-bodied red wine
1 28-oz can crushed tomatoes
kosher salt and freshly ground black pepper
pinch of sugar
The science:
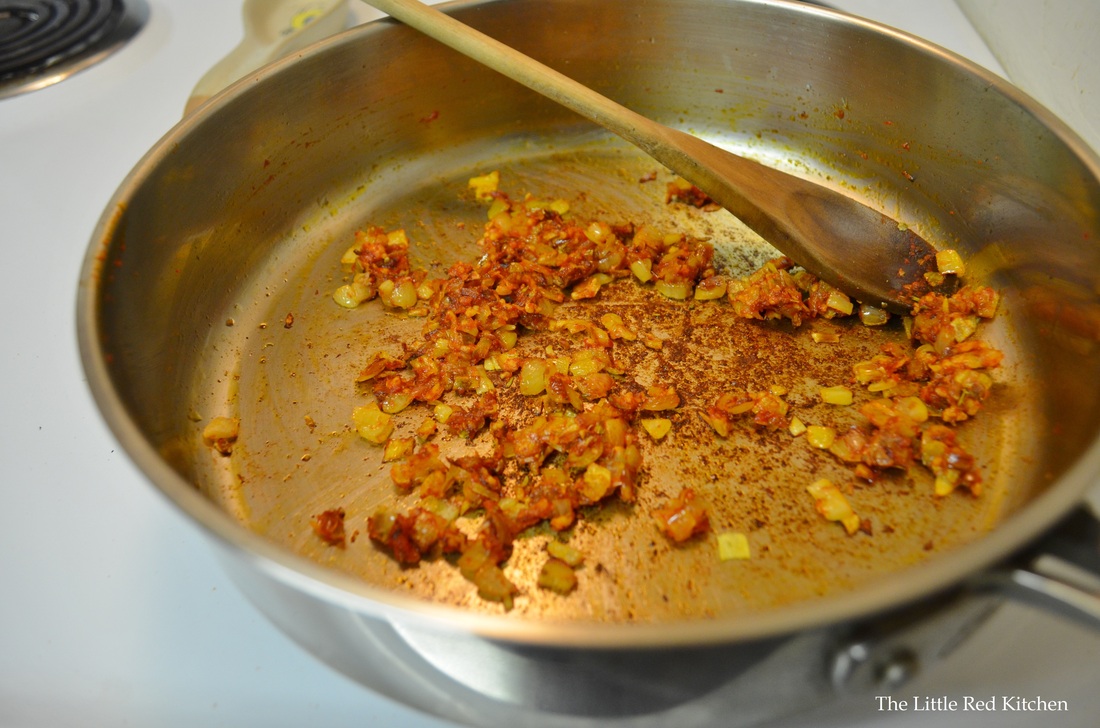
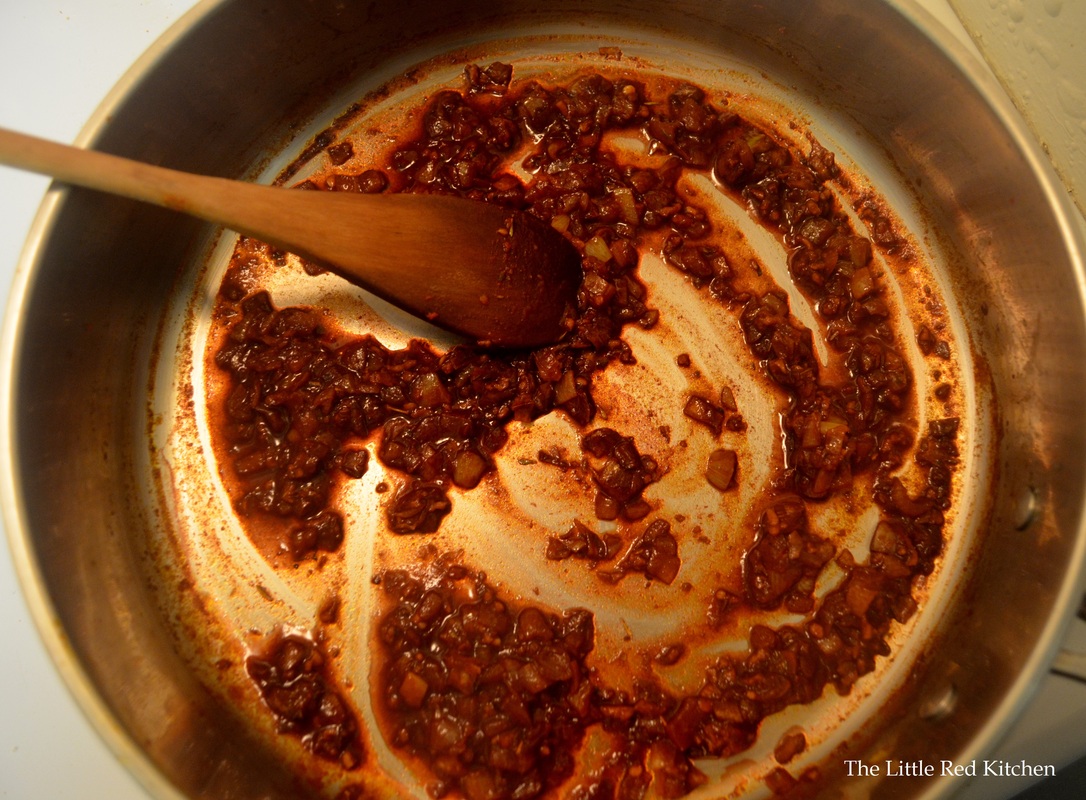
There are two things that make a homemade tomato sauce less than stellar. One is if it is bland and watery, and doesn't have a hearty flavor, and the other is if the sauce is overcooked...but wait, how do we get that hearty flavor without the 8 hour simmer? You will find the answers to this conundrum below. Step 1: Place the extra virgin olive oil in a large skillet and heat it over medium for a couple minutes. Add the onion and a pinch of salt and sweat for 3-5 minutes, until it starts to soften. Did you note that I'm using a 12-inch skillet and not a saucepan? Gasp! This is actually a great idea though, because the wide profile of a skillet encourages evaporation more readily, which means the liquid will reduce quickly, so you don't have to simmer for hours to get rid of that watery, bland taste. Once the tomatoes are in the mix, this will only take TEN minutes! Step 2: Add the aromatics--red pepper flakes, garlic, dried oregano, and tomato paste--to the middle of the pan. Mash it up to break up the tomato paste, and then cook for just 30 seconds to a minute, until the tomato paste starts to turn dark red/brown. If the pan is looking really ugly, you will know you are there! P.S. Amore tomato paste is seriously the best. I know that the squeeze tube costs a little more than the little cans, but the squeeze tube will last months; try storing that opened can of tomato paste in your fridge. Regardless of how you attempt to cover up the top, it will be growing all sorts of things on it before long. See? Looks bad, doesn't it? But tomato paste is an extra concentrated form of tomato. Browning it, just for a minute, deepens the flavor, and almost caramelizes it, so you are getting rich tomato flavor in addition to a fresh tomato flavor at the end. It's a beautiful thing.
Step 3:
Pour the 1/4 cup of wine into the pan and scrape up the browned bits at the bottom, and simmer this mixture until it is reduced to a sort of syrup, just a couple of minutes. This might seem weird, but that little bit of wine will give a robust depth to a quick-cooking sauce. I know it's just 1/4 of a cup, but it is a great excuse to get a bottle of wine going! P.S. Use a Beaujolais, a Merlot, or a Pinot Noir, but steer clear of a full-bodied Cabernet Sauvignon. I used a Cabernet Franc in this. Step 4:
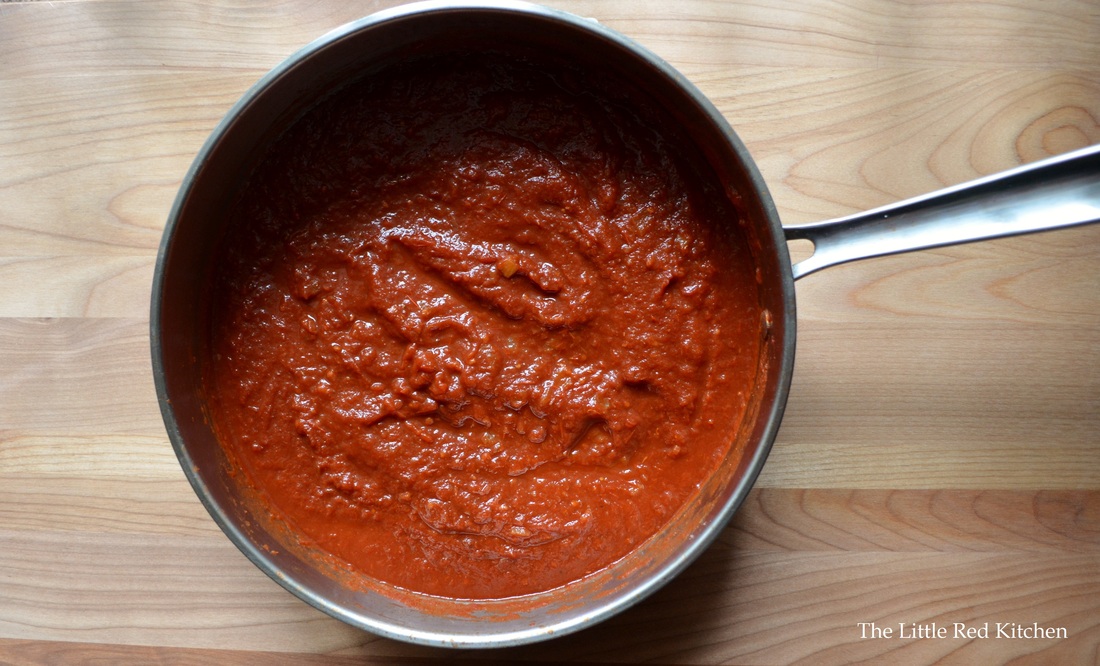
You are seriously almost done at this point, can you believe it? Simply pour in the can of crushed tomatoes, and gently simmer for about 10 minutes, until the sauce has thickened a bit. Season to taste with salt and pepper, throw in that pinch of sugar, and you are done!
Extras:
Now I know what some of you are probably thinking: She got up on her soap box about jarred sauce and now she is using canned tomatoes? But, for most of us, we can only get good tasting, fresh tomatoes, a month or two out of the year, if that. And, believe it or not, most 'fresh' tomatoes, don't taste very good the rest of the year. That being said, I used canned crushed tomatoes because that's something that tastes good year round. However, if you want to use fresh in this recipe, go right ahead! Or, if you don't want to use fresh but would prefer canned diced tomatoes, that is fine too. However, you will want to drain them but reserve the liquid, because it's got a lot of that good tomato flavor in it. And when you pour in and reduce the wine, pour in the tomato juice too, and simmer it a couple extra minutes.
Add-ins:
This is a fantastic, basic marinara sauce, perfect for not only pasta but for chicken parm, pizza, meatball sandwiches, you name it. I really did make the sauce this morning, and even at 10am my mouth was watering from the smells, and it was completely delicious. However, don't think of this recipe, or any recipe, as set in stone. Here is a great little list of things you can add to this pasta to make it extra special, and to suite any unique tastes:
1/2 cup grated parmesan cheese
a couple tablespoons of capers
more (or less) red pepper flakes
fresh chopped basil (stirred in at the very end)
??? Whatever you want!
I hope I have successfully proven to you that a fantastic sauce doesn't necessarily come from a jar, but it also doesn't have to take hours to prepare. In about 20 minutes, including prep work, you can have a fantastic marinara sauce that, I promise, would make any Italian grandmother proud.
Stay hungry!
~Lauren
|


 RSS Feed