
Welcome to my first DIY tutorial post! If any steps are unclear, or you'd like more information, please ask!
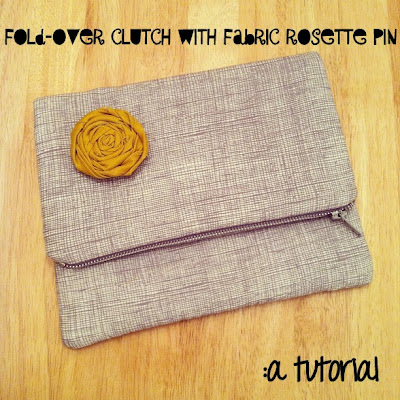
While browsing one of my favorite petite style blogs (ExtraPetite), I came across this clutch, and fell in love:
While browsing one of my favorite petite style blogs (ExtraPetite), I came across this clutch, and fell in love:

At the time, Jean didn't have didn't have a tutorial available on how she made it. (She does now, though! It's an unlined version, but it still looks great.)
Unsure how to add a zipper into a lined bag, I started hunting for a great tutorial. I'm fond of telling people , "I know how to sew, but I don't know how to sew", which is another way of saying that I've figured out enough to get by, but not any true techniques. While hunting around for something that made sense to me, I landed on this lovely tutorial by Kill Them With Craftiness:
Unsure how to add a zipper into a lined bag, I started hunting for a great tutorial. I'm fond of telling people , "I know how to sew, but I don't know how to sew", which is another way of saying that I've figured out enough to get by, but not any true techniques. While hunting around for something that made sense to me, I landed on this lovely tutorial by Kill Them With Craftiness:
It's gorgeous! It's awesome! However, the steps were too brief for me (a novice), and so I ended up working through it via a bit of trial and error on my own. This is not to say that I didn't really appreciate the tutorial-- I just needed more. Thus, I decided to document my steps ad nauseum. Maybe this will help someone else out, too! So, without further ado...
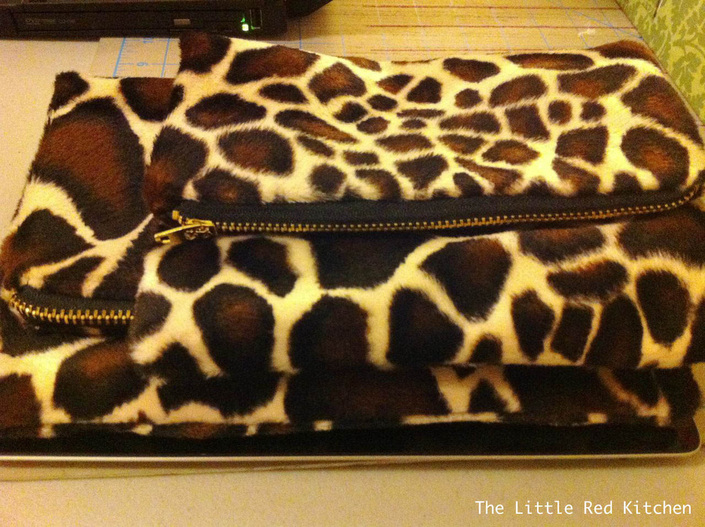
My version:
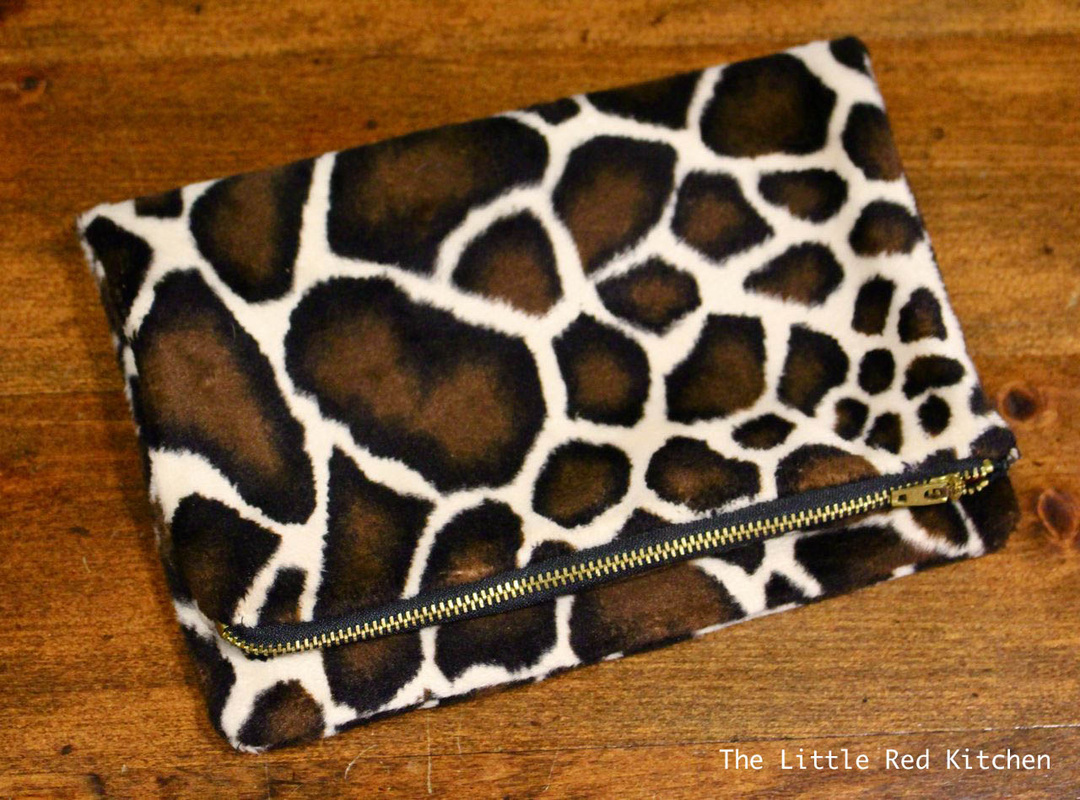
Animal Print Clutch Tutorial:
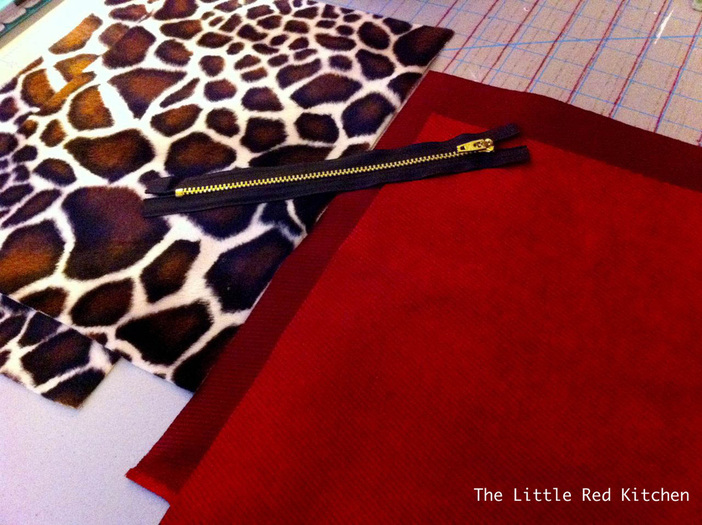
Supplies:
- Fabric in lining and exterior colors (I purchased both at Jo Ann Fabrics)
- Zipper in desired length (I used 9 inches)
- Sewing machine (mine is a Brother Project Runway Edition)*
- Zipper foot*
- Coordinating thread
- Interfacing/batting (optional, I did not use any)
*You can also hand-sew this project, it might just take a little longer.
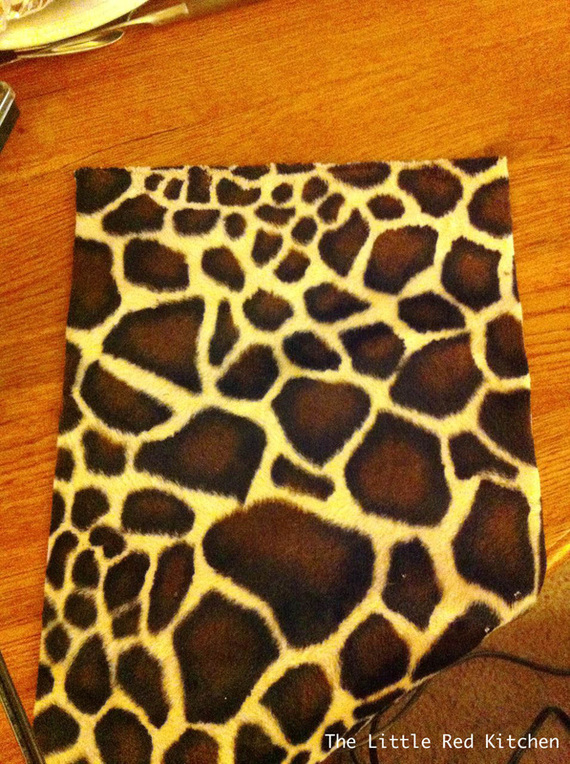
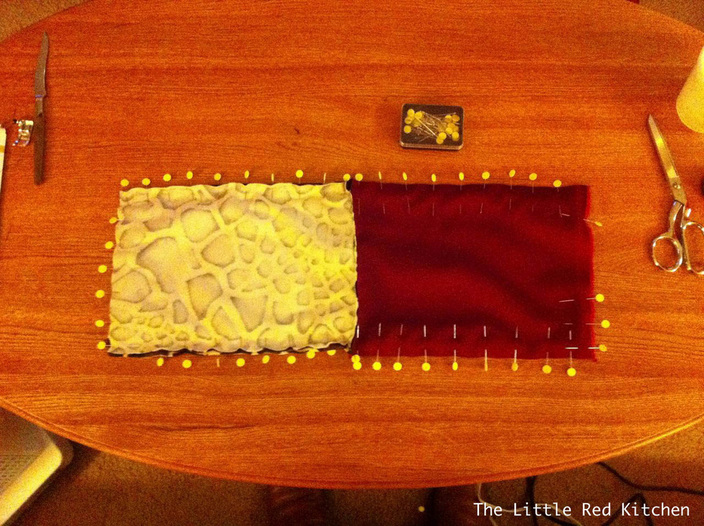
Step 1 (images below text for each step): Cut 2 pieces of exterior fabric and lining fabric in desired size (I used 11 x 14, which holds a moleskin notebook and myriad other goodies with no problem whatsoever)
- Fabric in lining and exterior colors (I purchased both at Jo Ann Fabrics)
- Zipper in desired length (I used 9 inches)
- Sewing machine (mine is a Brother Project Runway Edition)*
- Zipper foot*
- Coordinating thread
- Interfacing/batting (optional, I did not use any)
*You can also hand-sew this project, it might just take a little longer.
Step 1 (images below text for each step): Cut 2 pieces of exterior fabric and lining fabric in desired size (I used 11 x 14, which holds a moleskin notebook and myriad other goodies with no problem whatsoever)
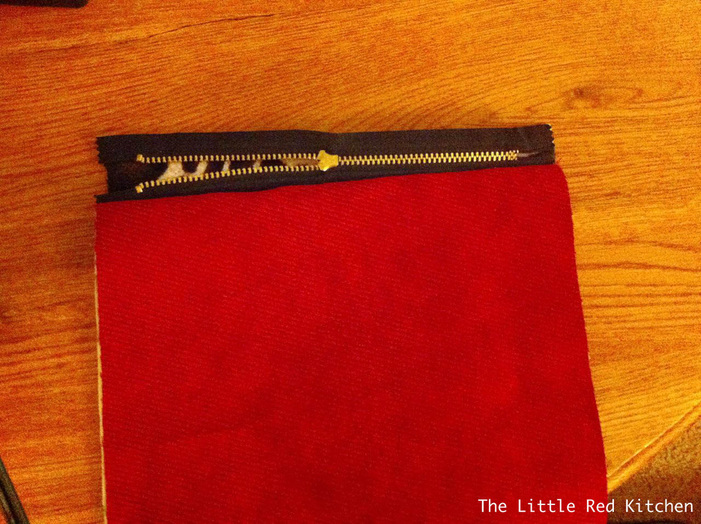
Step 2: Lay one piece of your cut exterior fabric right (patterned) side up, and place the zipper along the top edge, facing down (facing the pattern).

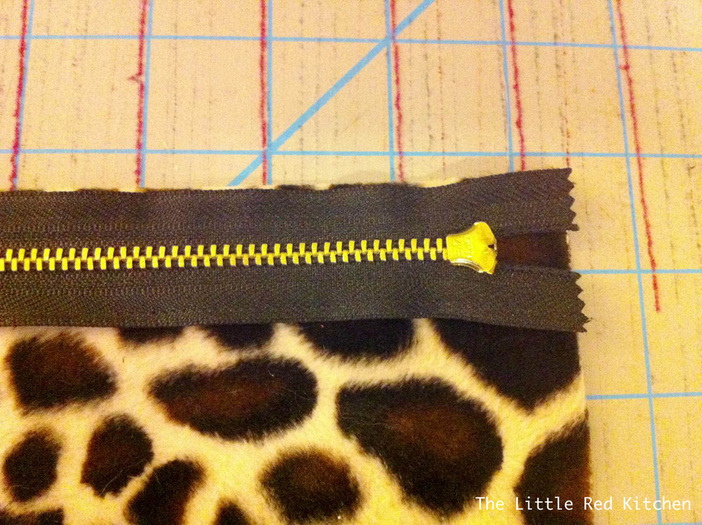
Step 3: Unzip the zipper slightly. This will allow you to turn the bag right-side out, once all of the other steps are finished. Be sure to keep the top edge of the zipper aligned with the top edge of your exterior fabric.
Step 4: Place the lining fabric, right side up, on top of the exterior fabric and zipper.
Step 5: Pin along the upper edge, being sure to keep your pins out of the way (so the zipper foot will run smoothly along your pinned section). You're only pinning the upper edge of the zipper to the fabric at this point. I found that it was easiest to use smaller pins for this step, but do whatever works for you!
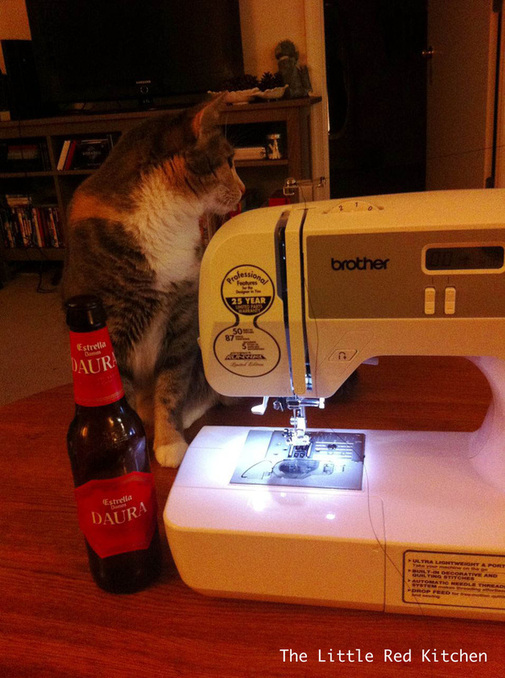
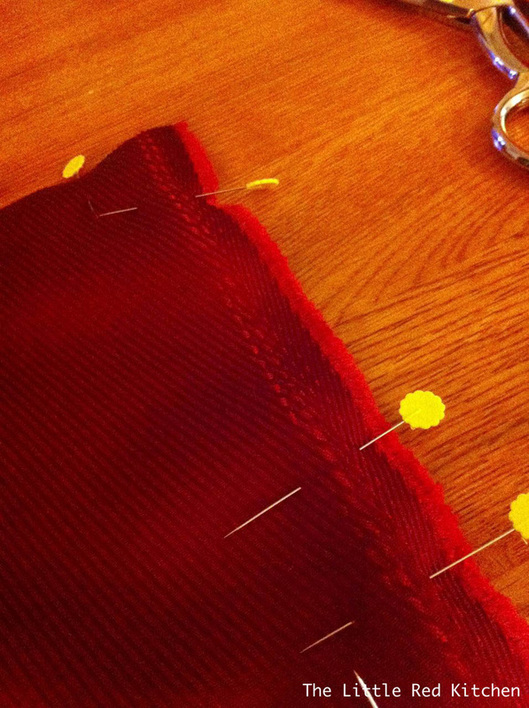
Step 6: Sew along the edge using your zipper foot. If you're like me, also grab a gluten-free beer while your cat supervises.
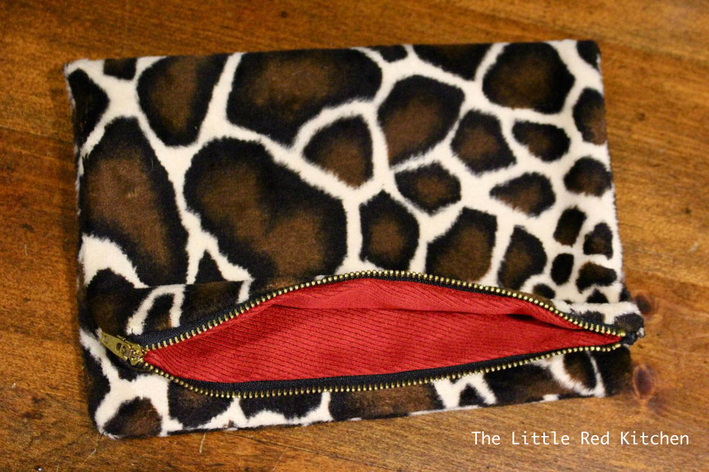
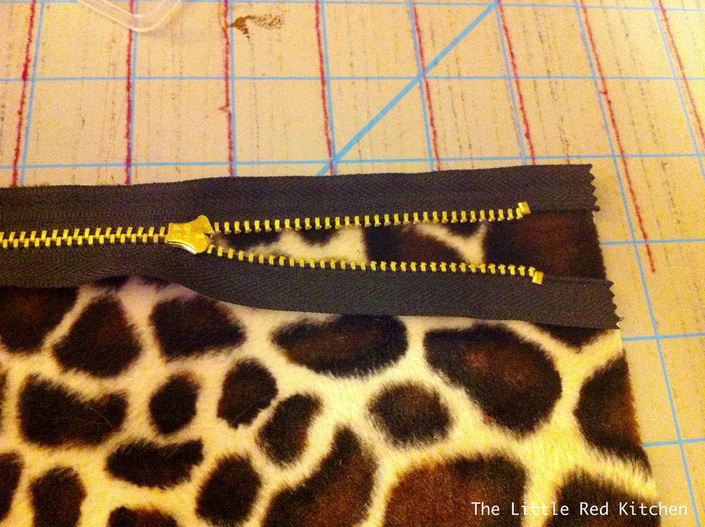
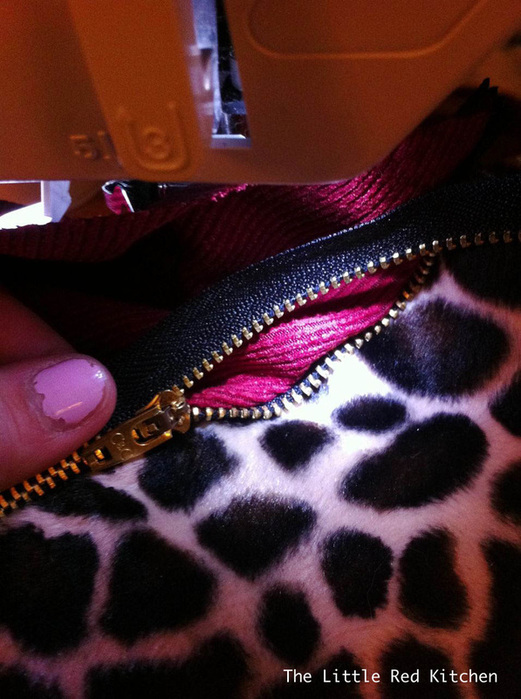
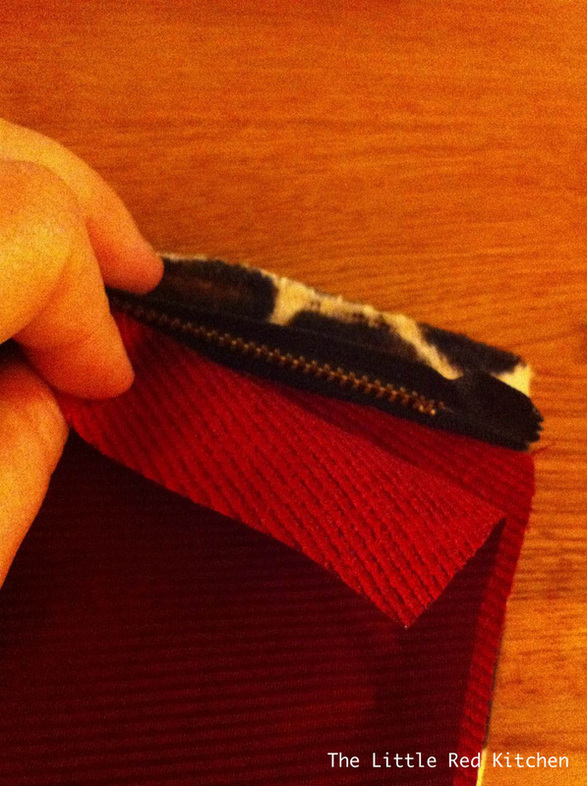
It'll look all lovely and attached like this, when you've finished and peek between the two layers of fabric:
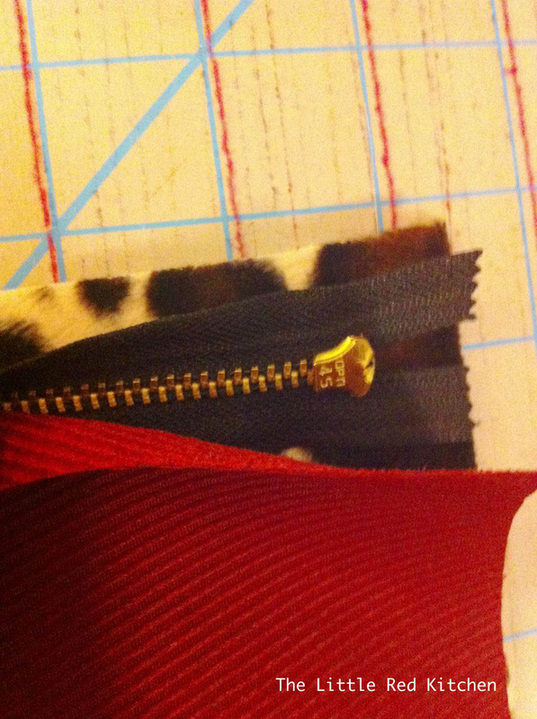
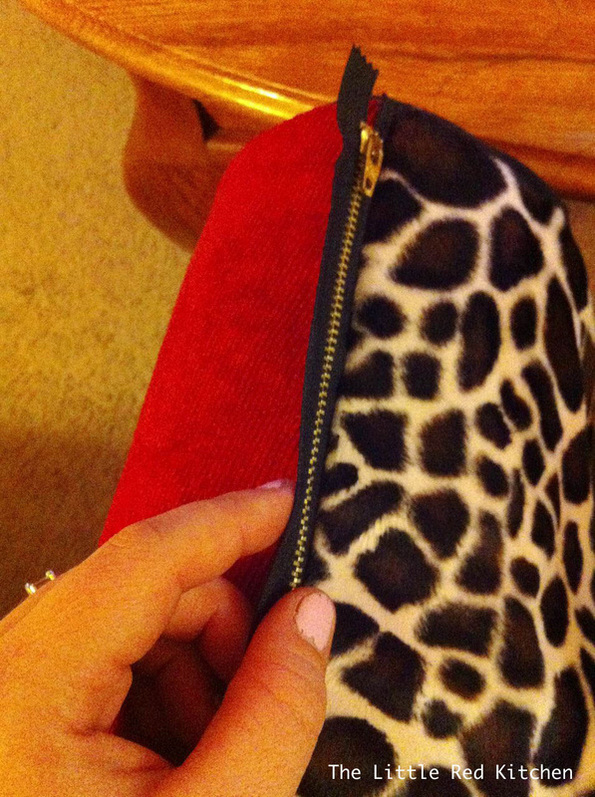
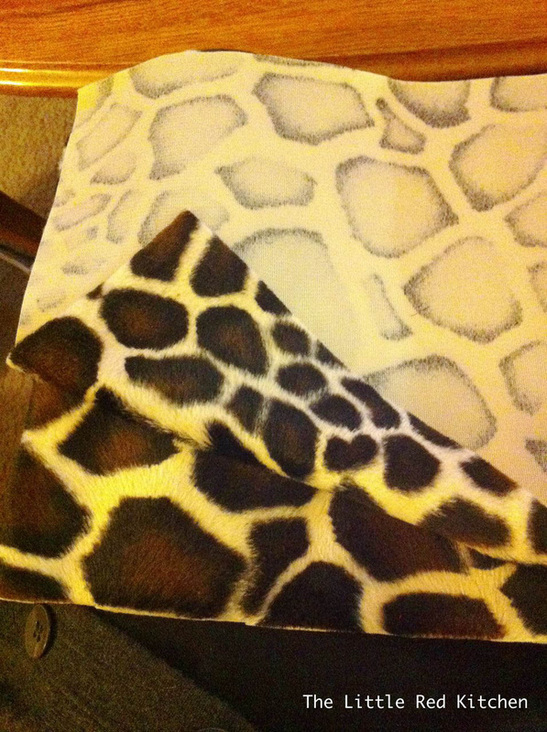
Step 7: Fold your now-attached-to-zipper fabric pieces so that the zipper is exposed. (This will mean that the wrong (unpatterened) side of the exterior fabric and the right side of the interior fabric will be facing each other.) Press it flat with your hands.
Step 8: Lay the other piece of exterior fabric down on a flat surface, right side up.
Step 9: Place your zippered pieces on top of the next exterior fabric section, and line up the other side of the zipper fabric along the top edge. The right sides of both piece of exterior fabric should now be facing each other (giraffe to giraffe, in this case).
Step 10: Place the other piece of lining fabric on top, just as in Step 4, lining up the top edge of the exterior fabric, zipper, and interior fabric. Pin and sew, just as before.
Step 11: Once everything has been sewn to the zipper, flip the fabric "pages" you have just attached to the zipper "binding", such that the exterior fabrics are on top of one another, right sides together. The lining fabrics should also be facing each other, but the wrong sides should be together.
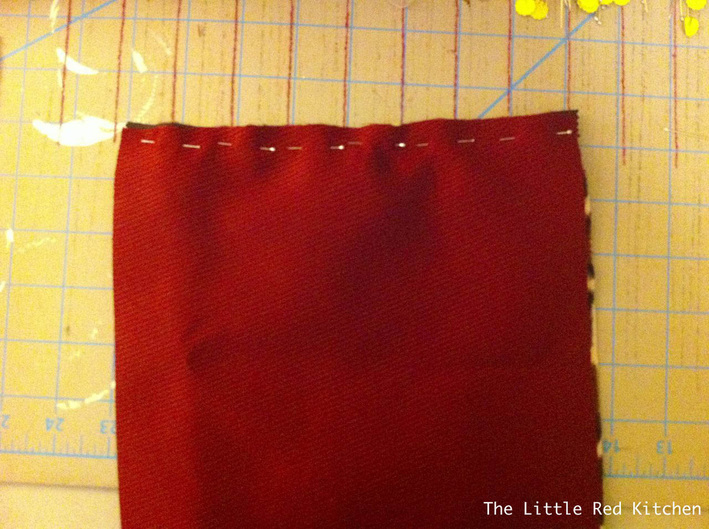
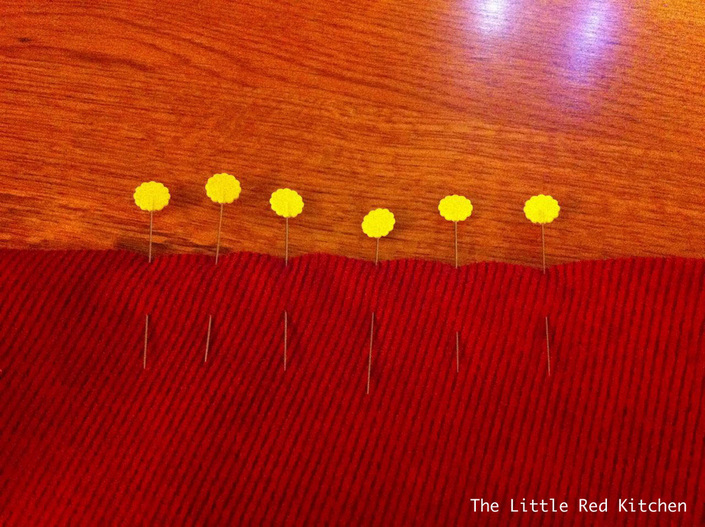
Step 12: Pin all the way around, but be sure to leave a gap in the bottom of the lining fabric. You'll use that space to turn the bag right-side out when we're done, with the help of the opening we left in the zipper back in Step 3. (You can see the space I left between my pins on the right side of my bag, below.)
Step 13: Sew all the way around both sides (you will have to do the exterior fabric and interior fabric sides separately, since the zipper runs down in between them), and remember to skip over the gap you left in the lining fabric.
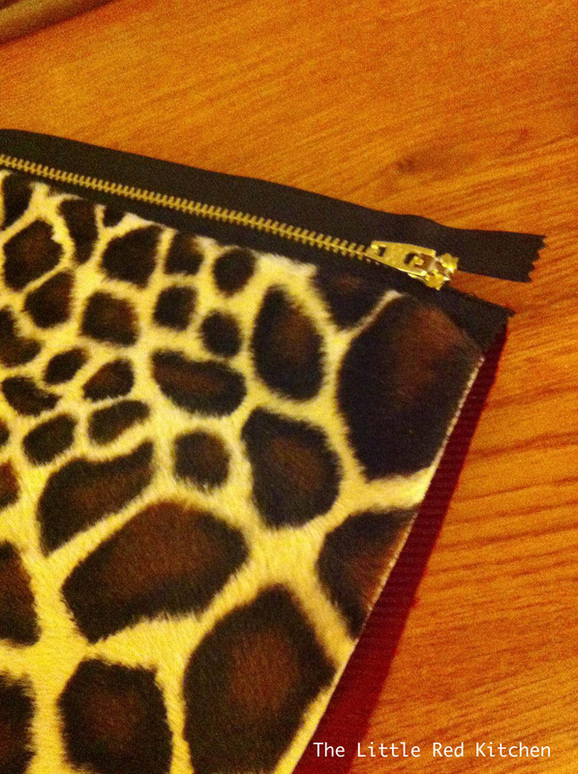
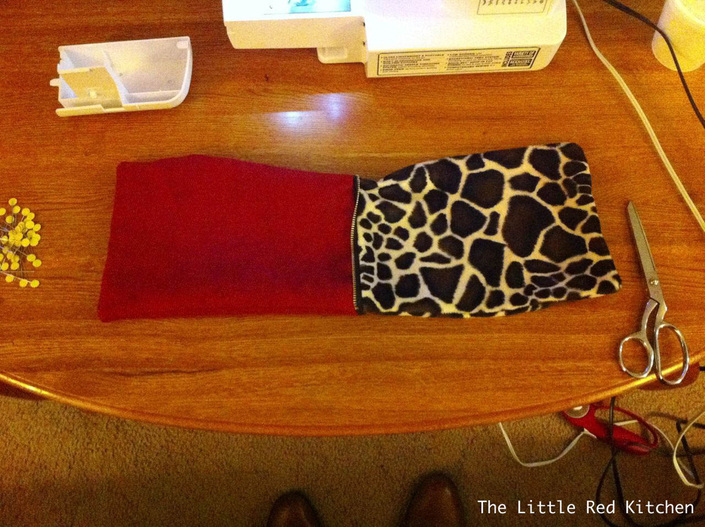
Step 14: Almost done! Using the gap you left in the lining fabric, turn the bag right-side out. It should look something like this:
Step 15: Pin and sew the gap in the lining fabric now, since we're done using it.
Step 16: Shove the lining into the pouch created by the exterior fabric, and test out the zipper a few times! Press if desired. You now have a shiny, brand new, one-of-a-kind clutch that you made all on your own. Enjoy!
Thanks for reading!
- Kaitlin
- Kaitlin

 RSS Feed