There's something inherently satisfying about making something yourself, especially if you often shell out (too much) money for someone else to do it for you. Stick it to the man! Make your own clothes
(at least once in a while...)! I bought a bunch of knit fabric with the intention of making a dress (or two), a maxi skirt, or a top. It took me weeks to decide on a wrap dress (ah, a classic cut that looks great on literally everyone... examples here, here, and here). It then took me about a week to find a pattern, since I've never used one before (except those I have drafted myself using my own clothes as guides). I found this FREE! and very simple pattern via Craftsy, by Deby Coles. The bonus of this pattern is that it comes as a series of PDFs... simply print, match up, and you're good to go! I started by making a dress strictly by the pattern, and found that while it fit amazingly well, I wanted a cross-over top that I wouldn't have to worry about falling out of (obviously!). This is my attempt at both using and altering the pattern, and I hope it encourages you to try this out for yourself! What I used: - Printed pattern pieces, assembled per the included instructions - 1.5 - 3 yards of four-way stretch knit fabric, such as jersey, rayon, or blends of the two (Yardage obviously depends on desired size: I was able to use 1.5 yards for a size small, with some left over. Deby used 2 yards for a size medium, with some left over. Increasing yardage by 1/2 yard per size seems like a good estimate.) - Coordinating thread - Ruler or measuring tape - Pins
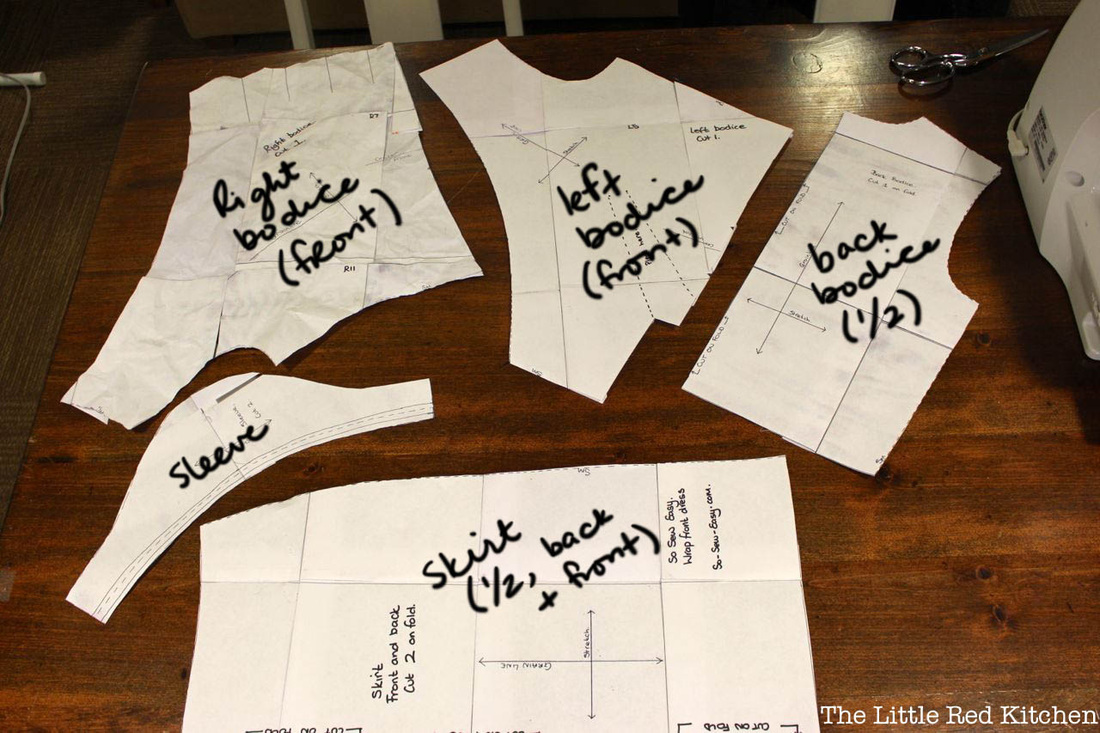
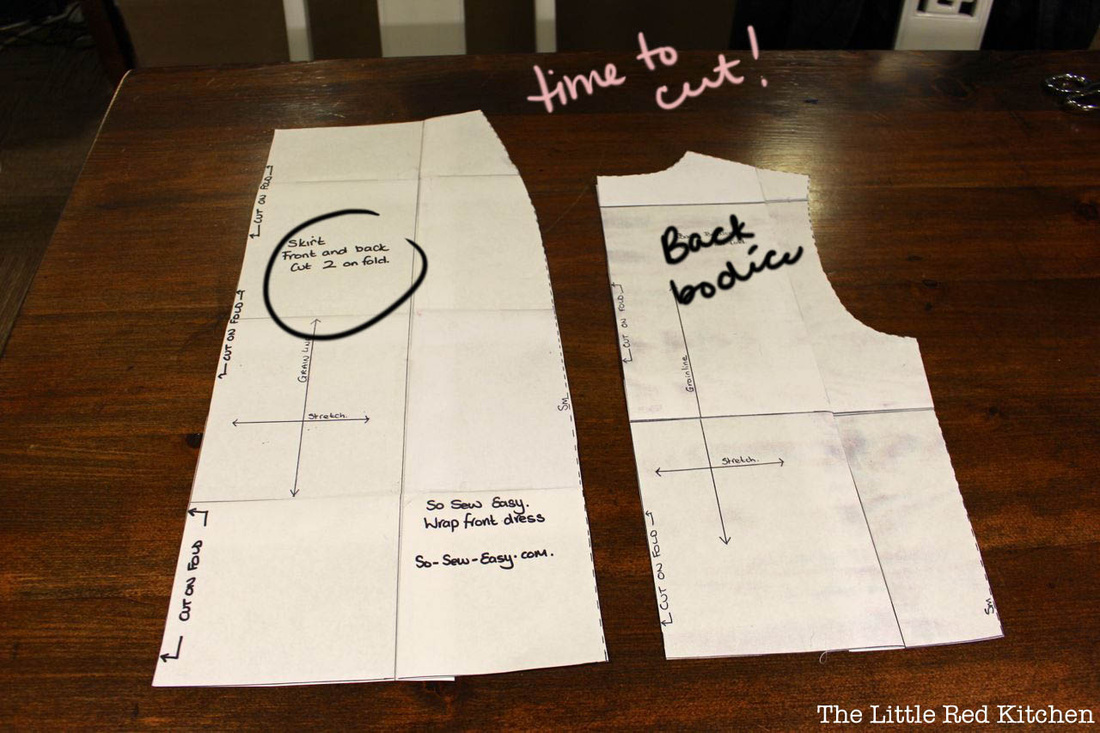
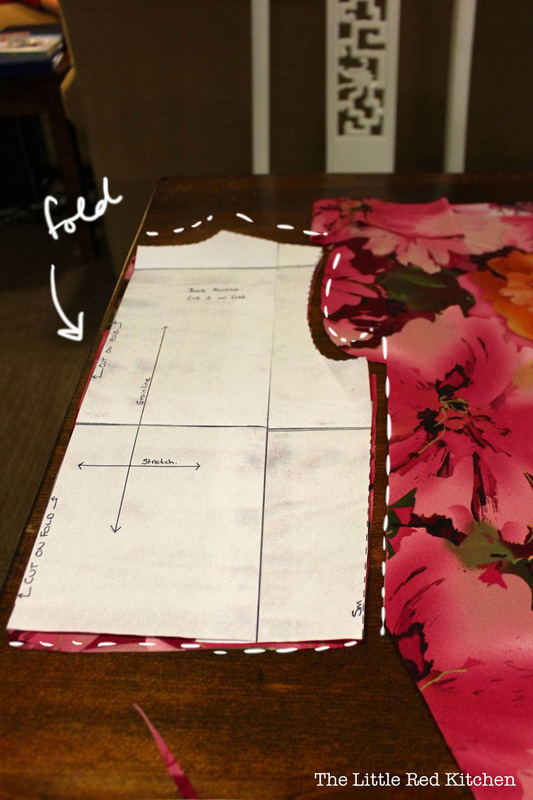
- Sewing machine (preferably with a walking or even-feed foot, but it's not mandatory) - Iron and ironing board I started by assembling and laying out all of your pattern pieces (6 in total): I decided to work with the back bodice and skirt pieces first, since I needed to cut them on the fold (the pattern piece is only half of the desired shape):
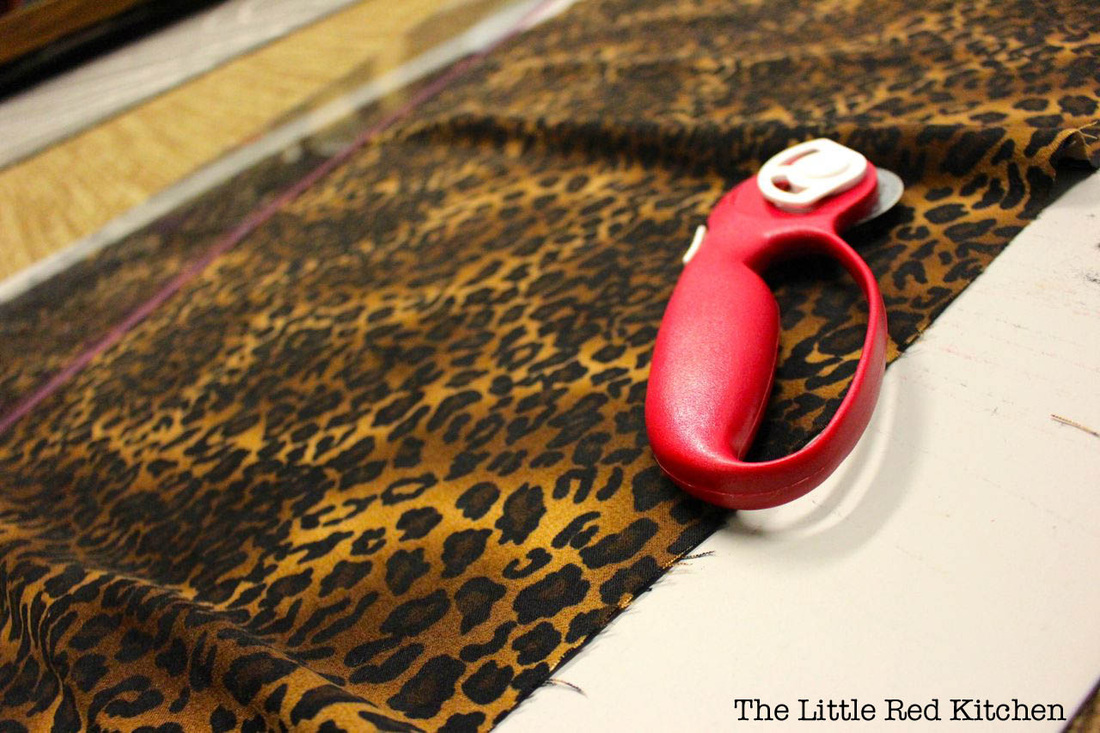
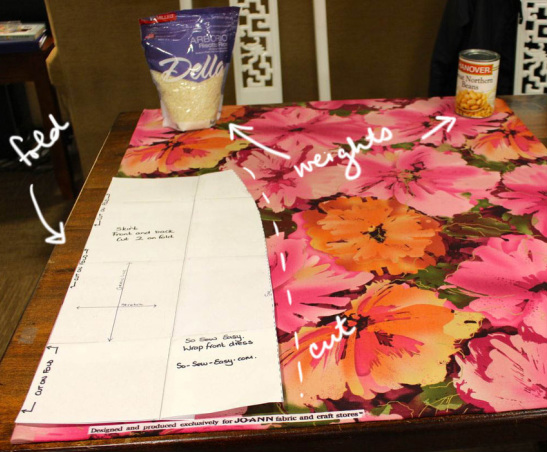
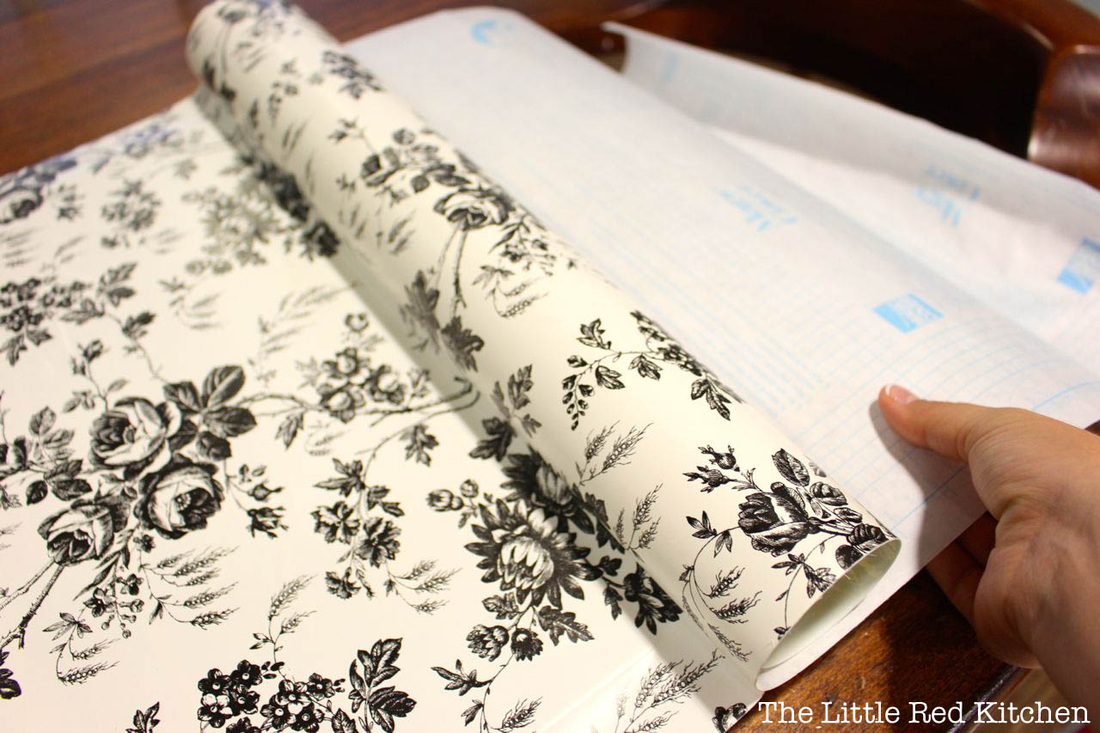
I laid out the fabric, folded in half lengthwise. It was heavy (more fabric is hanging off of the table edge), so I used "weights" to prevent it from slipping off the table. Then I put the skirt pattern piece as close to the edge of the fabric as possible. You could also use weights to hold the pattern pieces down while cutting!
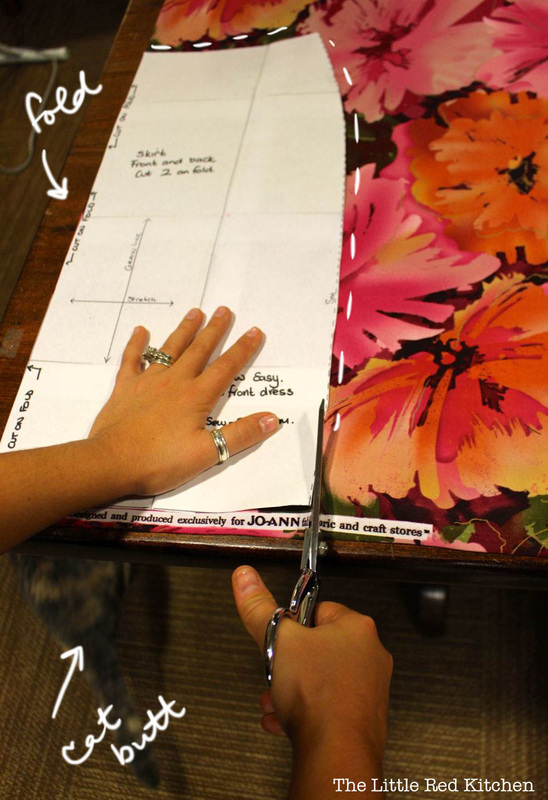
Then I just cut along the pattern. I'm a lazy pinner-- If I can get away without pinning the pattern down, I will totally do it. If you want to be really accurate though, you probably shouldn't be like me. Since I needed both a front and back for the skirt (backless skirt? oh my!), I repeated this process.
Then I did the same thing for the back bodice piece.
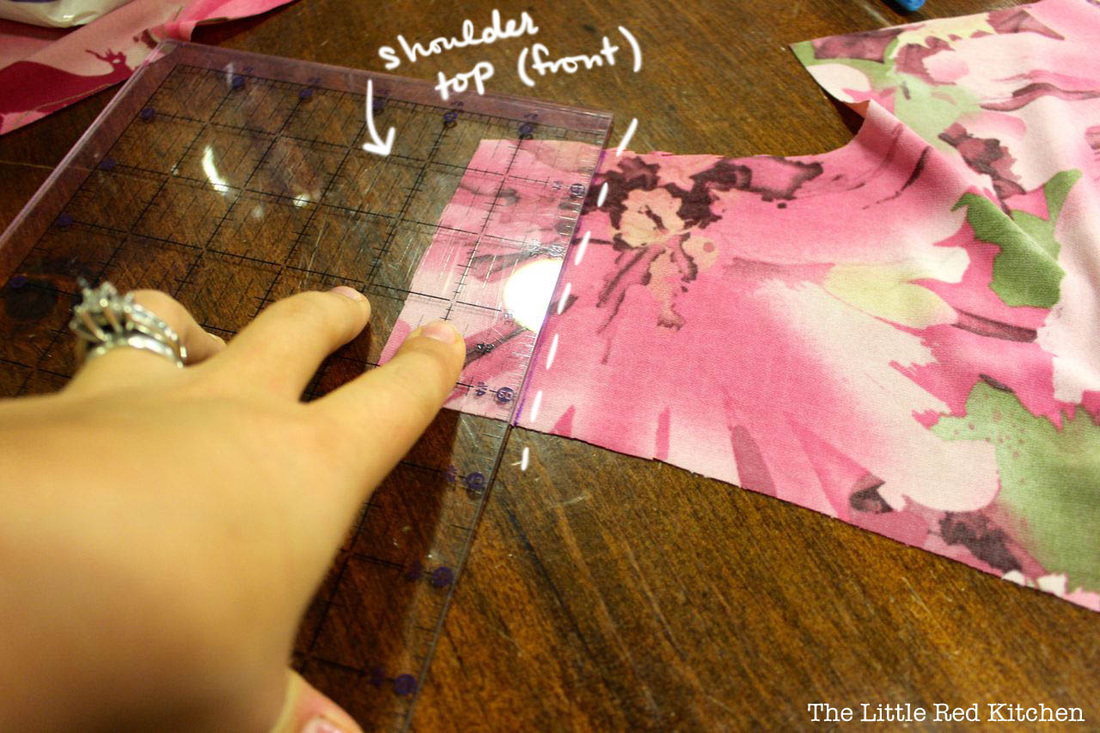
The rest of the pattern was simple, so I cut those out after unfolding the fabric (I only needed one of each piece). Next, I had some alterations in mind. The front of the bodice on my first attempt was really pretty, but it was also casual and a little too low-cut for professional wear. I decided to fix that problem on this dress by raising the shoulder straps on each of the front of the bodice pieces by 1.5 inches by cutting that amount off of the top of the shoulders.
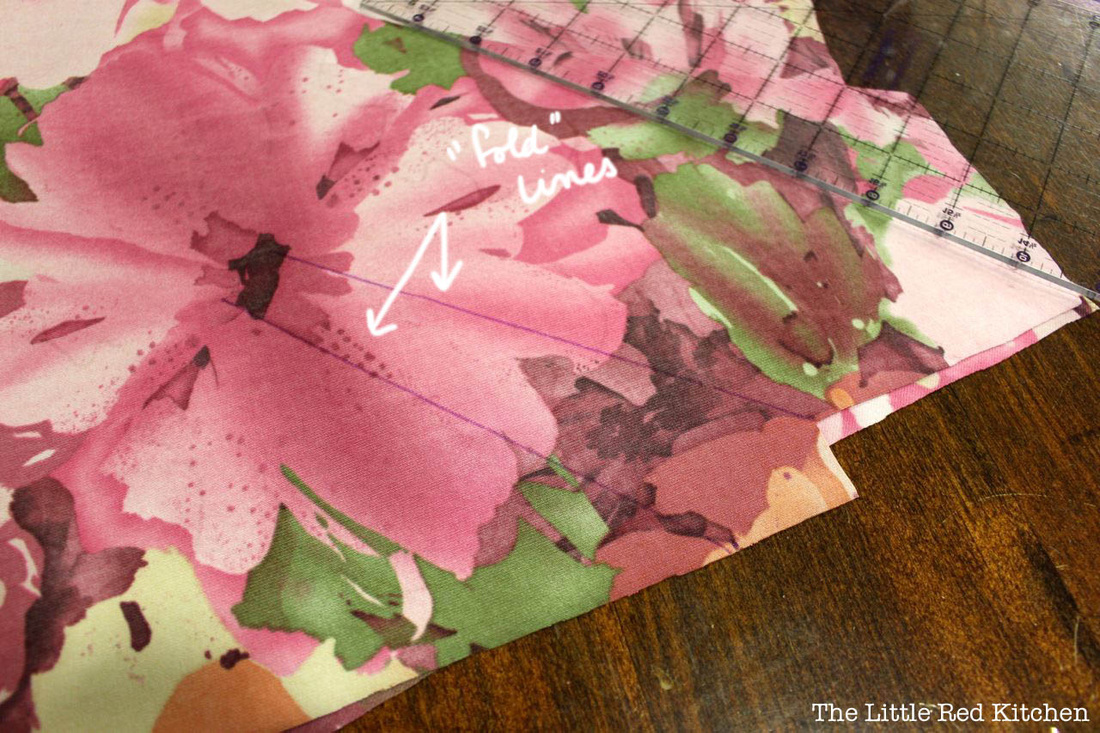
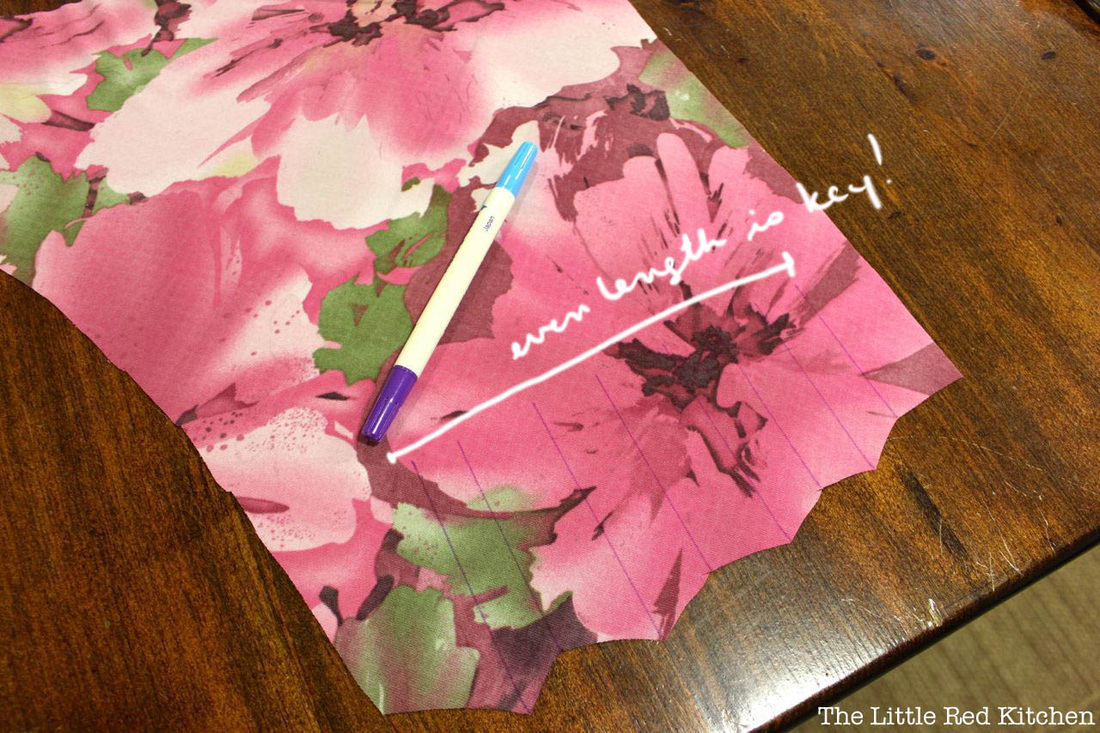
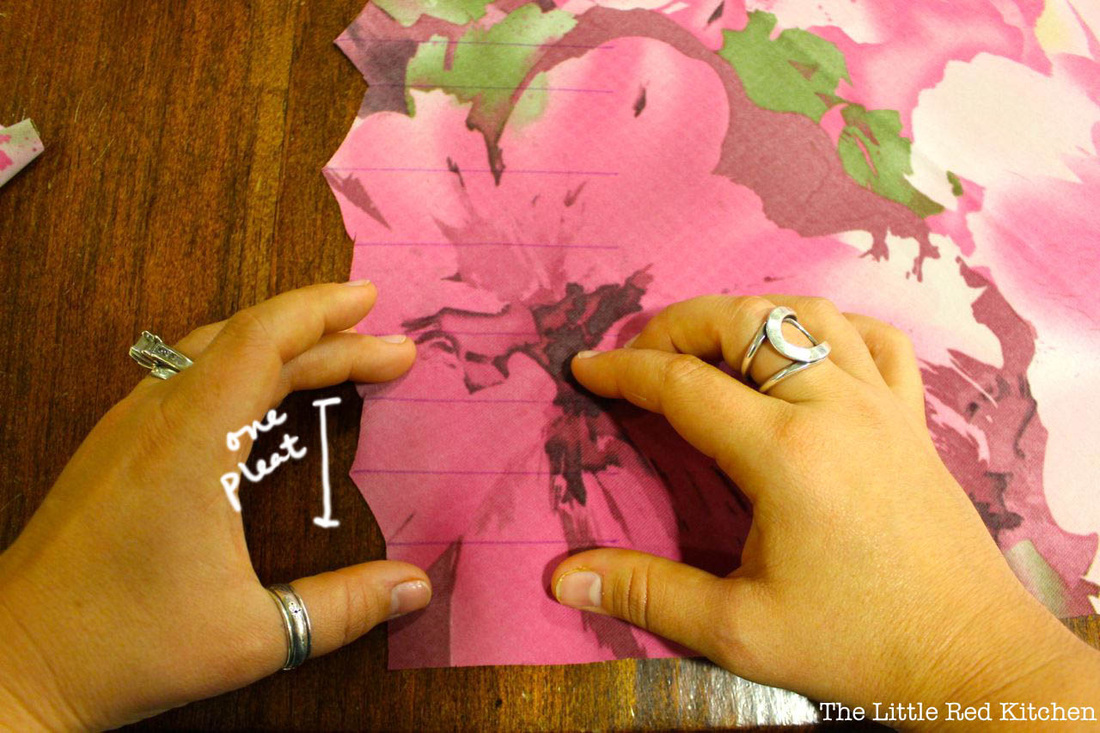
When that was finished, it was time to draw the pleats. The included PDF gives great instructions on how to do this, so I just followed along using a fabric marker with disappearing ink.
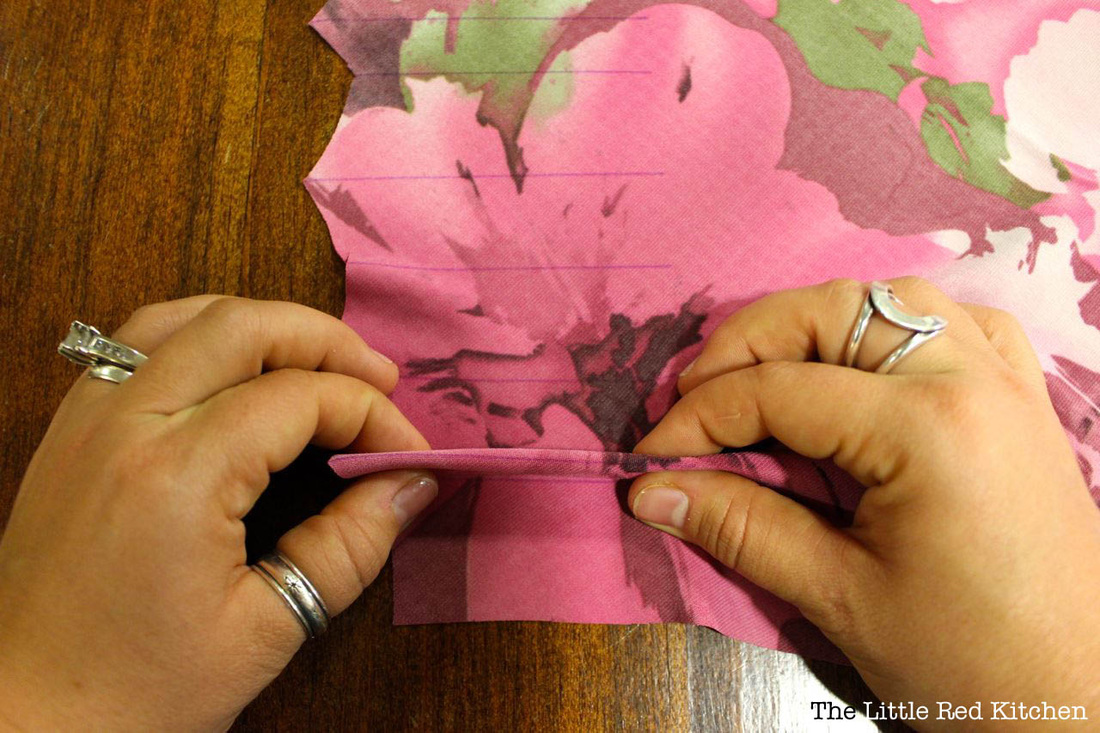
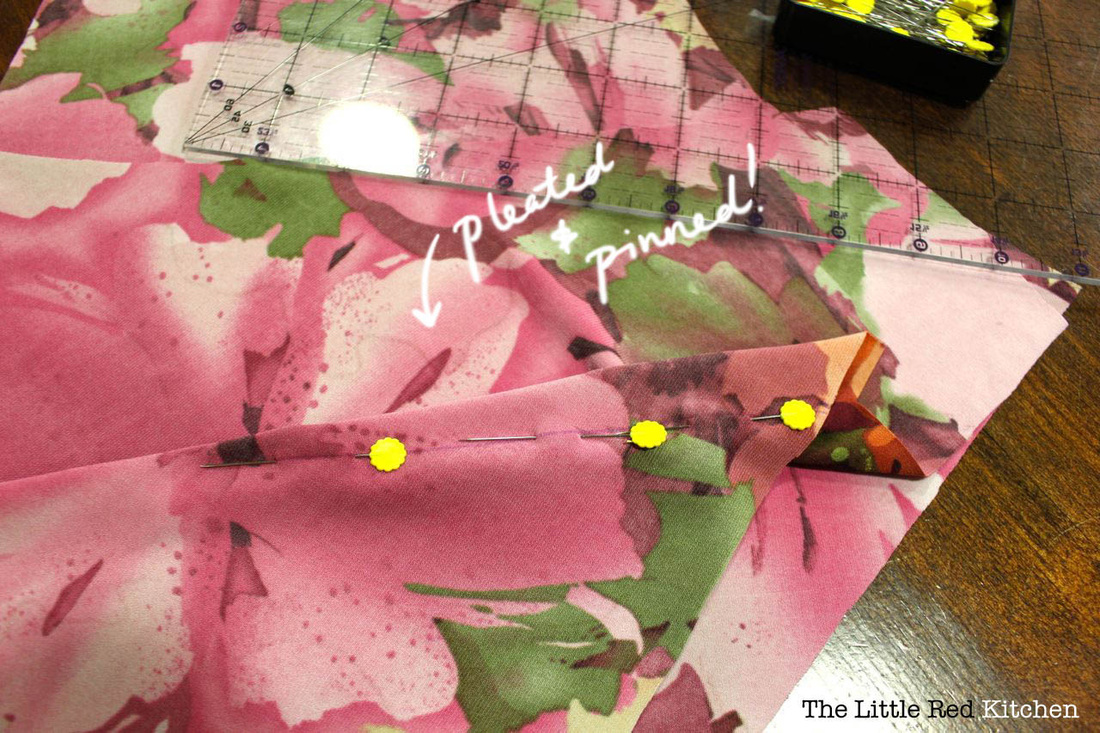
Once the pleating guidelines were drawn, I pinched the fabric like so:
...and the same for the left bodice piece.
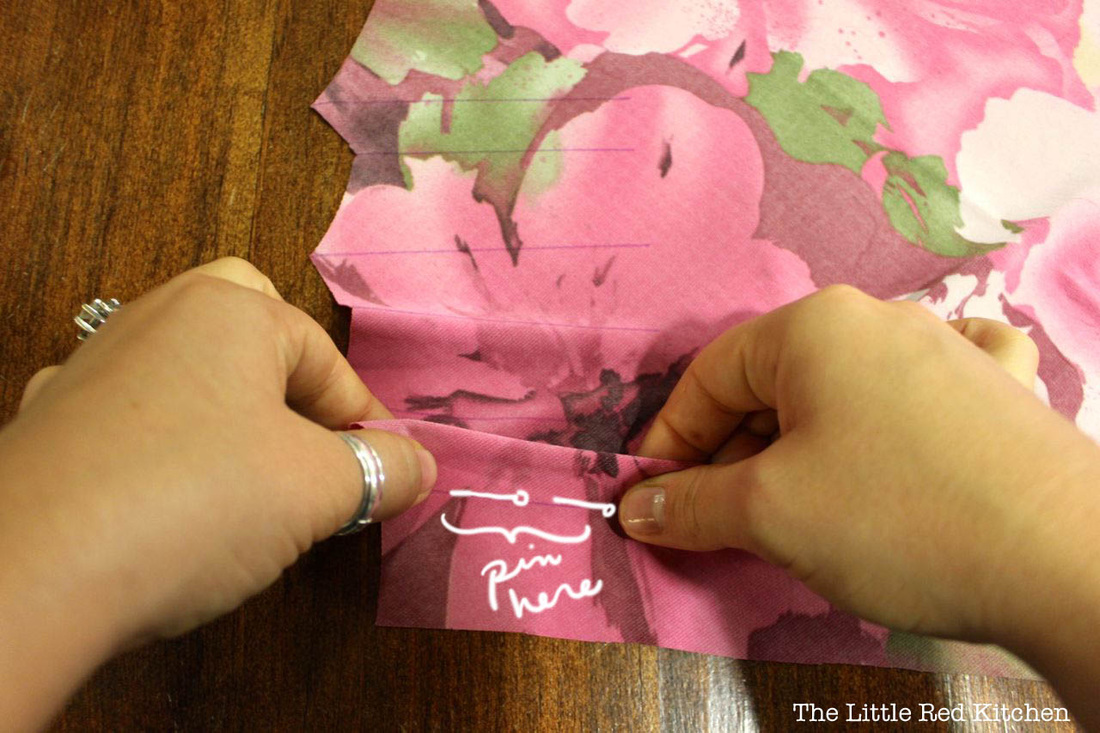
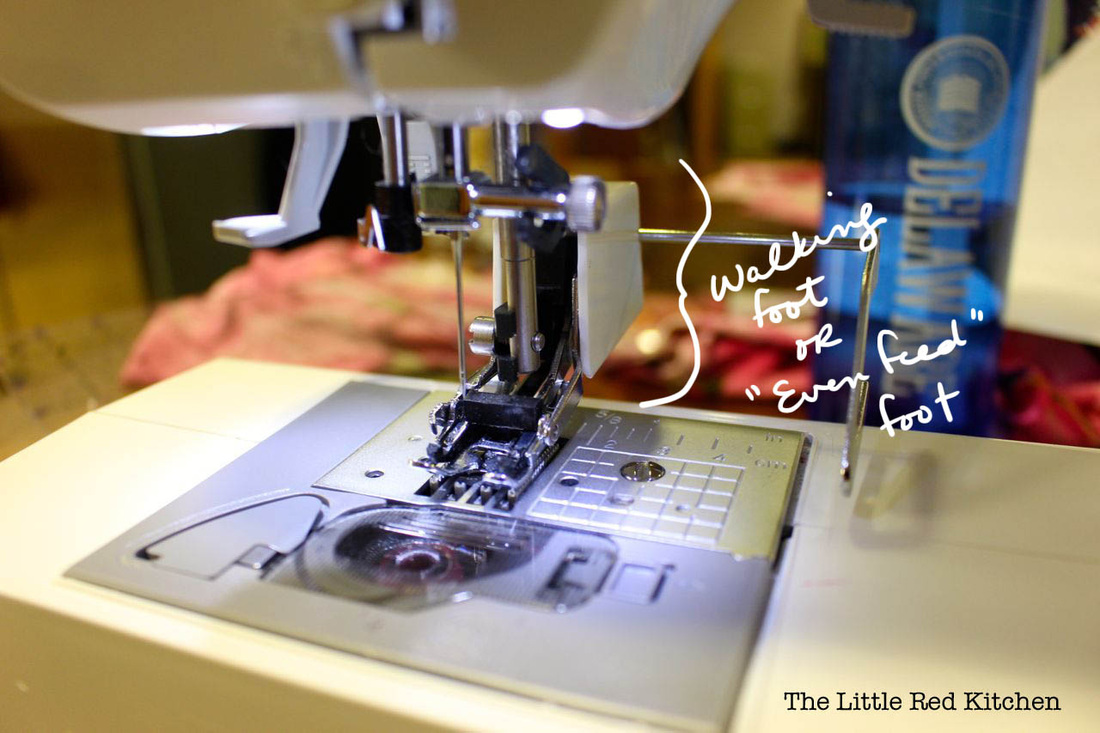
I know the pins are a bit wonky, but that's okay! I'm going to use my new (and fantastically fun) walking foot, or even-feed foot. This ensures that both layers of fabric are moving under the foot/ needle at the same time (which is really helpful for stretchy or slippery fabrics). With this, I can remove the pins as I go (apparently you're supposed to always do that... who knew!), and follow the lines I drew.
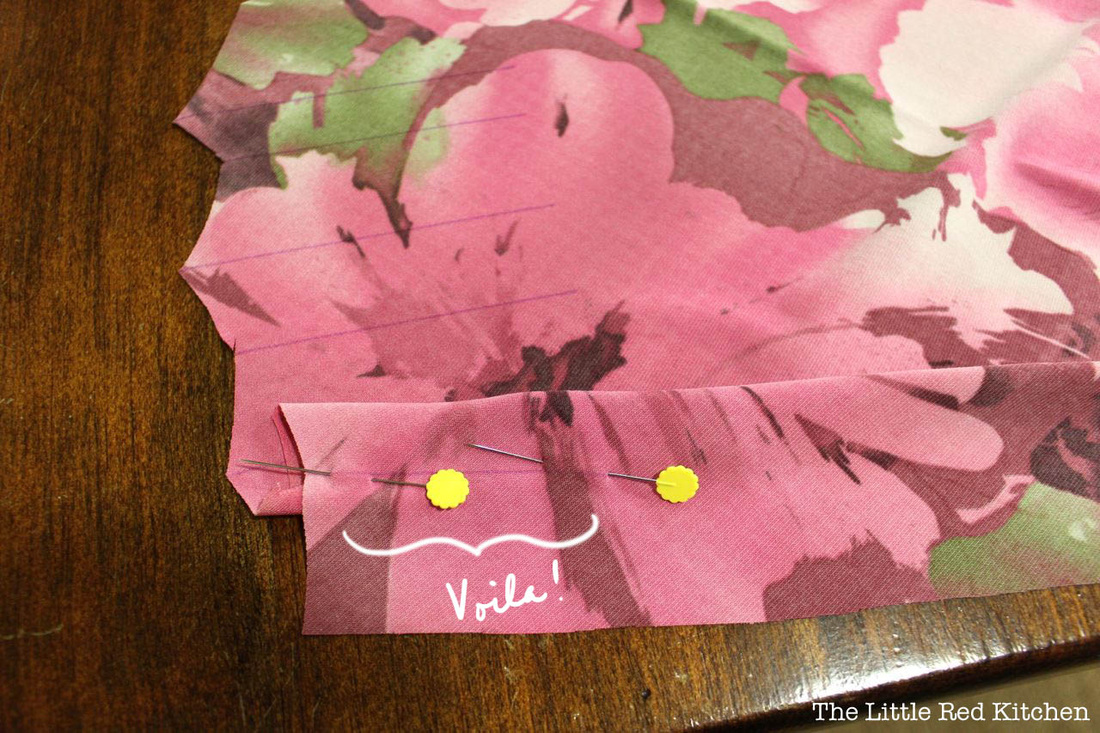
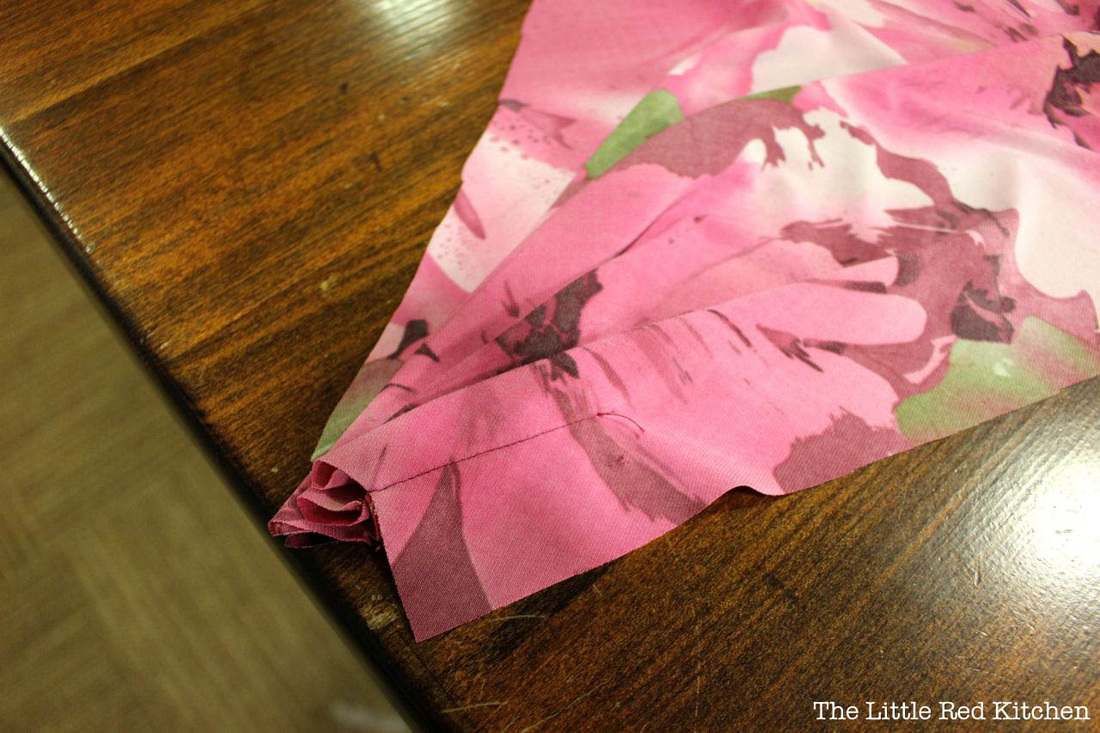
Pleating, for me, was the most difficult part of the pattern (since I'd never done it before). If you try this out and are patient, you'll be fine! Here are my finished pleats. They look a little uneven, but that's okay-- we'll sew the end into the side of the bodice anyway.
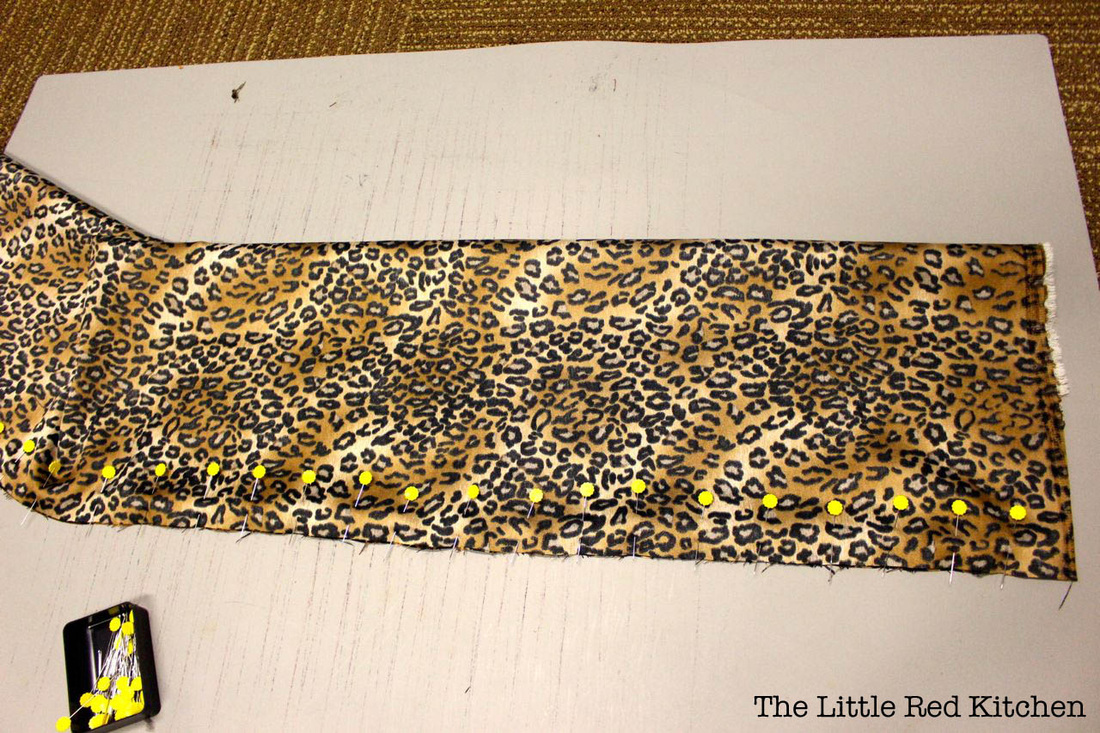
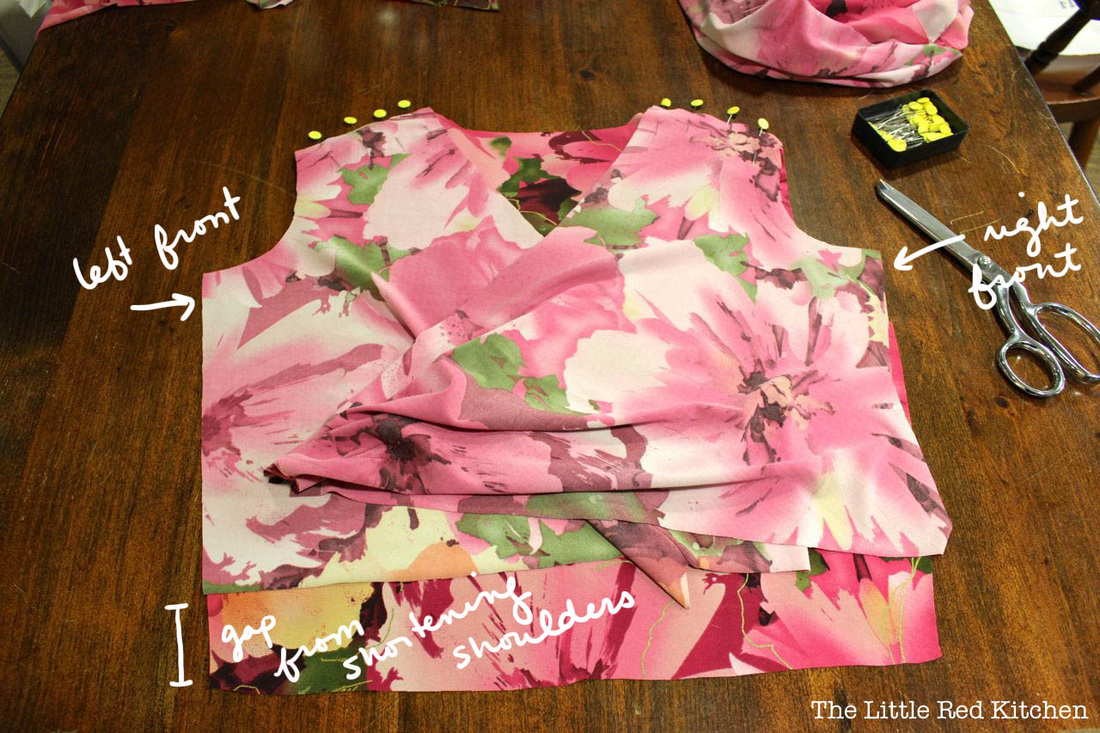
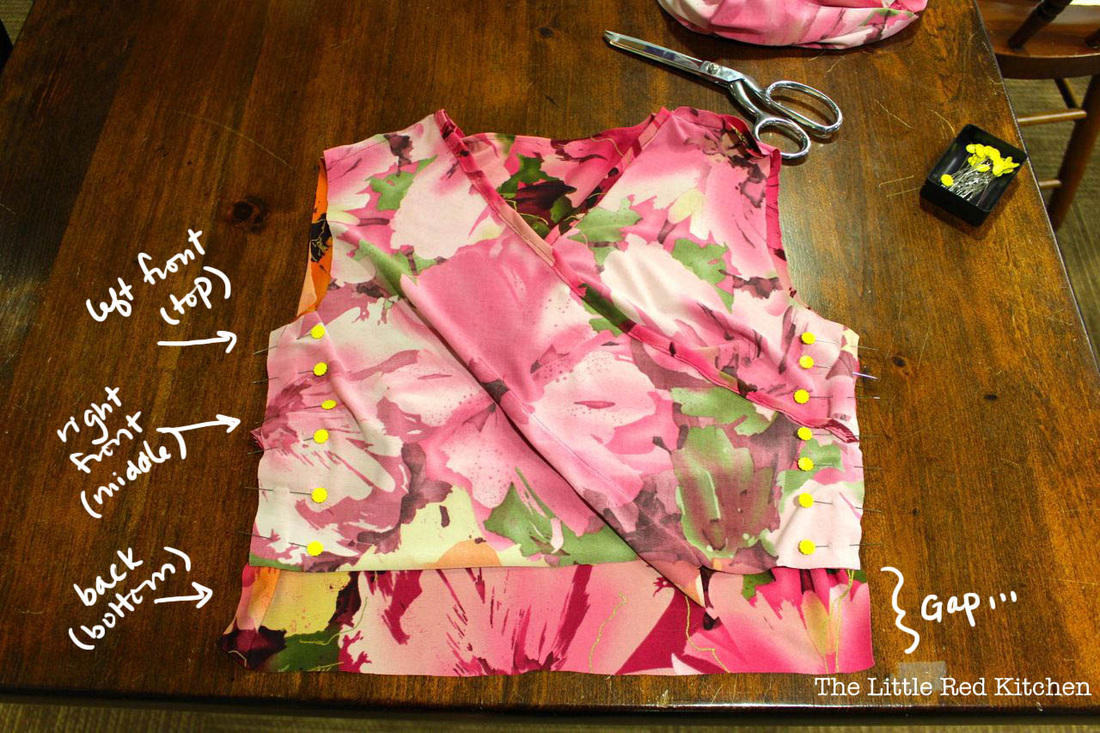
Once both sets of pleats were finished, it was time to attach the shoulders by laying the pieces out, right (patterned) sides together, and pinning the shoulders. Since I shortened up the front of the bodice by cutting the shoulders, there was a gap in the front of the bodice. Now, I know crop-tops and/or high-low skirts are in right now, but I'm not a huge fan! I'll deal with that gap a little but later...
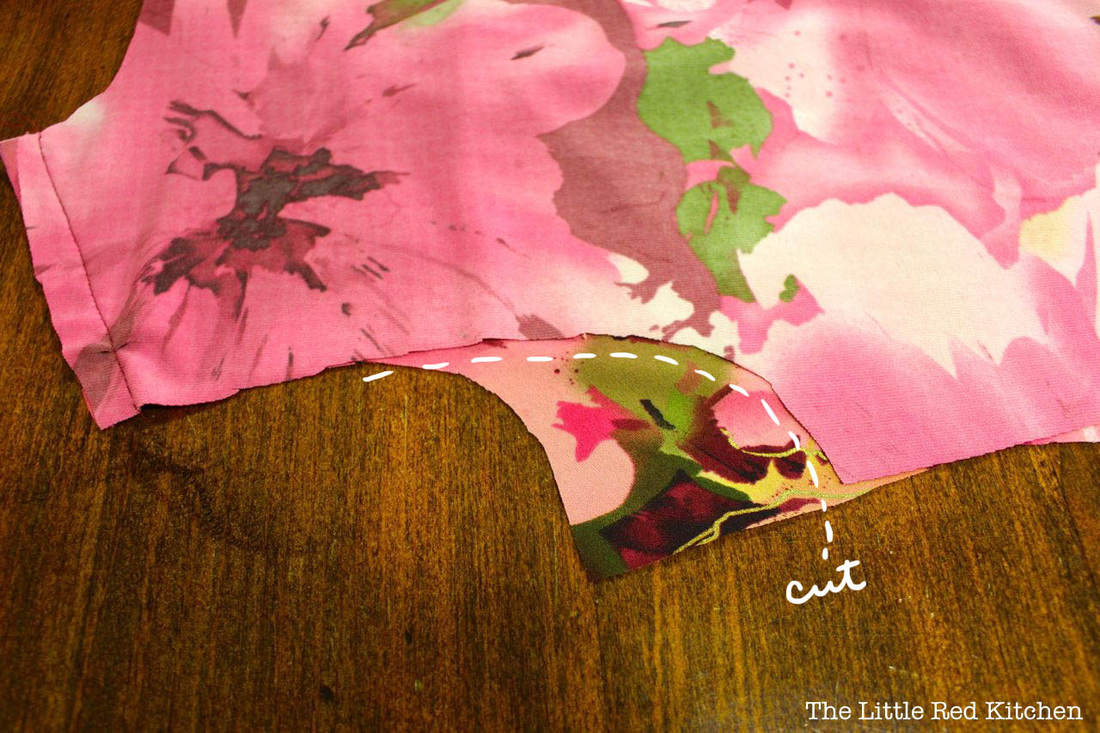
Once the shoulders were sewn (using 5/8'' seam allowance), I realized that the armholes were going to need some reshaping too. I lined up the shoulder straps and bodice sides, and simply cut them to match.
To finish the edges of the neckline and cross-over portions of the bodice front, I pinned down the raw edges 5/8'' and sewed right along the edge. Since this is a knit, it won't unravel, sooo I didn't worry about folding the hem over twice. (Not the most professional, but hey-- I'm the only one that'll ever be seeing it!)
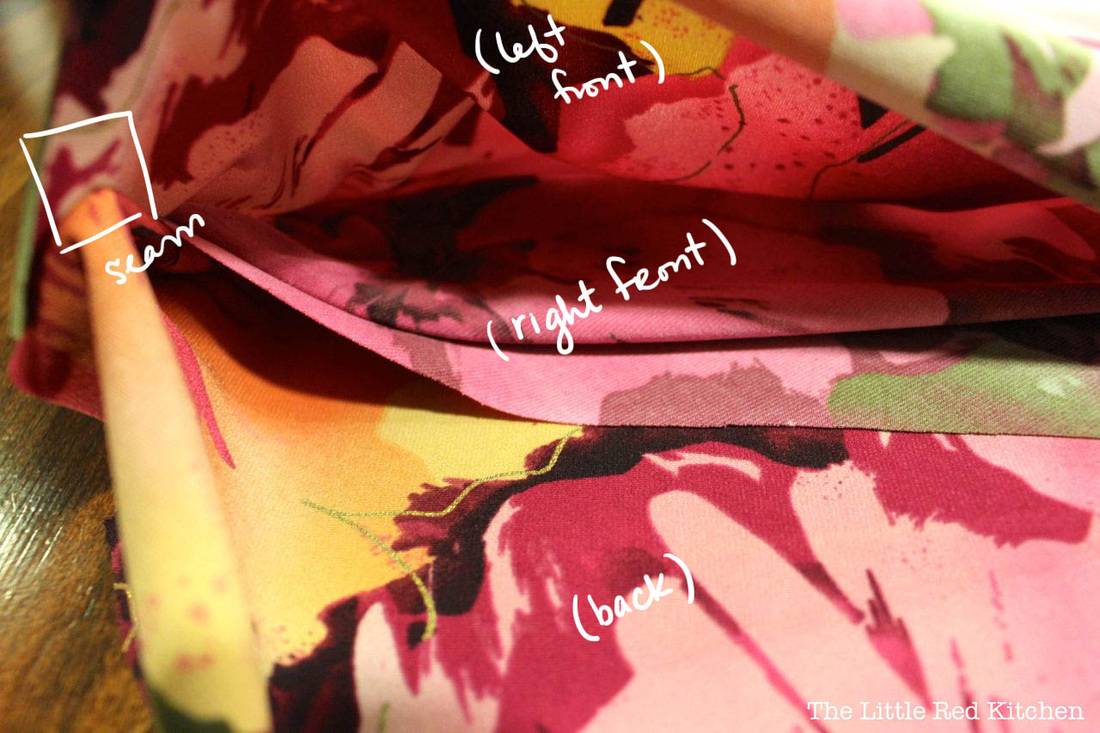
Almost done! Next, I lined everything up right-side together (so, inside-out) to sew the side seams. I made sure that the right hand front bodice piece was the closest to the inside, since it was the one I wanted to see when it was done. I sewed these also using a 5/8'' seam allowance and a straight stitch. Sometimes when sewing stretch fabrics (especially seams that will get a lot of use/stretch), it's recommended to use a stretch stitch or zig-zag. My fabric had a ton of give in it, and this was large enough to fit me without too much stretch, so I didn't use them.
Here's another view of the bodice placement for sewing the sides:
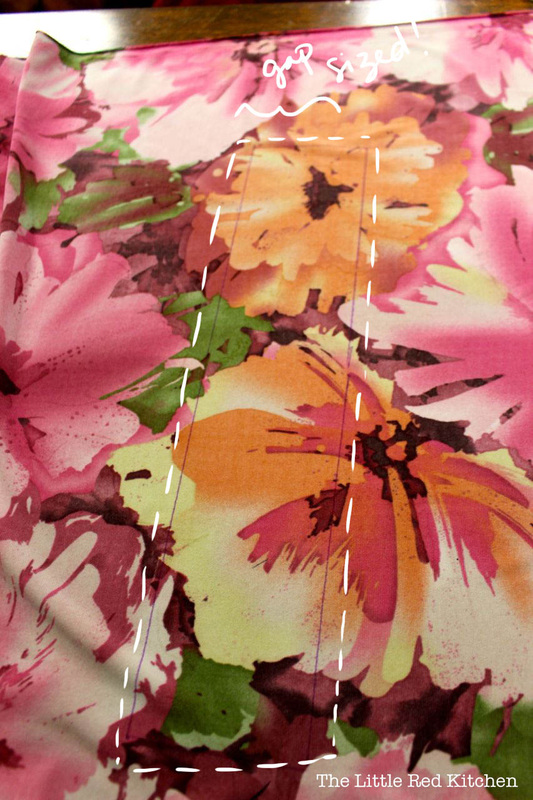
Next it was time to deal with that pesky gap along the bottom of the bodice. I thought it would be cool to add a waistband from the section of the fabric that contrasted slightly with the rest of the bodice. This would help define my waist AND make sure that the skirt could attach to the bodice evenly. I cut out a section that would fit the gap I'd left (below), and sewed it along the bottom of the bodice.
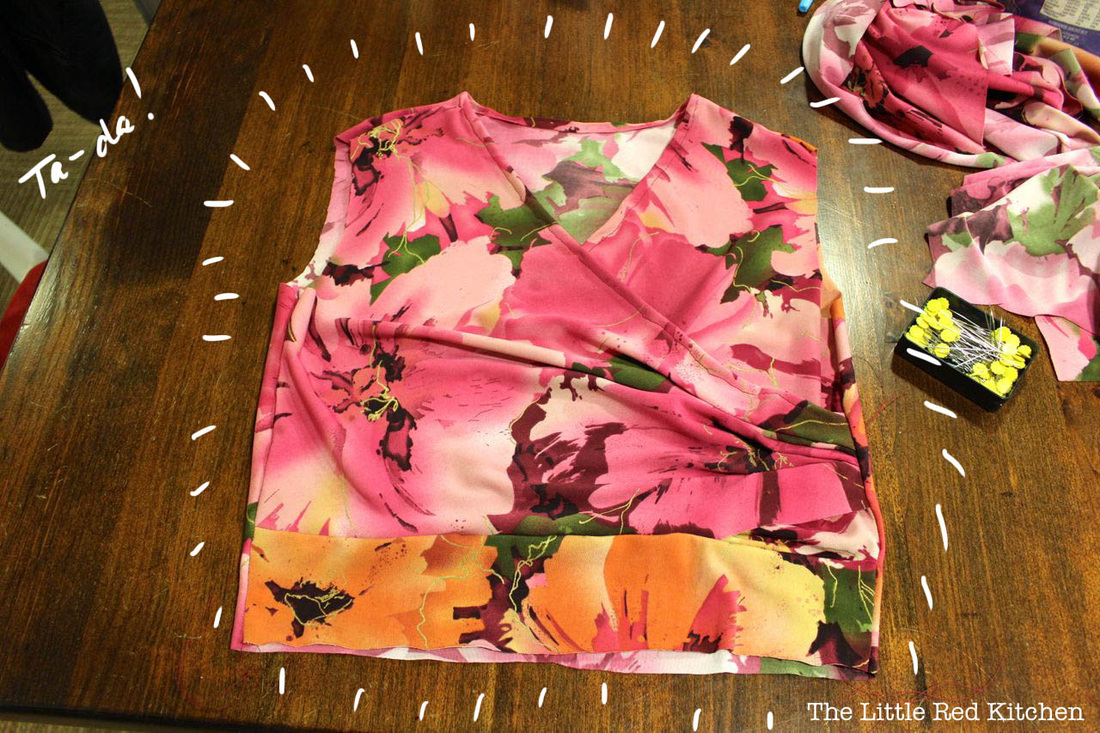
Then I turned the bodice right-side out and...
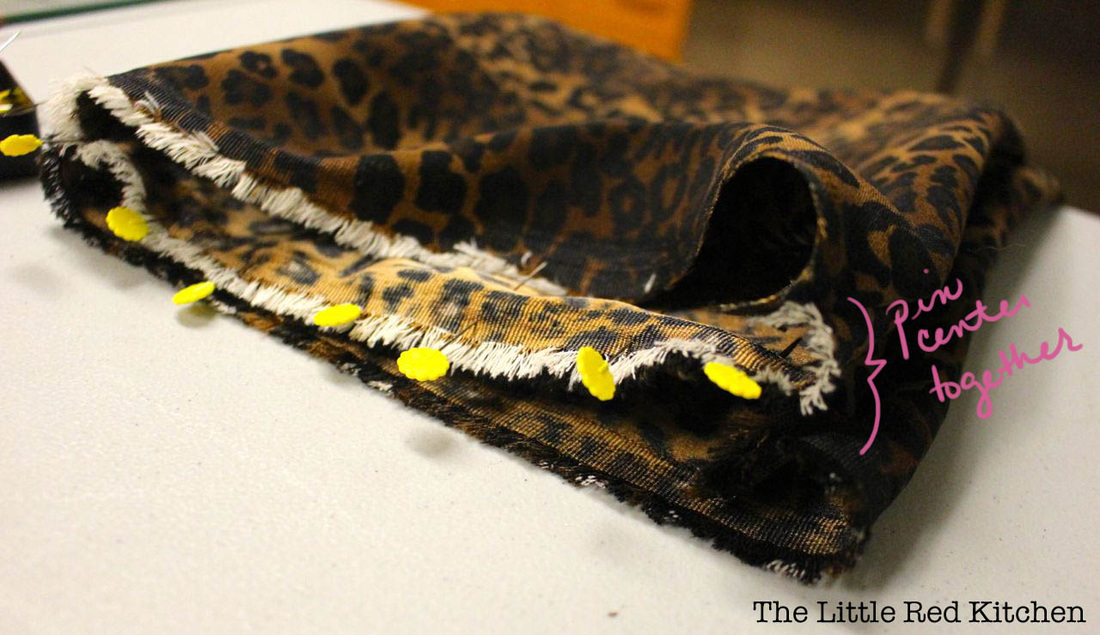
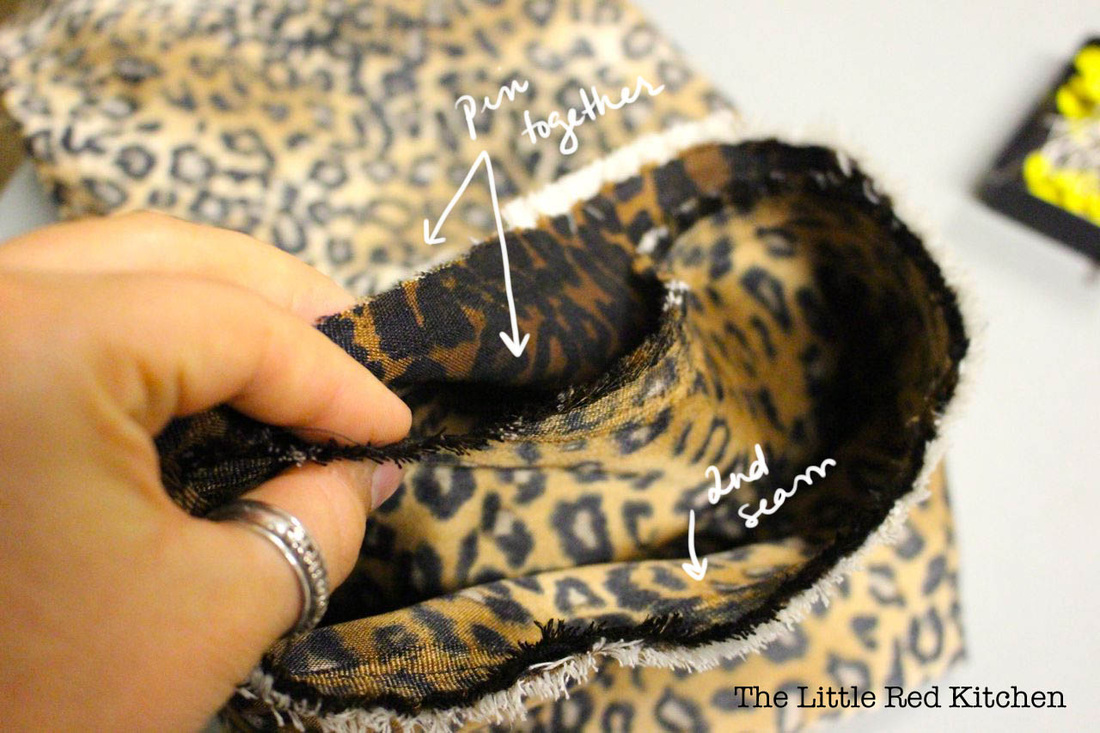
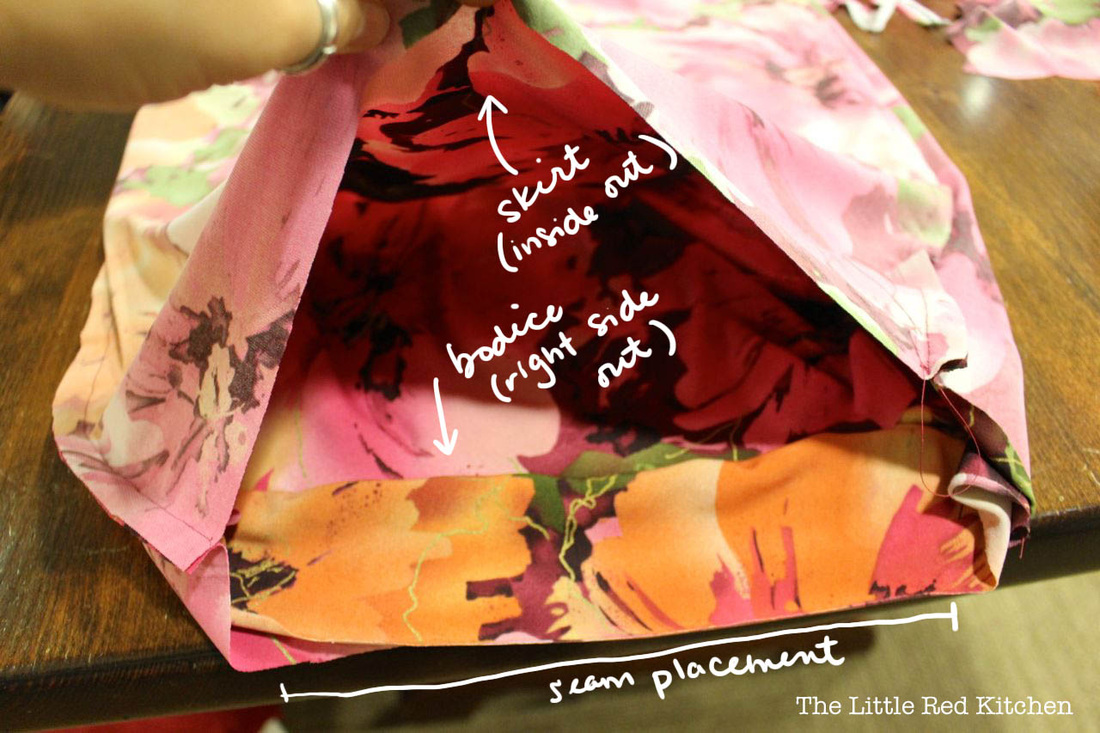
Next (not-pictured), I put the skirt pieces right-sides together, pinned up the sides, and sewed them using a 5/8'' seam allowance. After the bodice adventure, it wasn't that exciting! I left the bodice right-side out, and slid it into the inside-out skirt, so the waistlines matched up. As you can see, the bottom edge of the skirt was above the top of the bodice (since it would come down and hide the seam when I was finished... I hope that makes sense)!
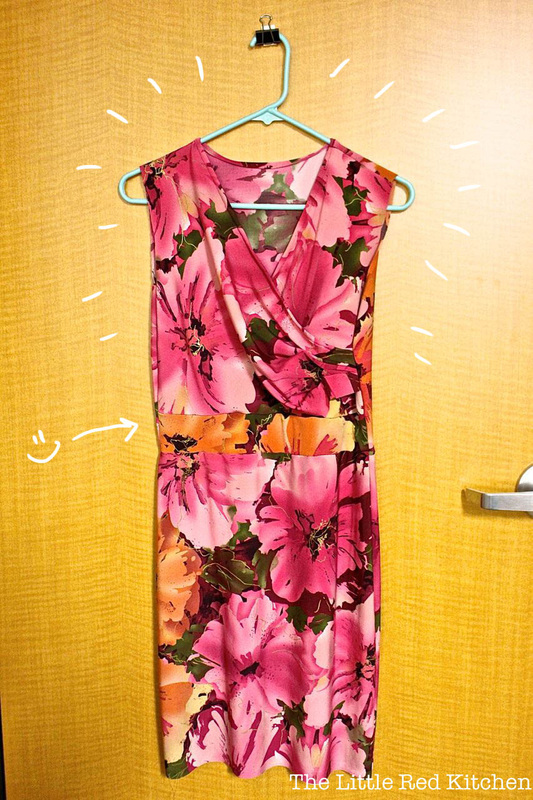
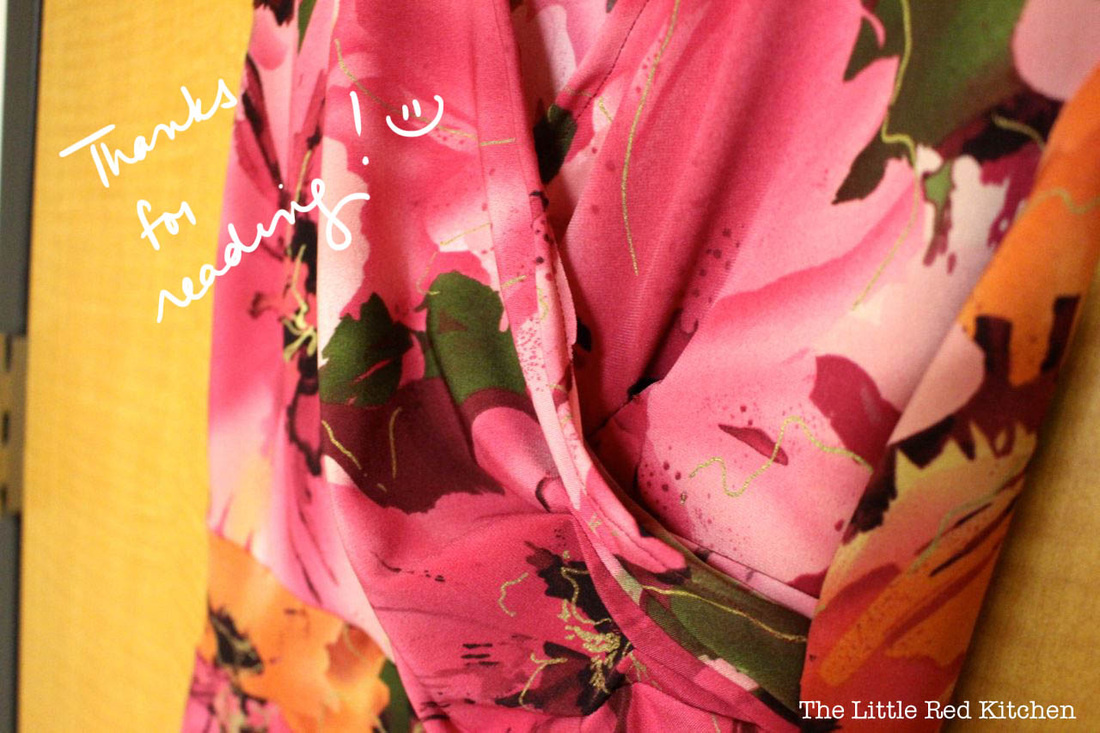
Once that seam was finished, I was all done! I still have to hem the skirt bottom (maybe... it's a knit so, again, it won't unravel, but it does look more professional with a finished edge). I chose not to add the sleeves, so I'll have to either put them on later (or finish the armhole edges), but I'm really happy with my work for now. And just look at that nice, contrasting waistband-- for a mistake, I'm pleased with how it turned out.
- Kaitlin


 RSS Feed