As I'm sure I will mention in many a post, I live in a fairly small apartment, with another human being, so a lot of modifications need to be made in our space in order for it to be livable and happy. For instance, as much as I may or may not want to indulge in that grown-up female urge to decorate the heck out of every square inch, I can't. So, what is the answer? To the walls!
I can cover every last bit of my wall space in all sorts of things if I want to. Now, I don't want to, first of all because I have minimalist inclinations, and second of all, because I'm picky. I don't want just any old thing that anybody is bound to have hanging up in their house, and I want to be creative to any extent that I can be creative. And a few years ago, I discovered postcard art!
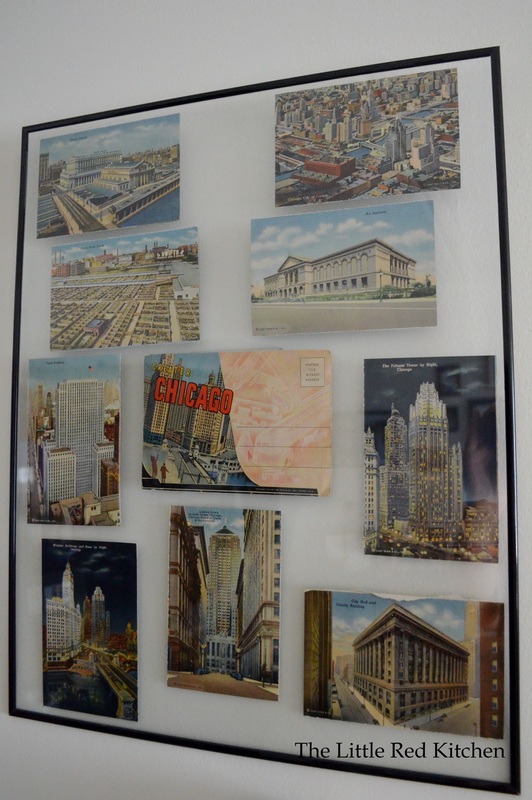
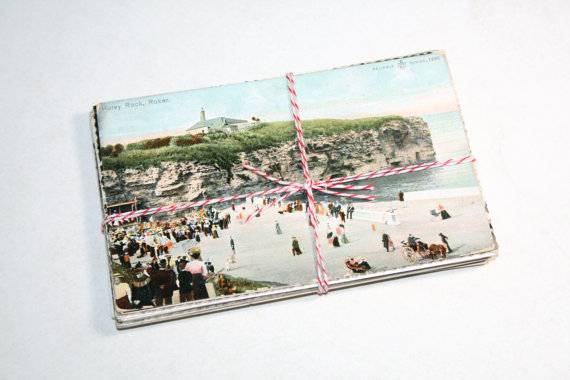
My husband and I love to travel and explore new places together, so when Doug had a birthday a couple years ago, I found a set of vintage postcards from Chicago on eBay (we had taken a trip there recently), slapped them in a frame, and bam! He loved it, and now it hangs on the wall in a home we share. Even better, the postcard set cost about three bucks. All of this being said, this post isn't extravagantly DIY, more of an idea I want to share. There are postcards out there to suit every taste, and unless it's some rare collector's edition, they are usually dirt cheap. Here are a couple of my favorites: From Etsy, 25 vintage English postcards for 11 bucks? Yes please and cheerio. (Etsy listing photo from the shop of burstsofcreativity)
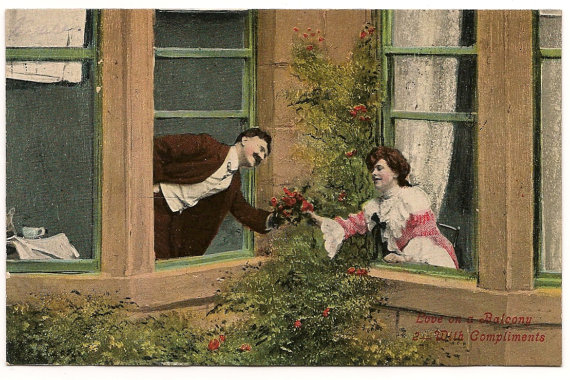
Postcards used to be art all on their own back in the day! Like this one, from another wonderful Etsy shop, pecanhillpostcards: From the Victorian Era, "Love on a Balcony" is actually postmarked, 1908, sent from Danville, PA! You can buy 'used' postcards, which I think is really cool. Also, I smell wedding décor! Somebody out there needs to get on this, and then send me pictures of it.
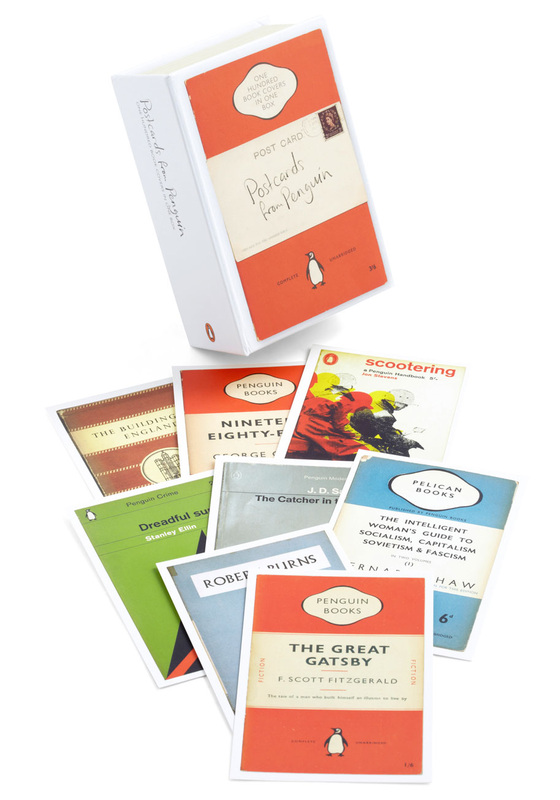
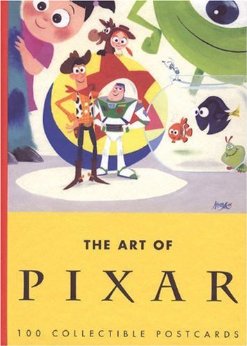
There is literally no reason why I don't yet own the Postcards from Penguin: The photo is courtesy of Modcloth, and while they are no longer available there, you can hop on over to amazon.com and snag the set of ONE HUNDRED for $17.49. And while you are there, you may want to check out these: Cant. Get over. The cuteness. Etsy and Amazon are just a few great places to start. Also check out eBay, not to mention vintage and thrift shops in your area. And, unlikeliest of sources, for my recent project, I bought a pack of 5 5x7 cards inspired by vintage floral postcards from Ikea for 99 cents. You never know where inspiration will find you. Mismatched frames are all that's left to buy.
Happy decorating!
~Lauren
My husband and I really came to enjoy wine somewhere around the time we got married, almost two years ago. We liked the fact that it was a hobby we could share, and quite easily, because what's easier than drinking wine? We began to learn more about it, to discuss what we liked about certain wines (bright, citrus) and what we didn't like about others (cough medicine with alcohol in it). Despite the high snobbery level that is associated with those who enjoy wine, there are actually very few right or wrong answers when it comes to drinking it. The only thing that is in wine is grapes, so whether or not you taste raisins, or blackberries, or coffee, or pepper, or grass, when you drink it, you're right! Because none of that stuff is in there. Make sense? You can train your palate to learn how to detect all the different nuances and subtleties, but nothing could be more subjective, because none of that stuff is ever actually in there! (When we were in Napa Valley for our one year anniversary and I picked up on the distinct flavor of maple bacon in a hearty bottle of red, I think I cried tears of joy.)
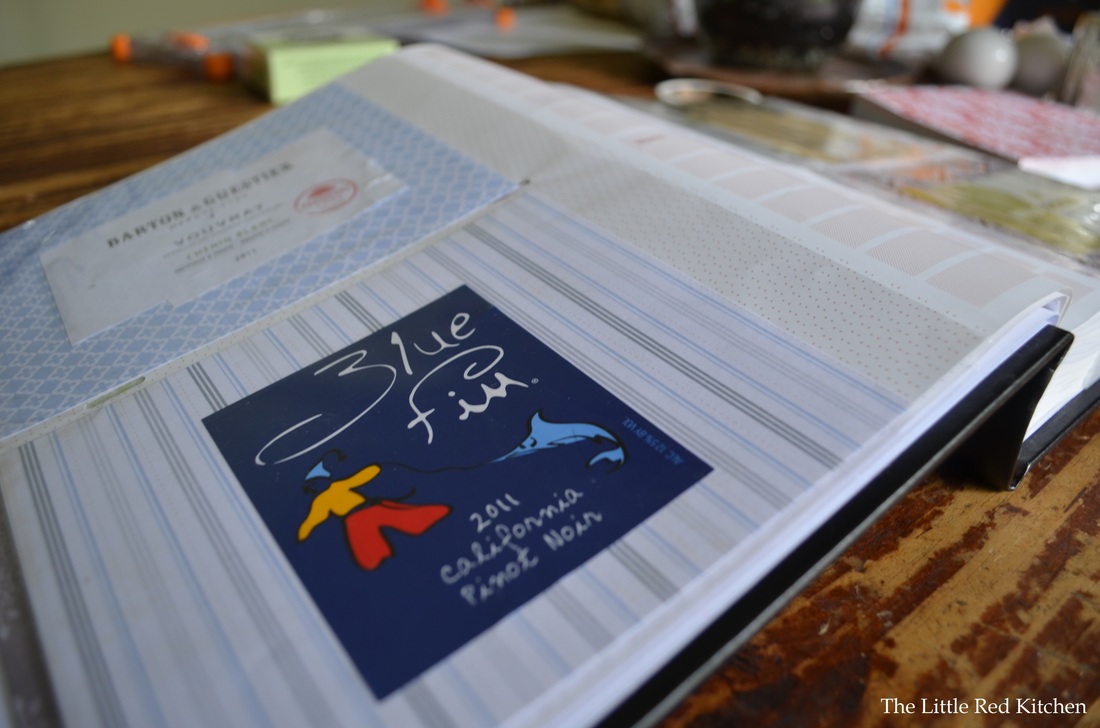
But perhaps the thing we like the most about wine is the associations we have with it. The bottles we were saving up before my wine journal idea were from our wedding night, our first Christmas as a married couple, the wine I cooked with when we got engaged, not to mention tons of other little familiarities, even as simple as, oh we drank that pinot noir when I made that steak dish you really liked. The empty bottles in our apartment were starting to pile up and I knew I wanted to think of some way to preserve them but didn't know how. DIY cork crafts abound on the internet, but how would saving a bunch of corks that look exactly alike also save my memories of their bottles? I came across a few label crafts, but they were all too short term; I didn't want to stick 4 or 5 in a picture frame, I wanted to create something that I could continue to build on, forever essentially! My husband's parents literally wall-papered a wall of their house with wine labels. So, after carefully analyzing these two extremes, I decided to make a wine journal for my wine labels.
The typical wine journal that exists is just for writing in. You can buy them, and you just fill in the name of the wine and your tasting notes on them. But let's be honest; while I don't fall into the trap of buying wines for their labels, they are the most beautiful part of the bottle, besides what's inside. Also, while I care about tasting notes to some extent, I also want to remember what was special about each wine, what I served it with, who I drank it with, who gave it to us. Those things are more important to me than any 'tannic notes' could ever be! That being said, below are the step-by-step instructions for making your own wine label journal!
Materials:
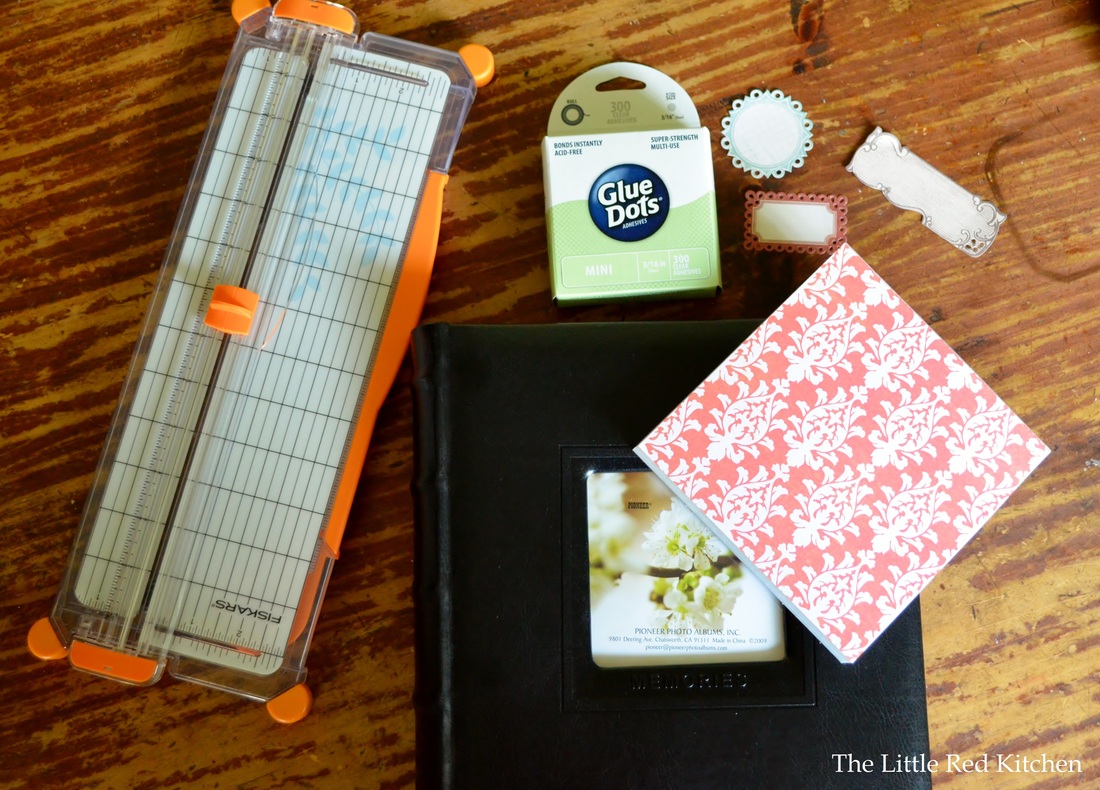
A photo album that holds 4x6 photographs and has a 'memo' or notes column
6x6 squares of scrapbook paper, patterns of your choosing
Adhesives (you can see below what kind I use)
Scissors (or if you couldn't cut a straight line to save your life, like me, a paper cutter. cheap little ones will only cost you about $10, but they get the job done.)
Scrapbook labels (again, of your choosing) Step 1:
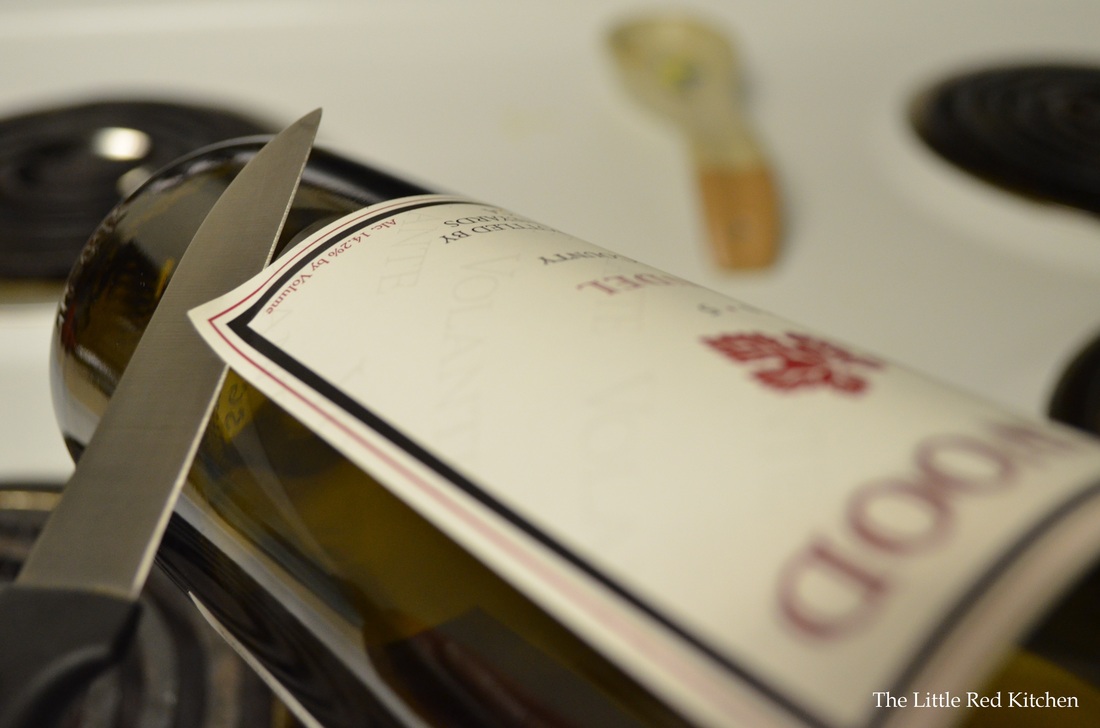
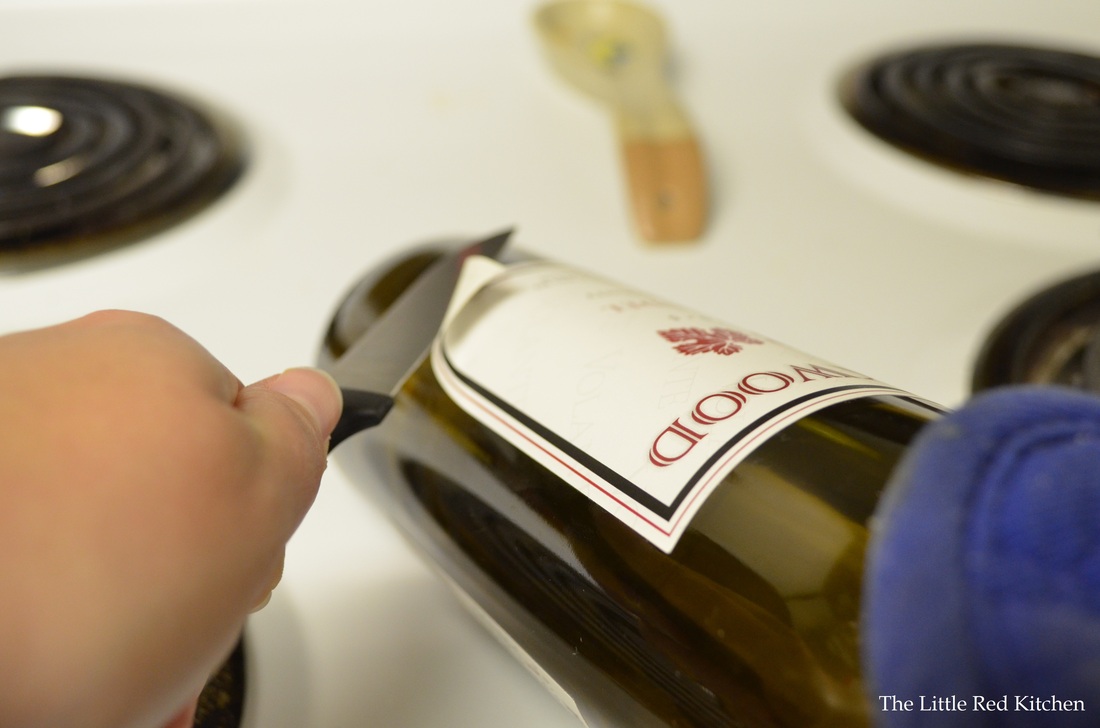
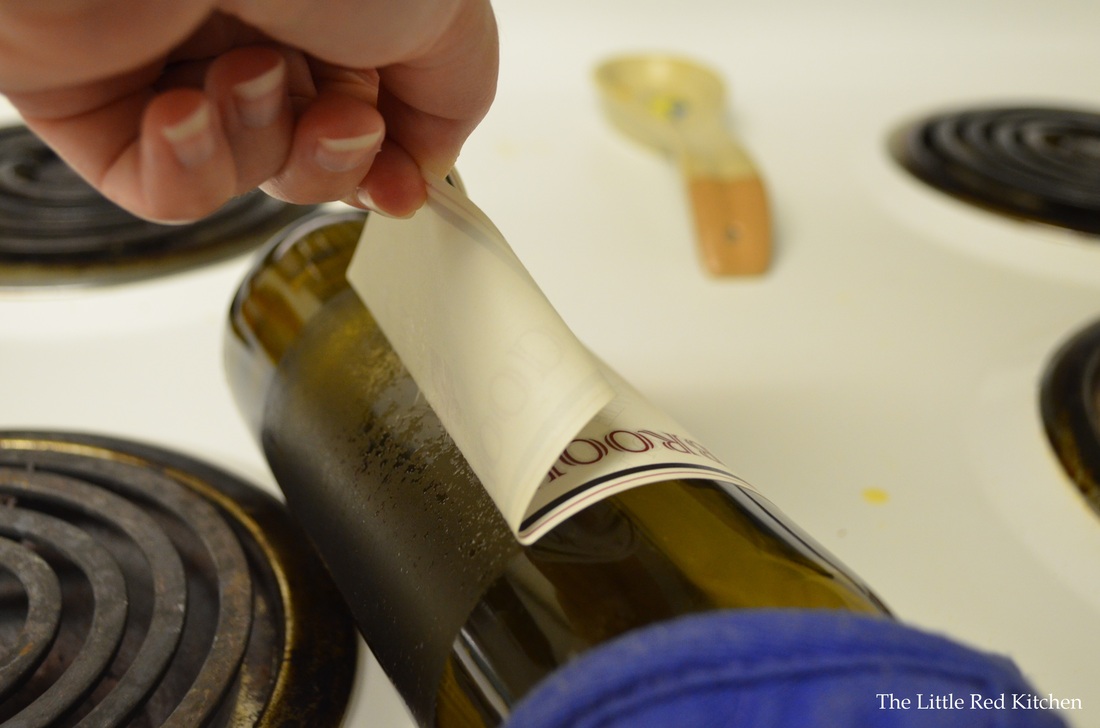
Heat your oven to 225 degrees, and simply stick the bottle on the middle rack. Leave it there for anywhere from 10 to 15 minutes. You are basically heating up and melting the glue. You can do multiple bottles at once too. Stick it in label up and neck of the bottle facing out; makes it easier to grab when you need it. After the time has gone by, get the bottle out and, holding it by the neck with a pot holder, test the corners of the label with a paring knife to see which one is loosest. When you've found that corner, carefully wiggle the paring knife between the bottle and the label...the operative word is carefully. I've lost a couple labels because I got too eager and ended up ripping right through the paper. Even if it seems like the label is coming off easily, don't rush it! Once you get to a point where there is enough label sticking up, you can go ahead and grab onto it and slowly peel it off by hand (the label itself is not too hot to touch). Disclaimer: Sometimes, the labels just won't come off. I've left bottles in the oven for 30 minutes before, and they just won't come loose. On the one hand, applaud yourself for buying a wine that is of good enough quality that the glue they used is so darn efficient. On the other hand, it's a lost cause, and you'll probably have to just toss the bottle, label and all.
Step 2:
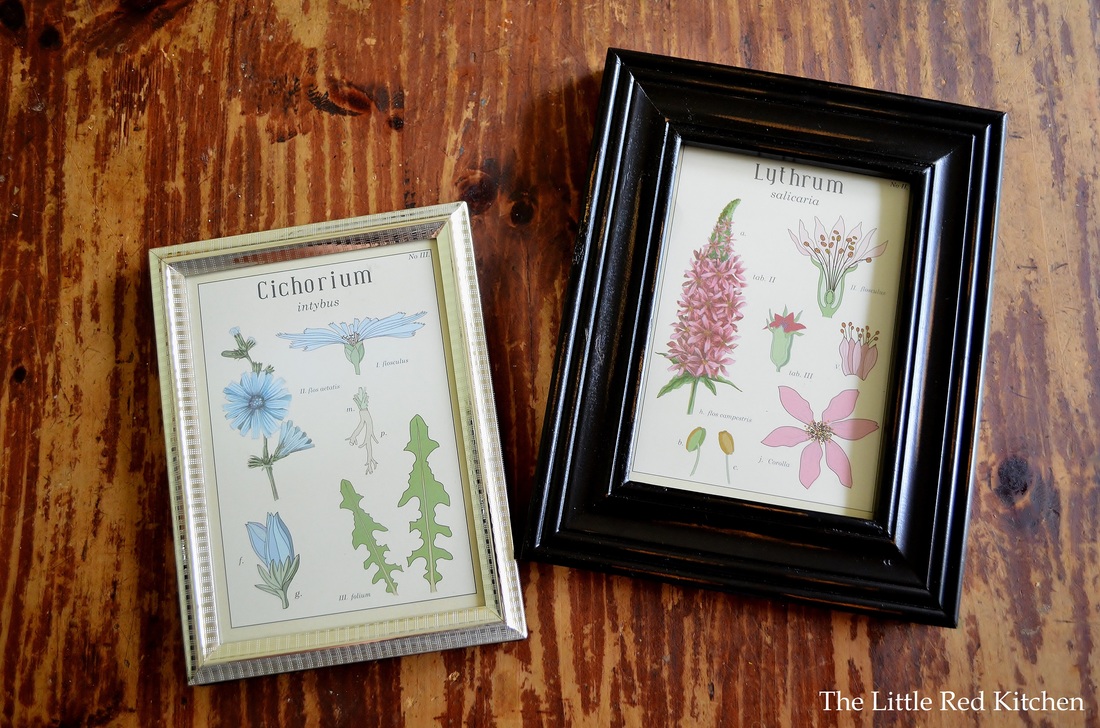
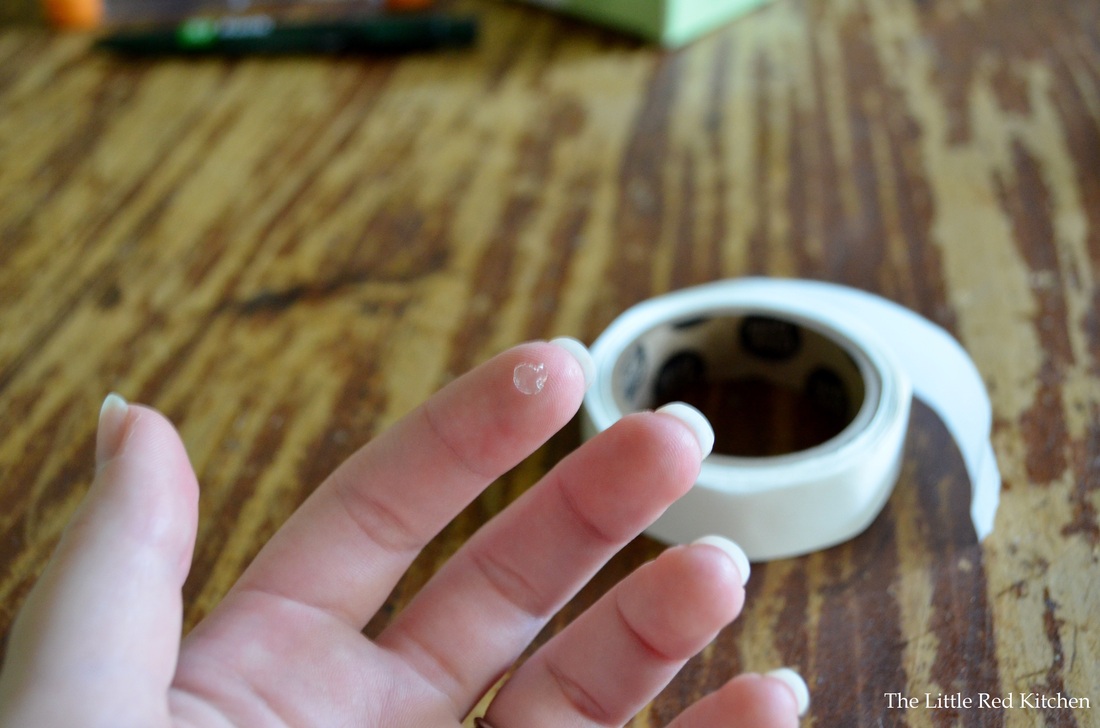
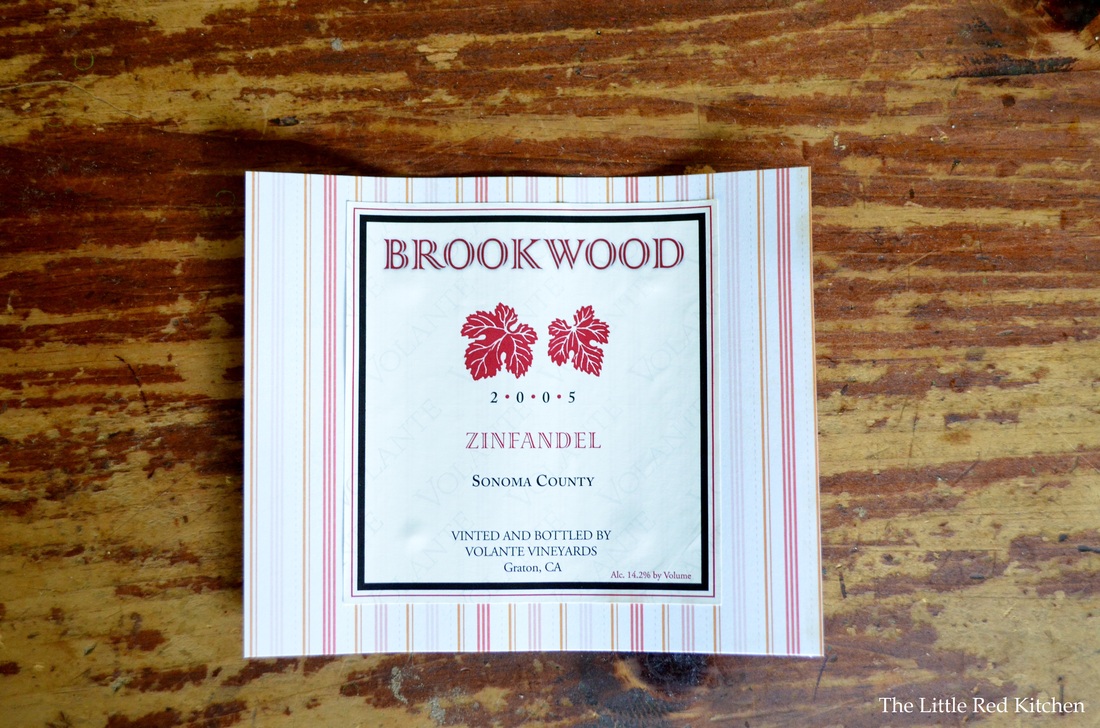
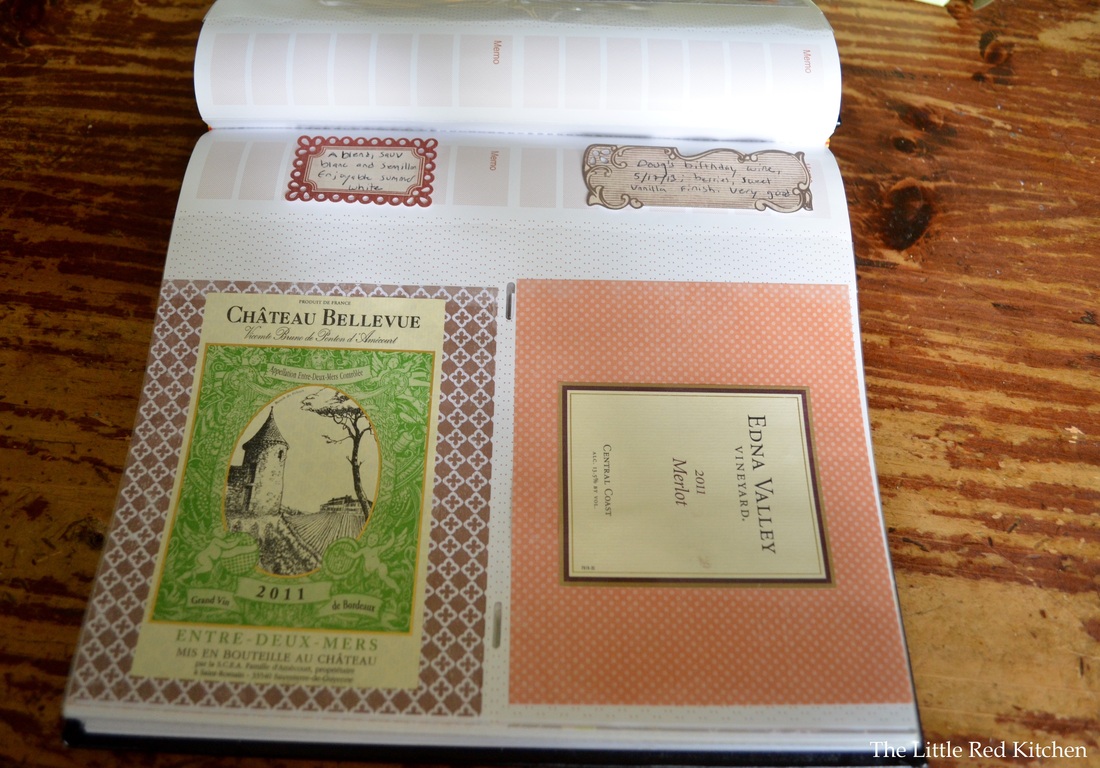
Now that you've got your label off, you are ready to start your wine journal! First, cut a 1-inch strip from any side of the scrapbook paper (remember, math majors, it's a square so it doesn't matter what side you cut from). Now it will fit into a 4x6 photo slot. Trust me, you only need to cut an inch off, it will fit perfectly. Next, you want to adhere the label to the scrapbook paper. I use these little scrapbook dots because they are so subtle. Note, sometimes there is enough glue still left on the back of the label that you won't even need any other type, which is nice. But sometimes it's good to reinforce it, just in case. Press the label carefully to your scrapbook paper and voila! If you want you can just stop here, and fill up your photo album with your lovely labels. The scrapbook paper I have is a variety pack with tons of patterns and colors, which is perfect. Or, you could do what I do and move on to...
Step 3:
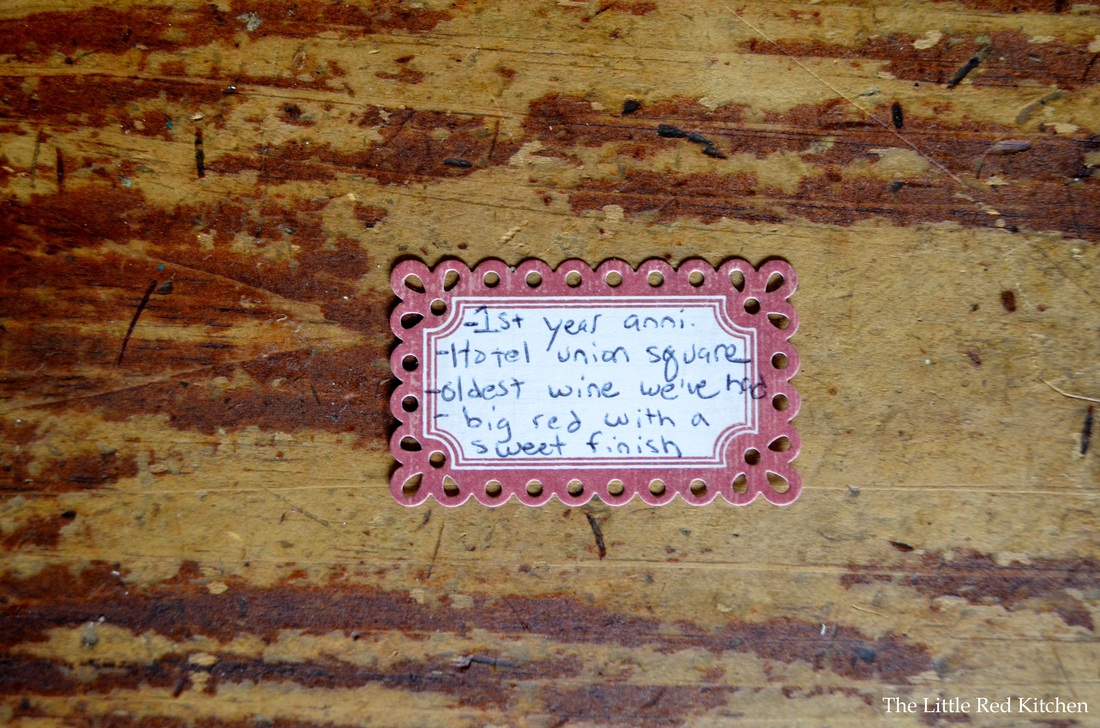
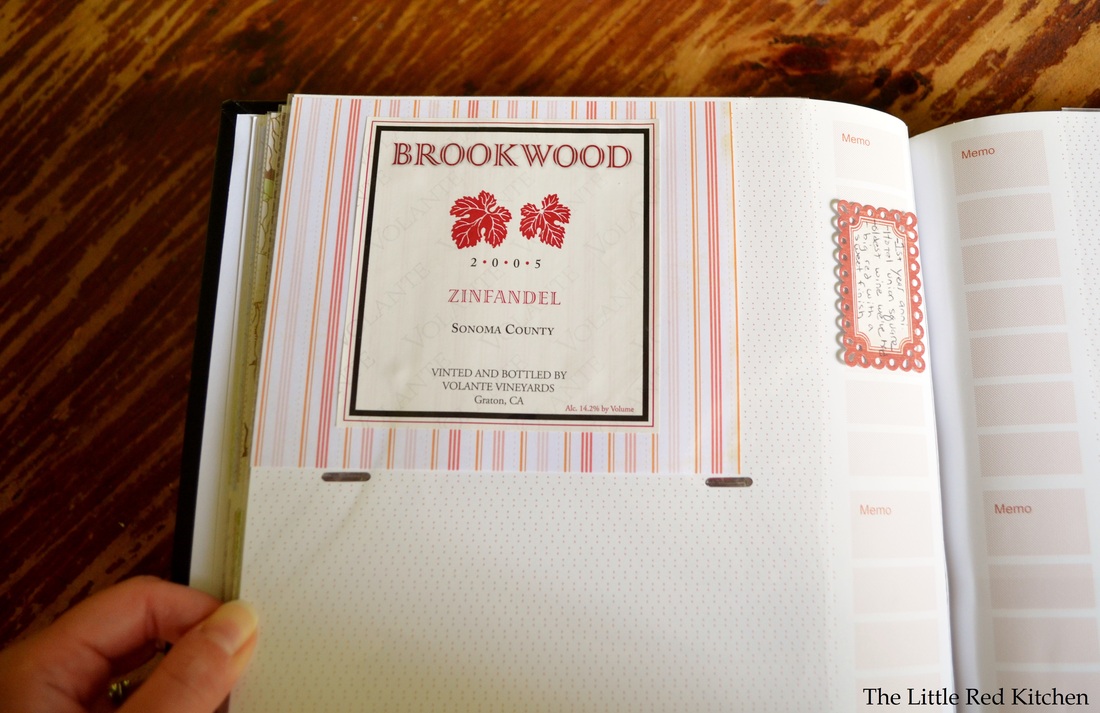
If you want to do tasting notes, or 'set the scene' notes, you can buy those little scrapbook labels and fill them out with details about your bottle. This is what I did for my most recent addition. Just add another glue dot or two and stick it in that memo section of the photo album. In a practical sense, you'll be able to go back through and see what you liked, what you didn't like, what paired well with that awesome pot roast or roast chicken that you make. And in an even better sense, you'll be able to see how many great occasions in your life you've been able to toast with an equally great glass of wine. That's really what wine means to me, and I hope that it will mean the same to you!
~Lauren
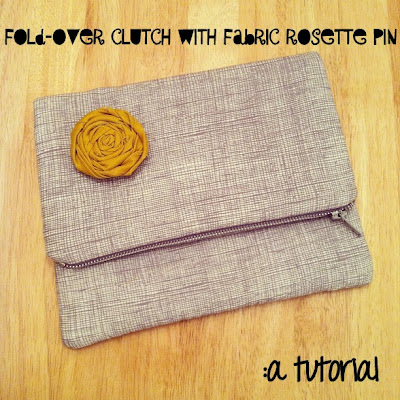
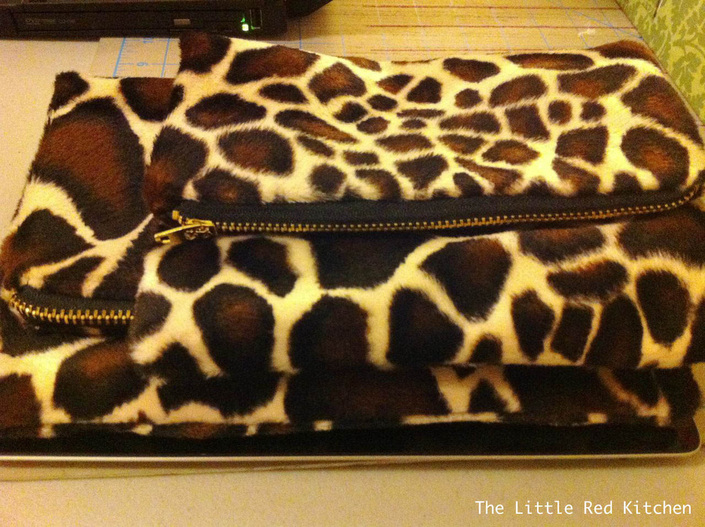
Welcome to my first DIY tutorial post! If any steps are unclear, or you'd like more information, please ask! While browsing one of my favorite petite style blogs ( ExtraPetite), I came across this clutch, and fell in love: At the time, Jean didn't have didn't have a tutorial available on how she made it. (She does now, though! It's an unlined version, but it still looks great.) Unsure how to add a zipper into a lined bag, I started hunting for a great tutorial. I'm fond of telling people , "I know how to sew, but I don't know how to sew", which is another way of saying that I've figured out enough to get by, but not any true techniques. While hunting around for something that made sense to me, I landed on this lovely tutorial by Kill Them With Craftiness: It's gorgeous! It's awesome! However, the steps were too brief for me (a novice), and so I ended up working through it via a bit of trial and error on my own. This is not to say that I didn't really appreciate the tutorial-- I just needed more. Thus, I decided to document my steps ad nauseum. Maybe this will help someone else out, too! So, without further ado...
My version:
Animal Print Clutch Tutorial:
Supplies:
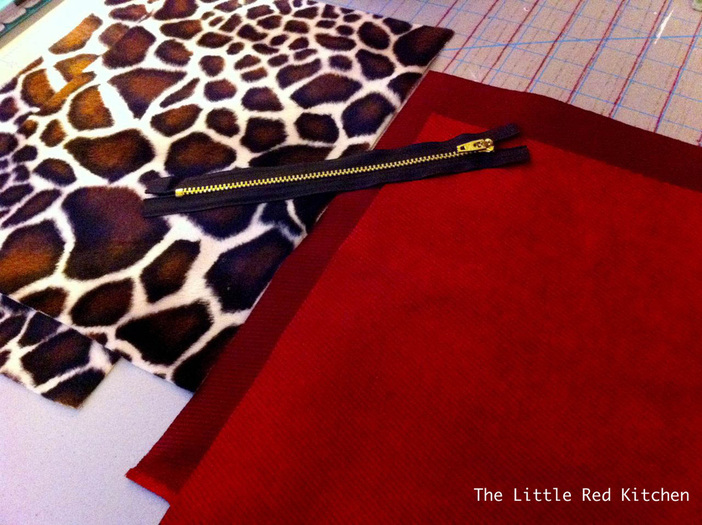
- Fabric in lining and exterior colors (I purchased both at Jo Ann Fabrics)
- Zipper in desired length (I used 9 inches)
- Sewing machine (mine is a Brother Project Runway Edition)*
- Zipper foot*
- Coordinating thread
- Interfacing/batting (optional, I did not use any)
*You can also hand-sew this project, it might just take a little longer.
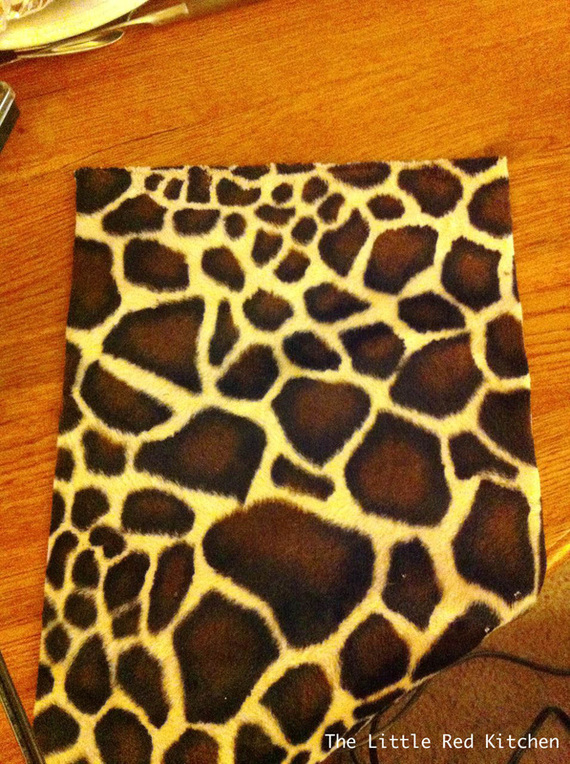
Step 1 (images below text for each step): Cut 2 pieces of exterior fabric and lining fabric in desired size (I used 11 x 14, which holds a moleskin notebook and myriad other goodies with no problem whatsoever)
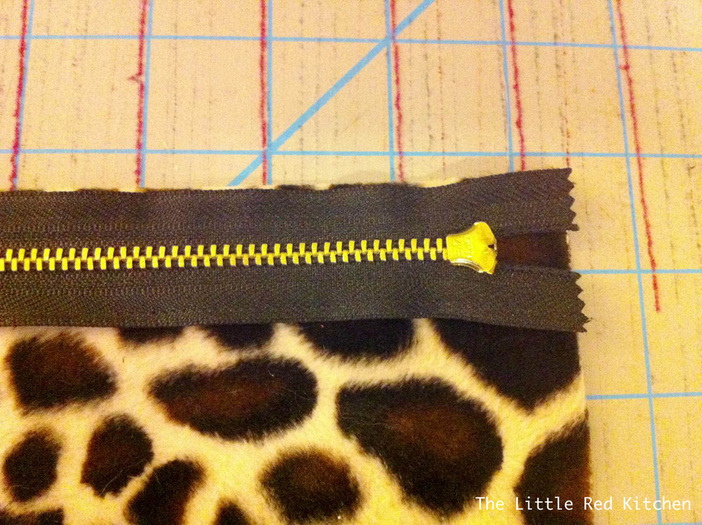
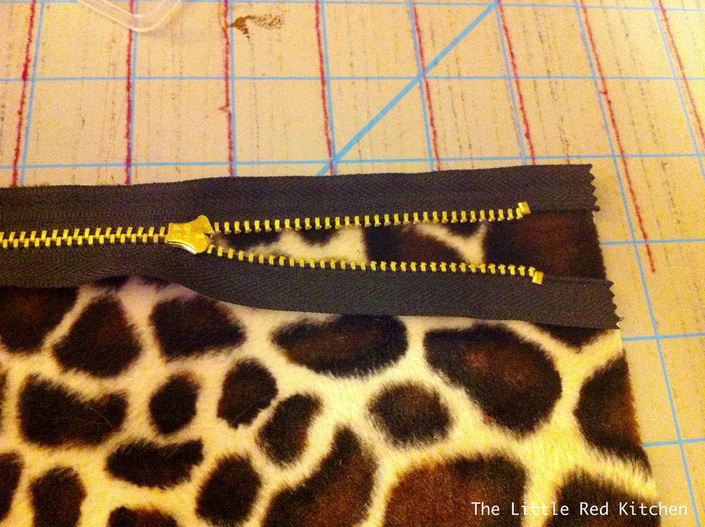
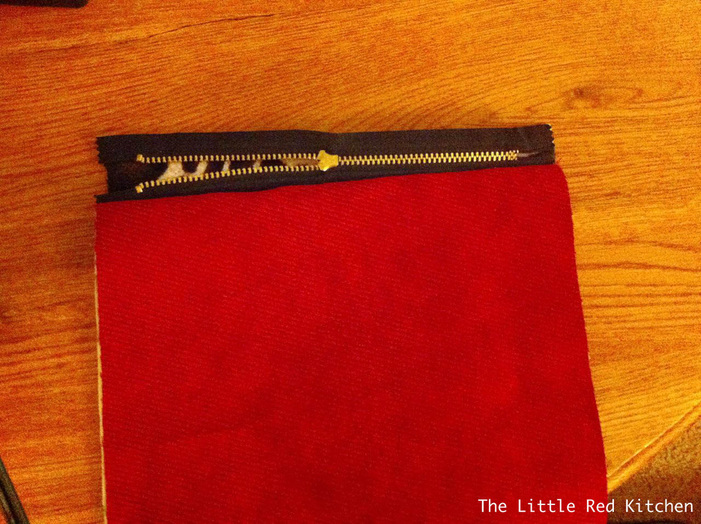
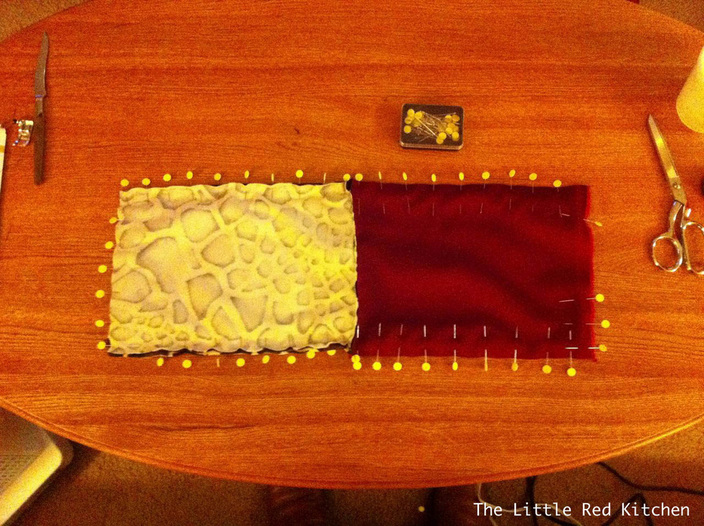
Step 2: Lay one piece of your cut exterior fabric right (patterned) side up, and place the zipper along the top edge, facing down (facing the pattern).
Step 3: Unzip the zipper slightly. This will allow you to turn the bag right-side out, once all of the other steps are finished. Be sure to keep the top edge of the zipper aligned with the top edge of your exterior fabric.
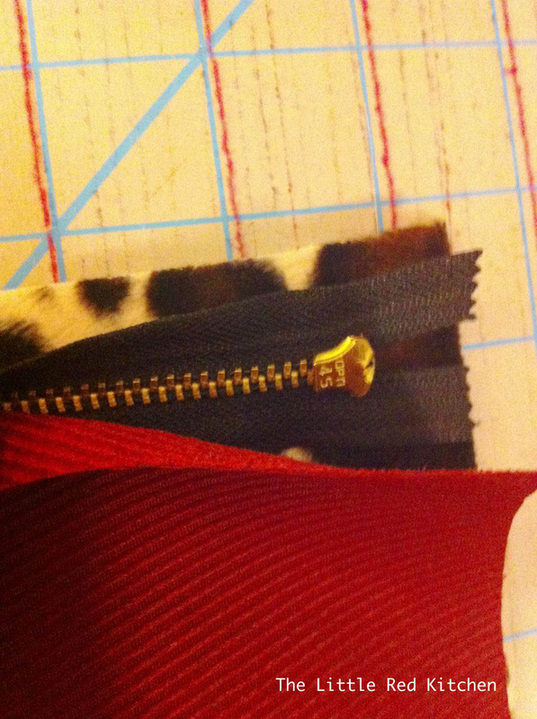
Step 4: Place the lining fabric, right side up, on top of the exterior fabric and zipper.
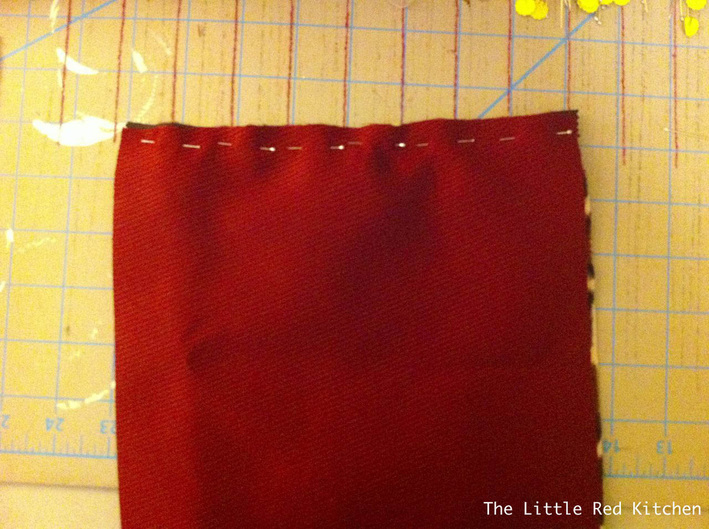
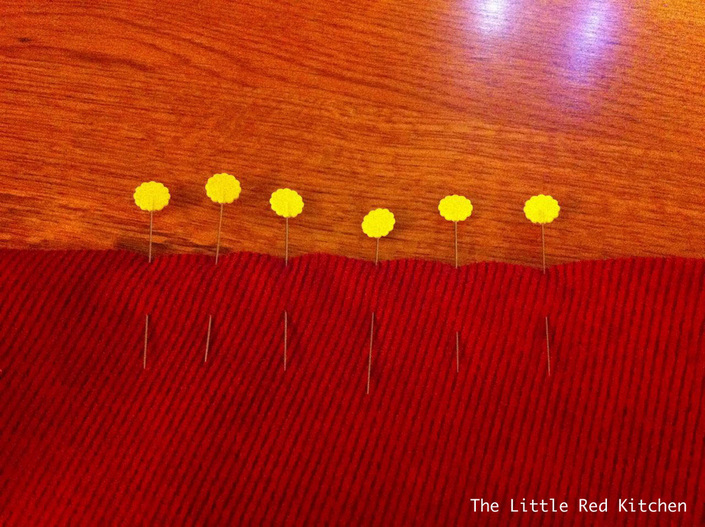
Step 5: Pin along the upper edge, being sure to keep your pins out of the way (so the zipper foot will run smoothly along your pinned section). You're only pinning the upper edge of the zipper to the fabric at this point. I found that it was easiest to use smaller pins for this step, but do whatever works for you!
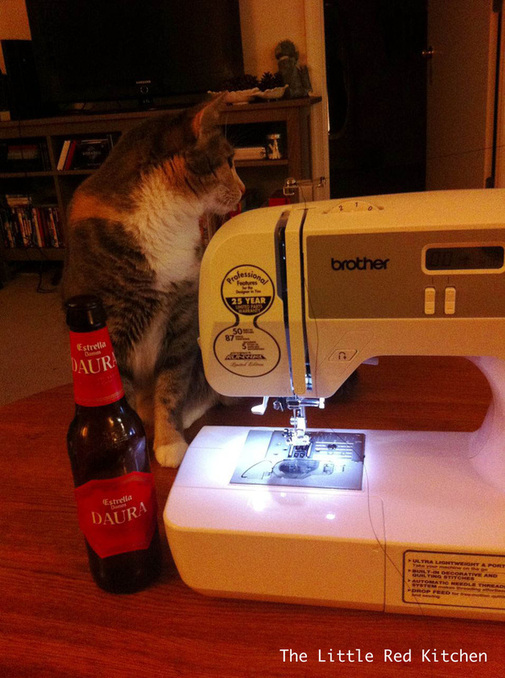
Step 6: Sew along the edge using your zipper foot. If you're like me, also grab a gluten-free beer while your cat supervises.
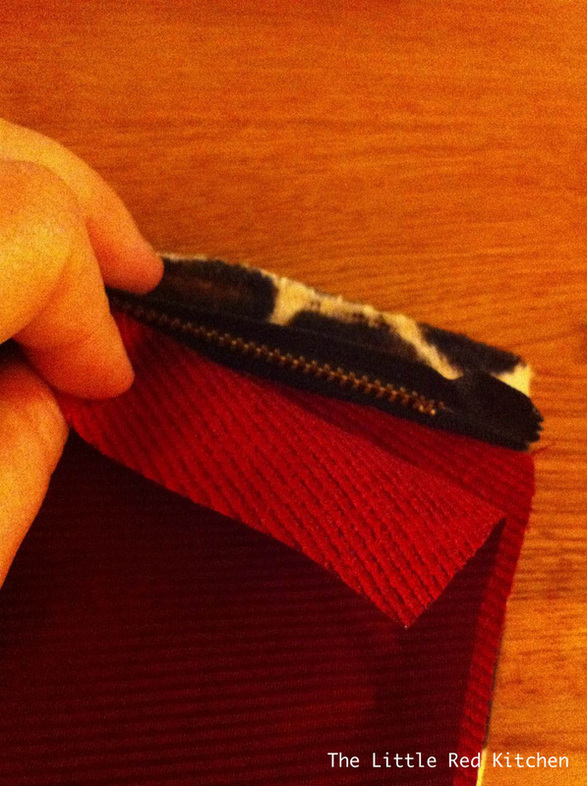
It'll look all lovely and attached like this, when you've finished and peek between the two layers of fabric:
Step 7: Fold your now-attached-to-zipper fabric pieces so that the zipper is exposed. (This will mean that the wrong (unpatterened) side of the exterior fabric and the right side of the interior fabric will be facing each other.) Press it flat with your hands.
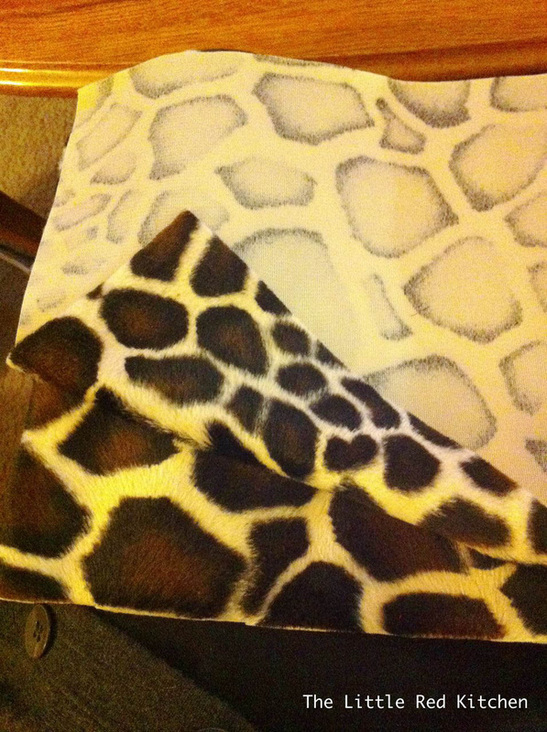
Step 8: Lay the other piece of exterior fabric down on a flat surface, right side up.
Step 9: Place your zippered pieces on top of the next exterior fabric section, and line up the other side of the zipper fabric along the top edge. The right sides of both piece of exterior fabric should now be facing each other (giraffe to giraffe, in this case).
Step 10: Place the other piece of lining fabric on top, just as in Step 4, lining up the top edge of the exterior fabric, zipper, and interior fabric. Pin and sew, just as before.
Step 11: Once everything has been sewn to the zipper, flip the fabric "pages" you have just attached to the zipper "binding", such that the exterior fabrics are on top of one another, right sides together. The lining fabrics should also be facing each other, but the wrong sides should be together.
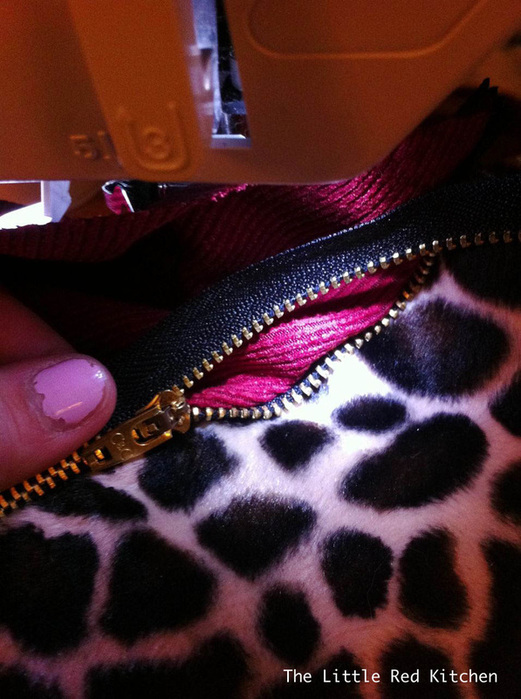
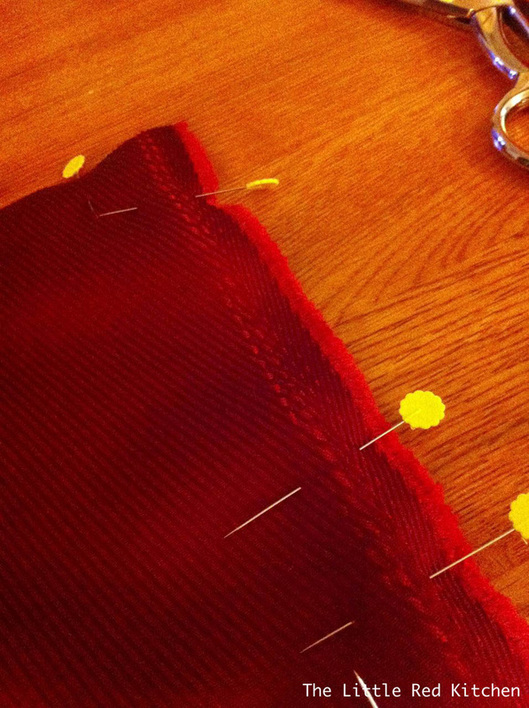
Step 12: Pin all the way around, but be sure to leave a gap in the bottom of the lining fabric. You'll use that space to turn the bag right-side out when we're done, with the help of the opening we left in the zipper back in Step 3. (You can see the space I left between my pins on the right side of my bag, below.)
Step 13: Sew all the way around both sides (you will have to do the exterior fabric and interior fabric sides separately, since the zipper runs down in between them), and remember to skip over the gap you left in the lining fabric.
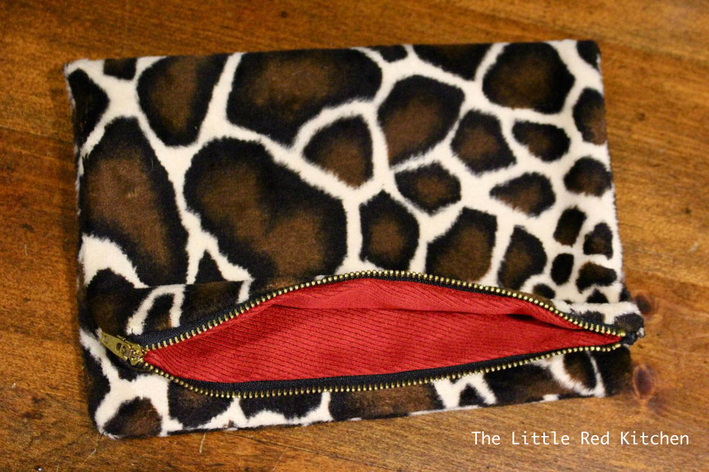
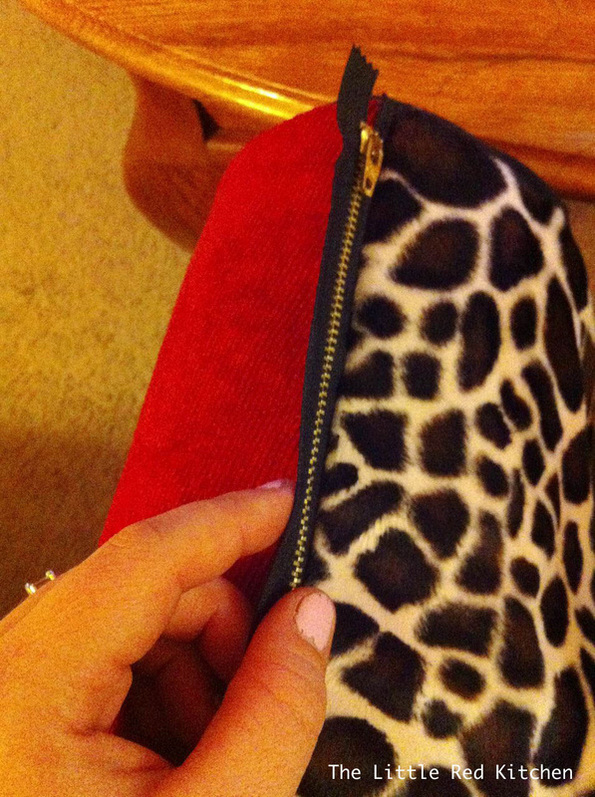
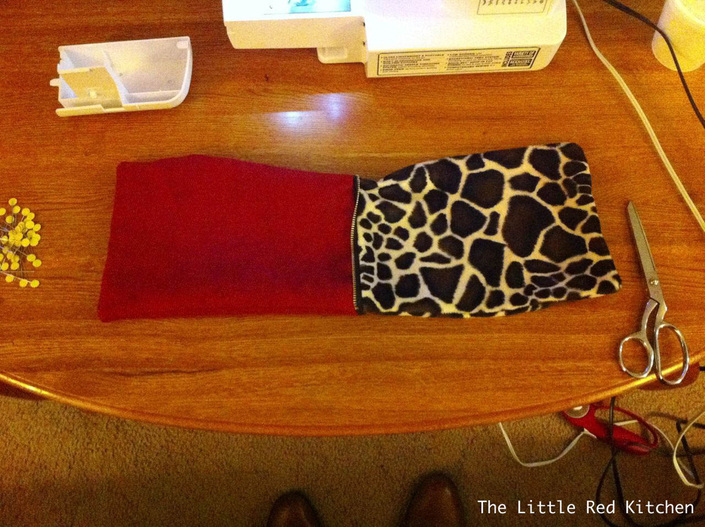
Step 14: Almost done! Using the gap you left in the lining fabric, turn the bag right-side out. It should look something like this:
Step 15: Pin and sew the gap in the lining fabric now, since we're done using it.
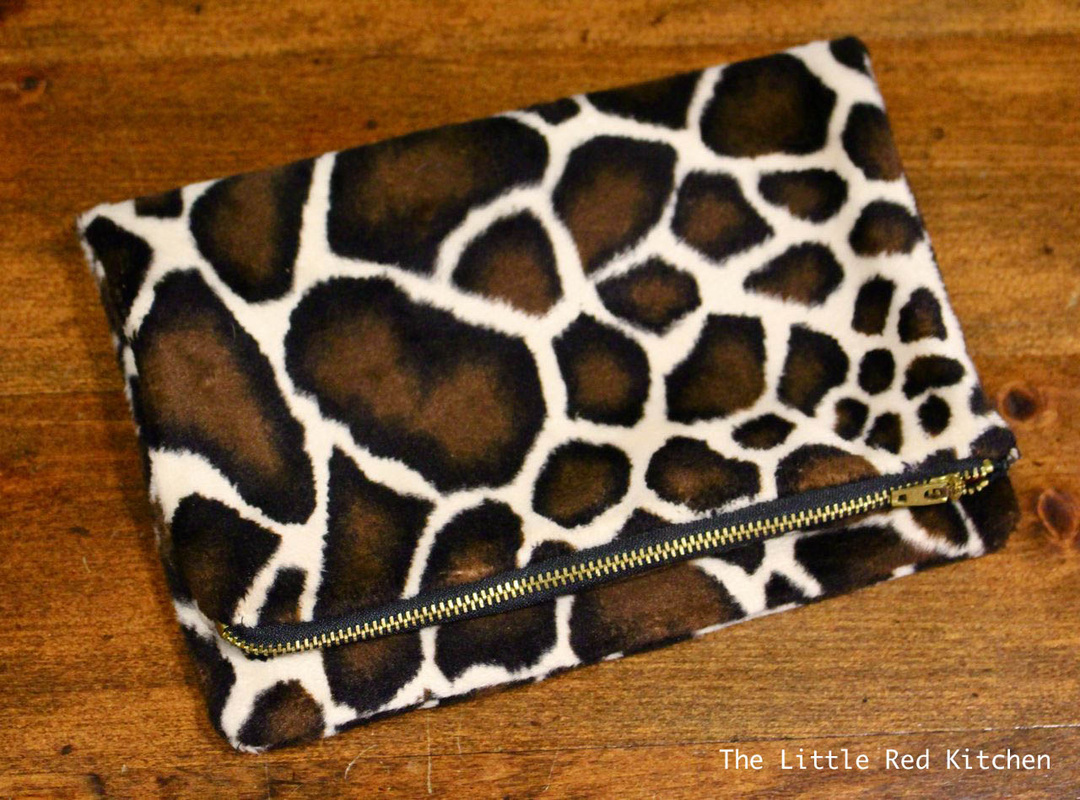
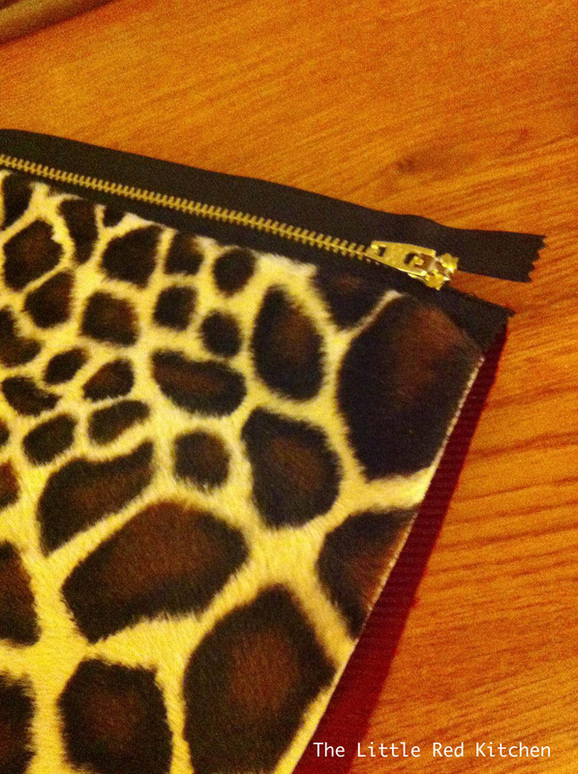
Step 16: Shove the lining into the pouch created by the exterior fabric, and test out the zipper a few times! Press if desired. You now have a shiny, brand new, one-of-a-kind clutch that you made all on your own. Enjoy!
Thanks for reading!
- Kaitlin
|


 RSS Feed