
While browsing Pinterest recently I came across this lovely little jersey and lace infinity scarf, which (of course) linked directly to one of those subscription-only shopping sites. Boo.
That scarf (even without a direct link to buy) appeared to be extremely popular with my fellow pinners: it has been repinned 47 times since I pinned it myself! I wanted one, but I thought that I could easily come up with a tutorial for something similar... and I have!
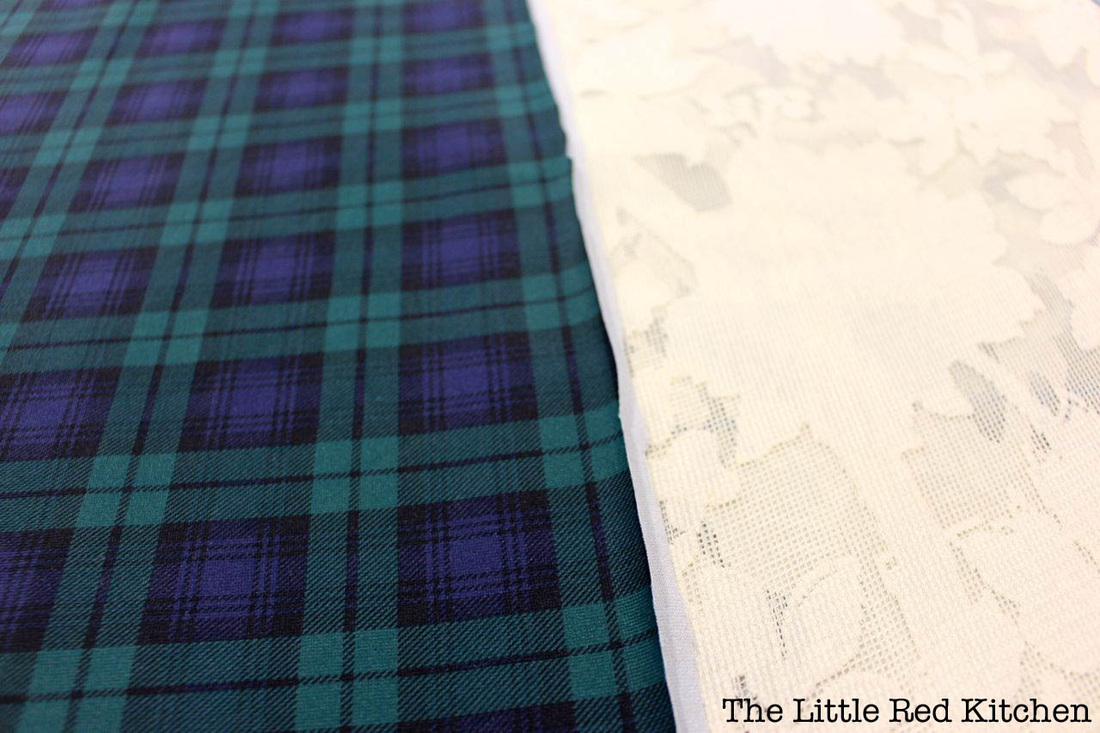
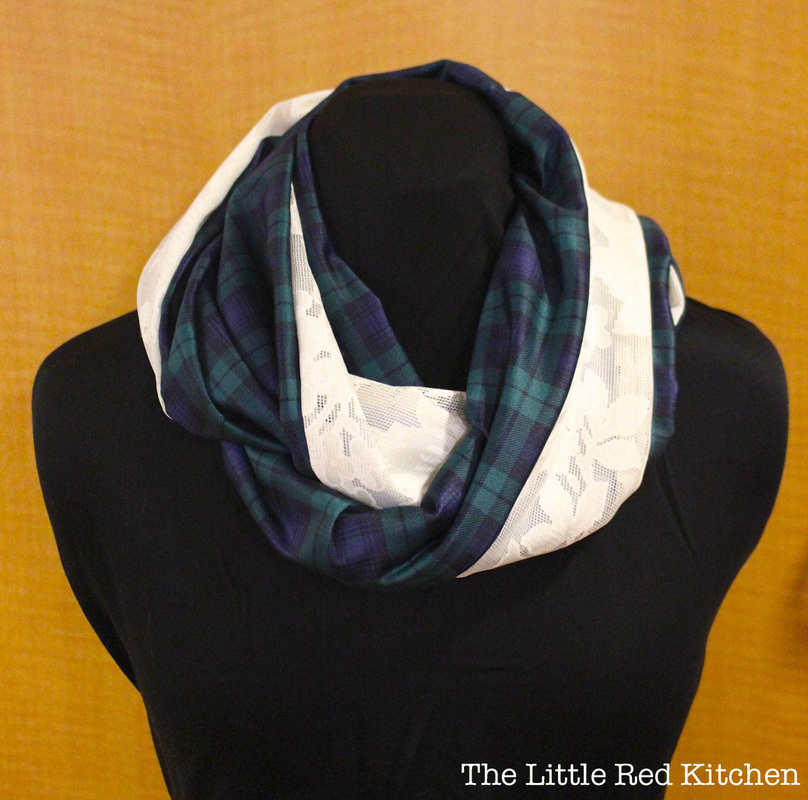
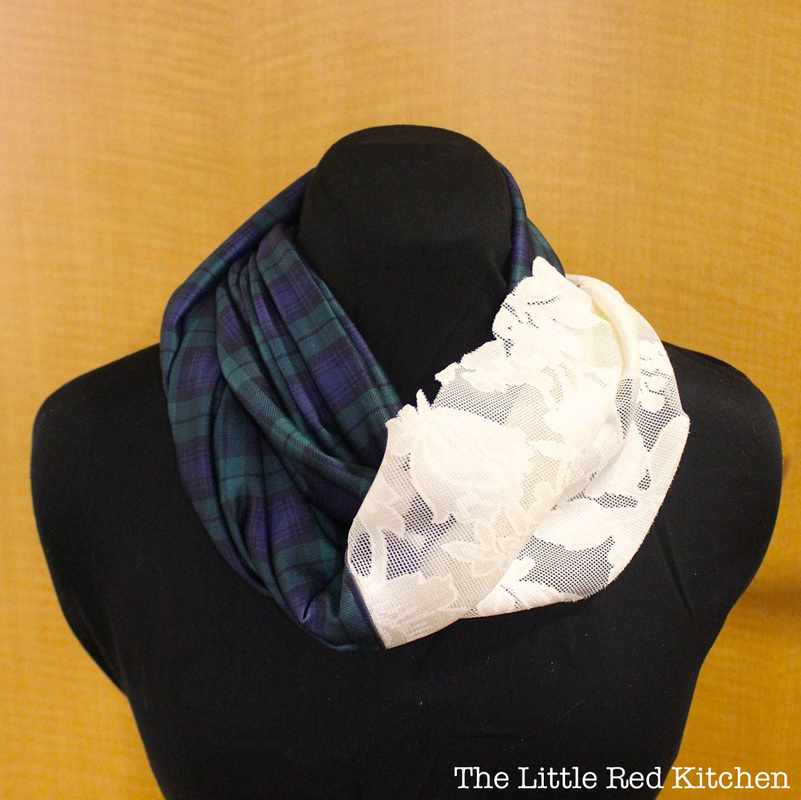
Below, you can see that I came up with two different styles based on mixing jersey and lace (mine was actually rayon, oh well), which you could easily make up with some scrap fabric or some old t-shirts. I put both of them together this morning, and they didn't take much fabric. Keep reading for a full tutorial on how to make each one, complete with pictures.
**If you'd rather buy one of these instead of making it, I have a limited number of Style #1 scarves available on my Etsy shop!**
That scarf (even without a direct link to buy) appeared to be extremely popular with my fellow pinners: it has been repinned 47 times since I pinned it myself! I wanted one, but I thought that I could easily come up with a tutorial for something similar... and I have!
Below, you can see that I came up with two different styles based on mixing jersey and lace (mine was actually rayon, oh well), which you could easily make up with some scrap fabric or some old t-shirts. I put both of them together this morning, and they didn't take much fabric. Keep reading for a full tutorial on how to make each one, complete with pictures.
**If you'd rather buy one of these instead of making it, I have a limited number of Style #1 scarves available on my Etsy shop!**
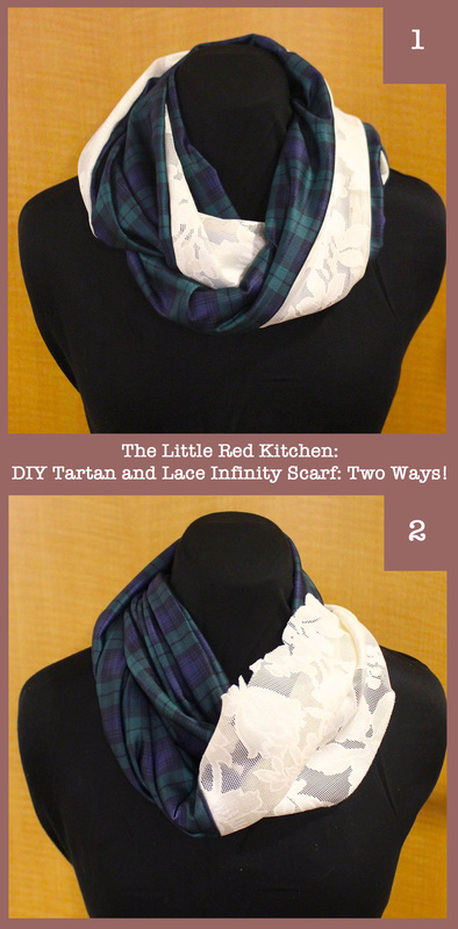
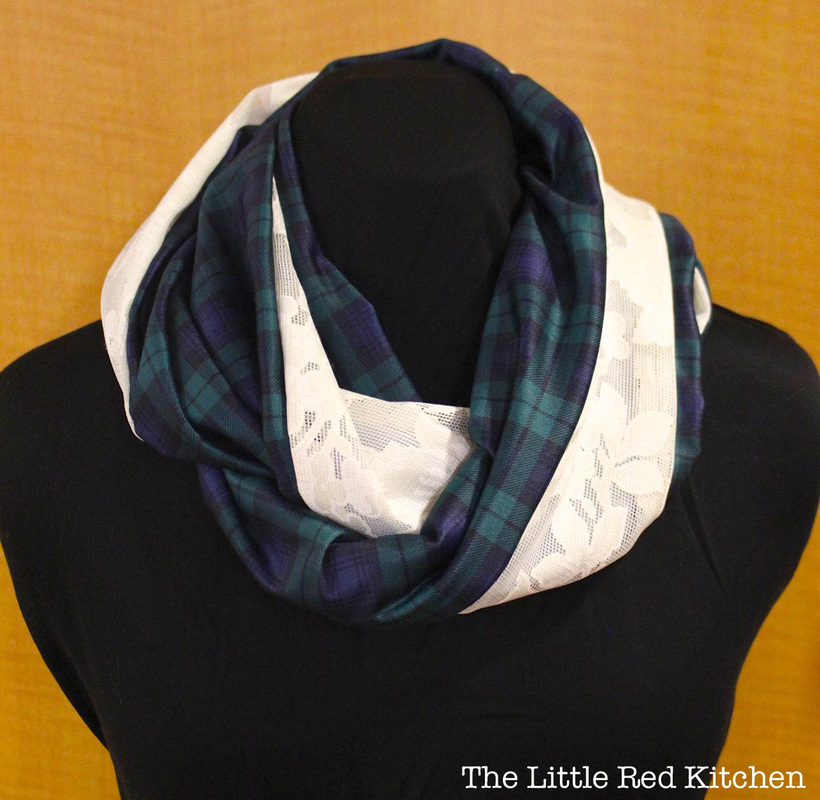
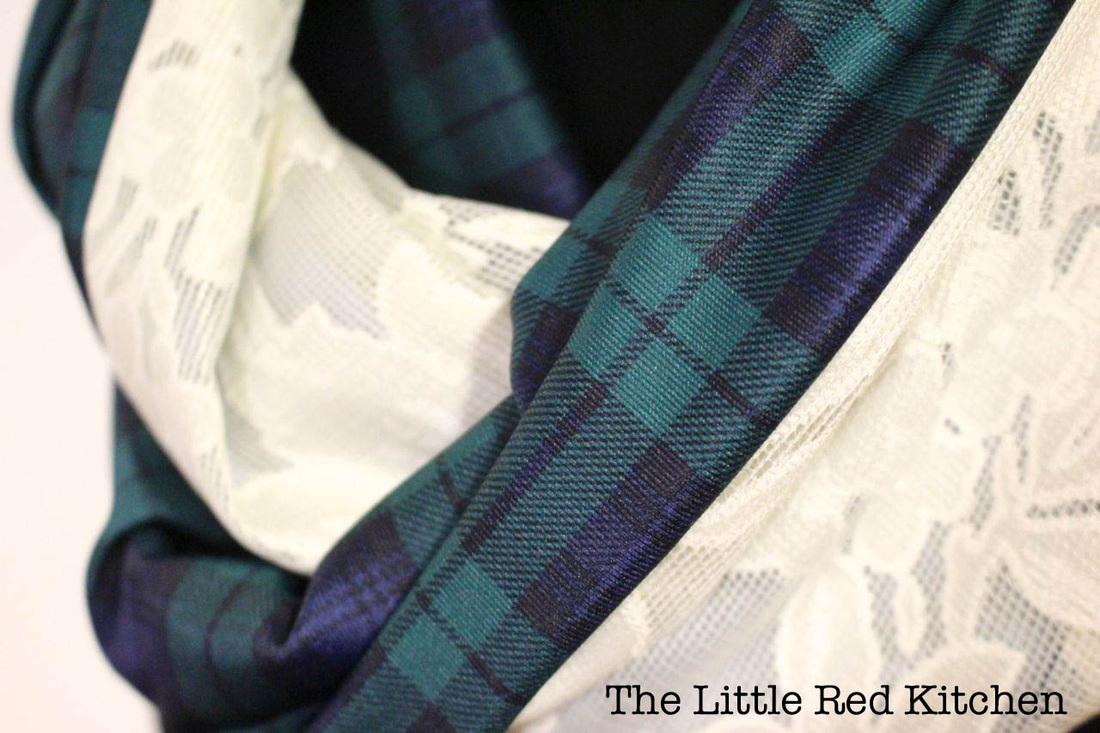
Style #1: 50/50 Tartan and Lace
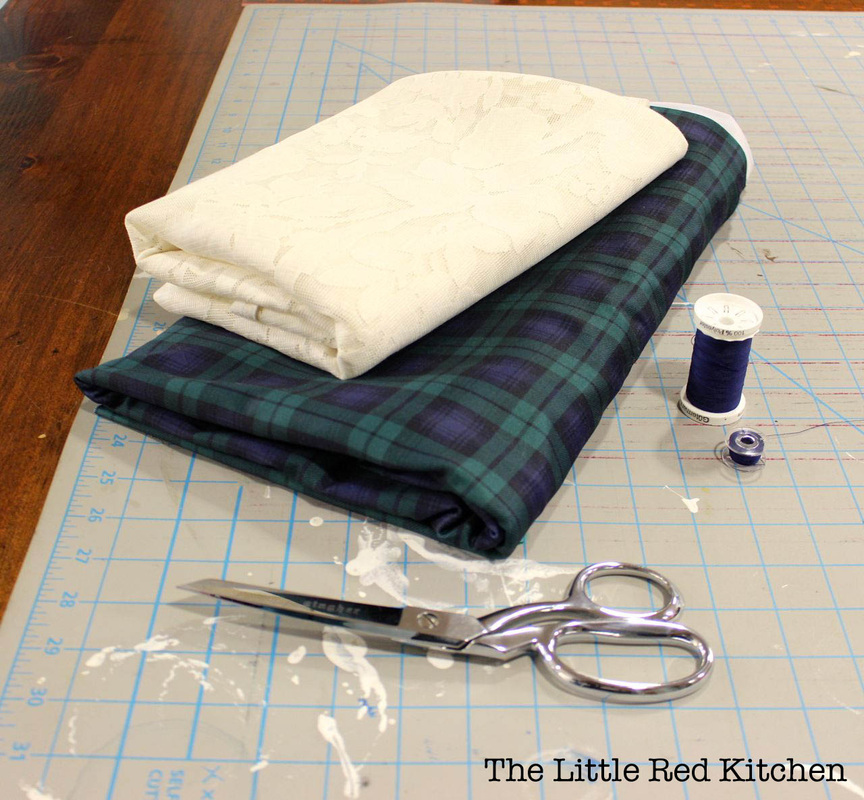
What you'll need:
1/4 - 1/2* yard 60'' jersey or rayon fabric, in the color of your choice
1/4 - 1/2 yard 60'' lace fabric**
Coordinating thread
Pins
Sewing Machine
*The amount of fabric you'll need will depend on how well the folks at your local fabric supplier cut straight lines. If the yardage is cut well, you'll only need 1/4 yard of each, but I usually like to buy a little more anyway.
**The lace fabric I chose was a little stiff, which means it won't be as soft as others, but it will certainly hold its shape.
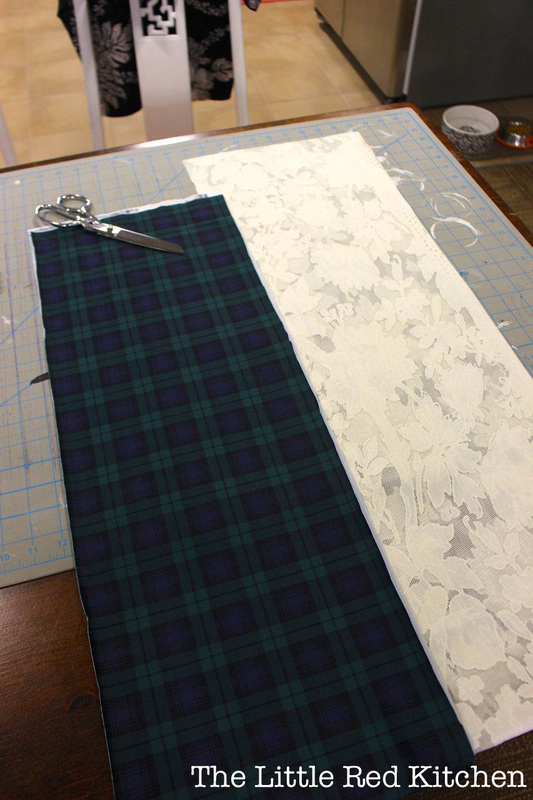
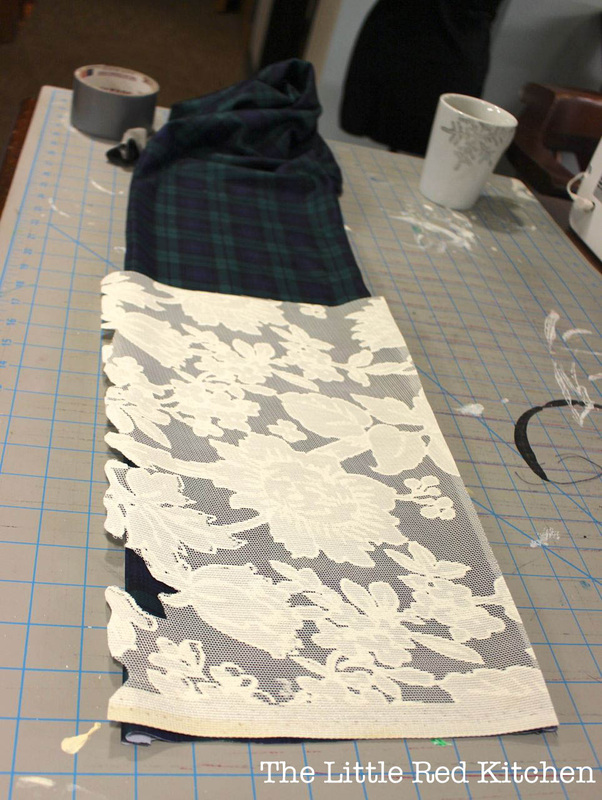
Step 1: Cut a 9x60'' rectangle from each of your fabrics. Mine ended up being 10'' wide, so I could more easily cut along the pattern (to keep everything squared up). If you choose to go wider than 9'', of course, you'll need slightly more than 1/4 yard of each fabric.
Don't they look great together?
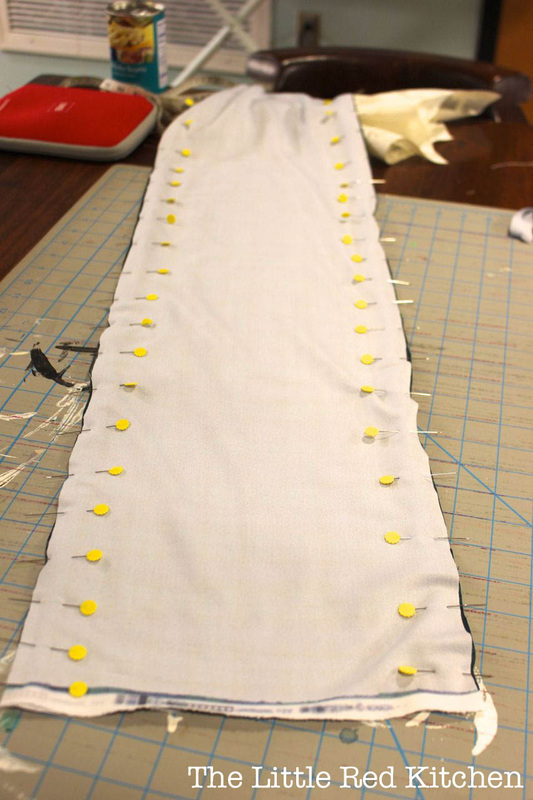
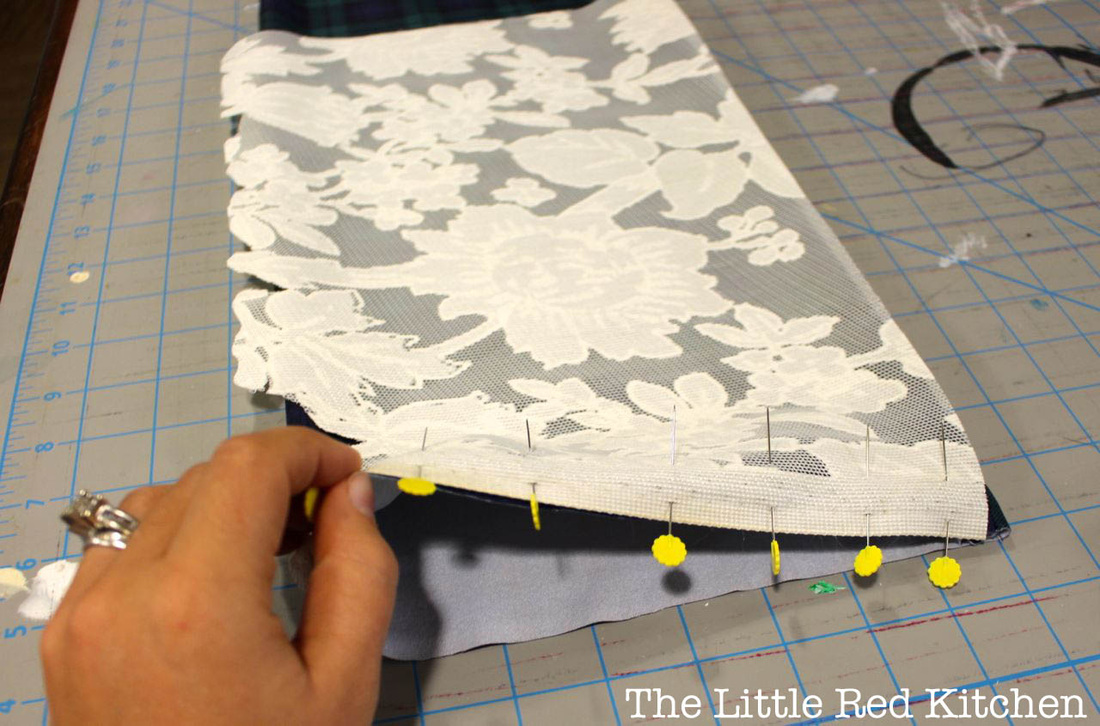
Step 2: Line up the fabrics with their right-sides together, and pin along both long (60'') edges. Sew using coordinating thread and a 5/8'' seam allowance.
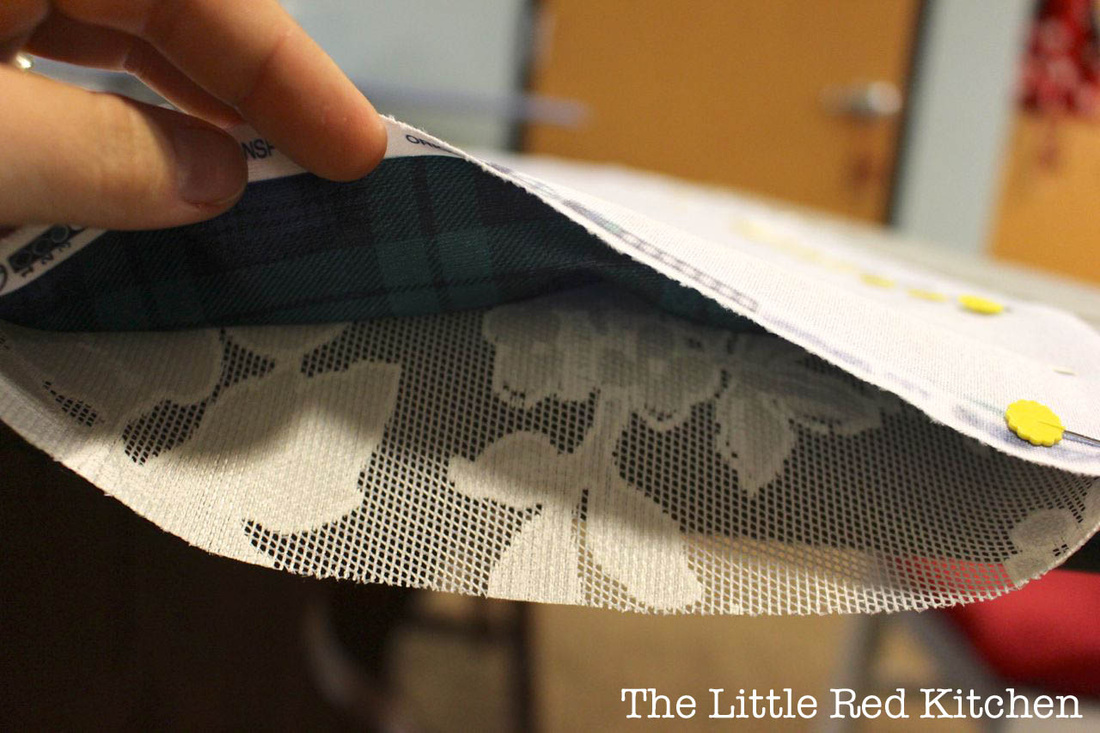
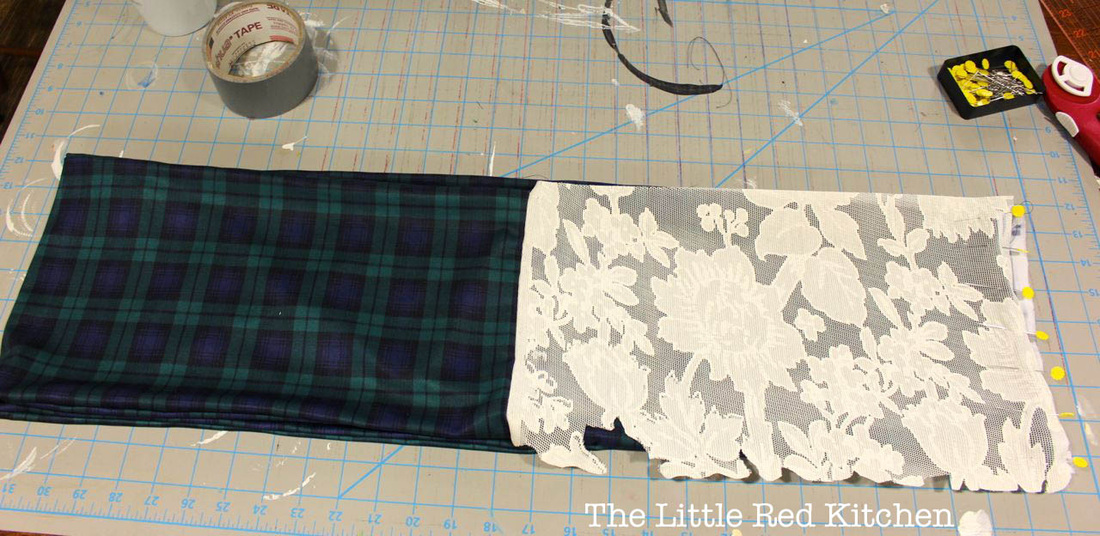
Then turn your new fabric tube right-side out.
Step 3: I've improved this method GREATLY from my last infinity scarf tutorial, so I'm excited to share it with you guys!
In order to sew the ends of the scarf together without visible seams, we want to line up both sides, right sides together.
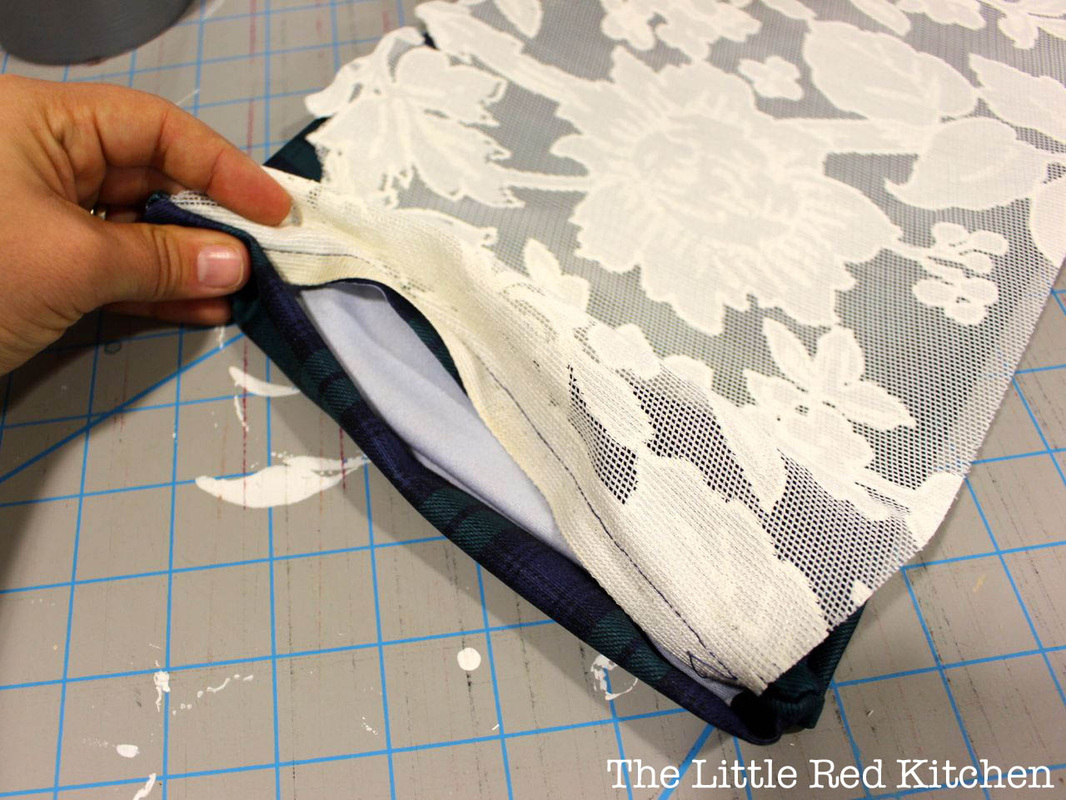
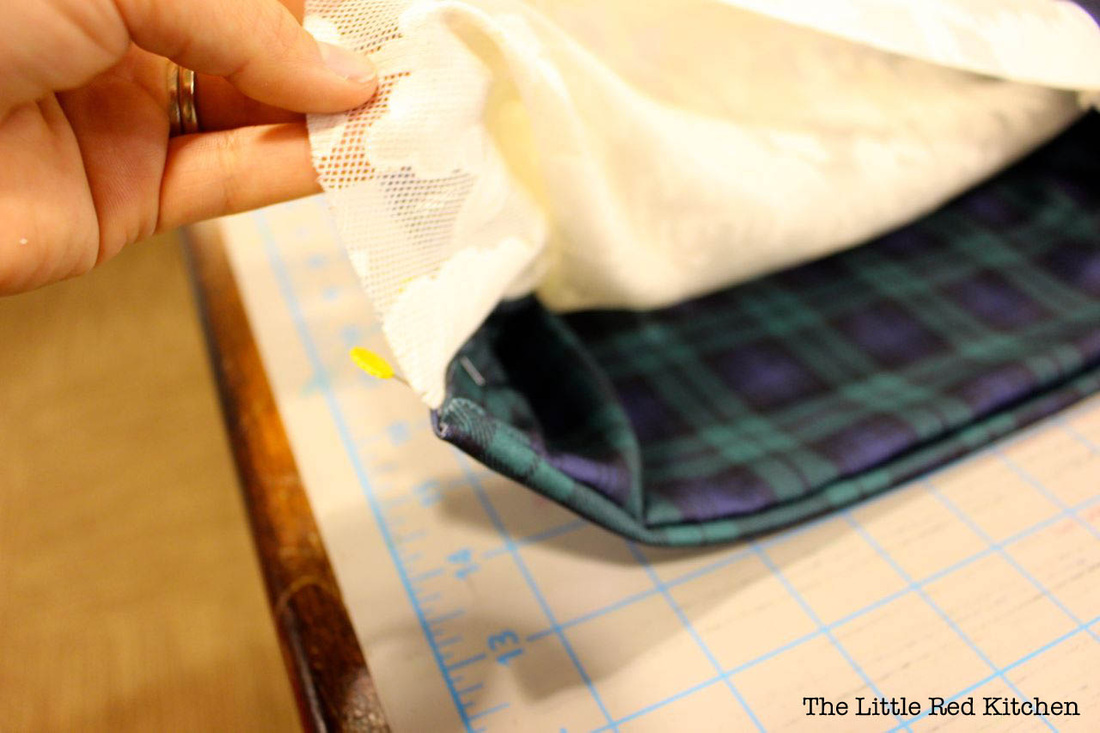
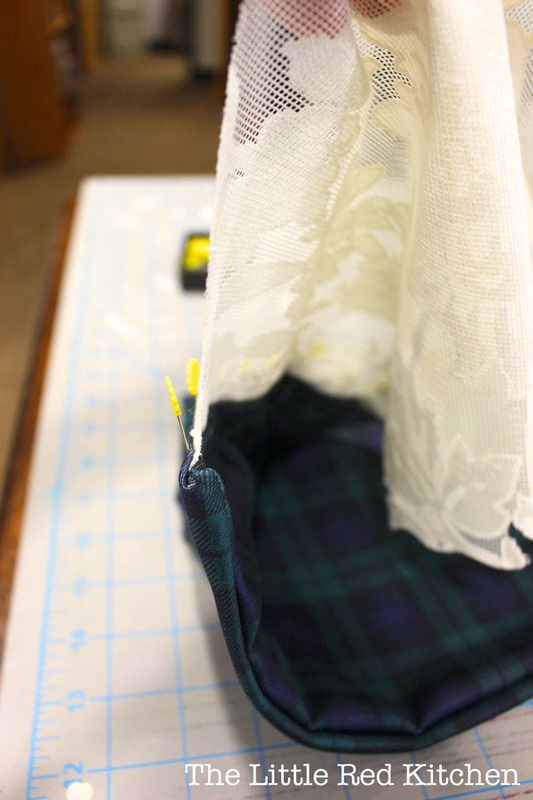
The easiest way to do this is to turn the scarf partially inside out by cuffing the bottom like so...
In order to sew the ends of the scarf together without visible seams, we want to line up both sides, right sides together.
The easiest way to do this is to turn the scarf partially inside out by cuffing the bottom like so...
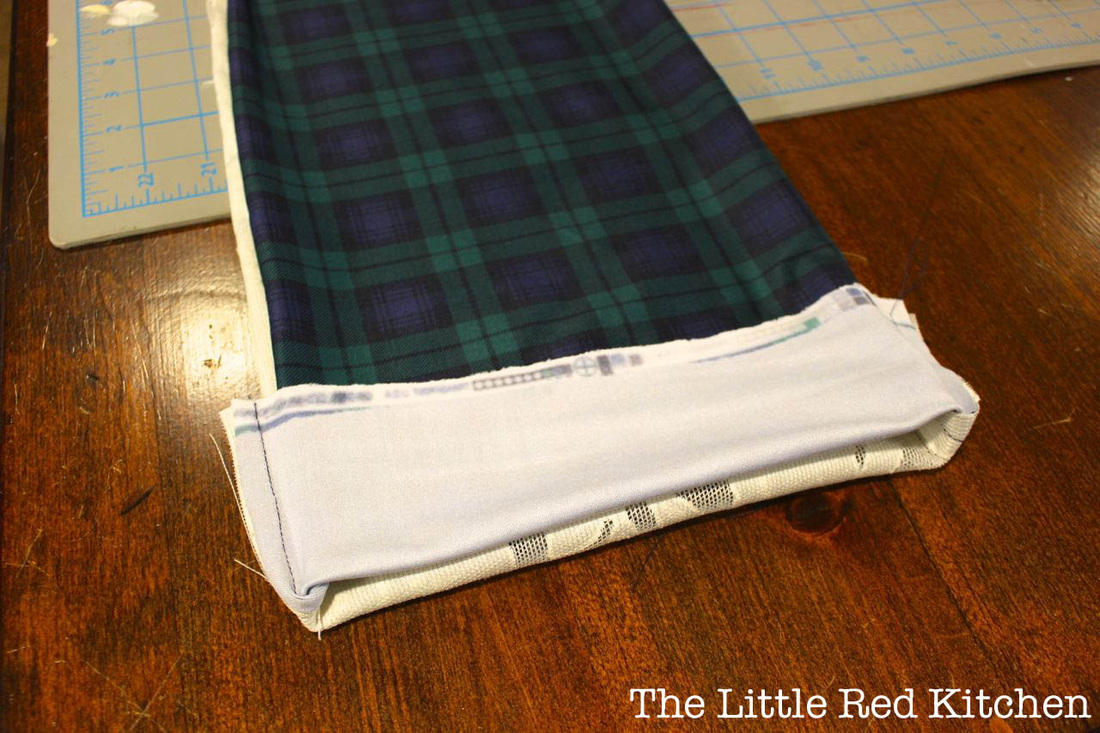
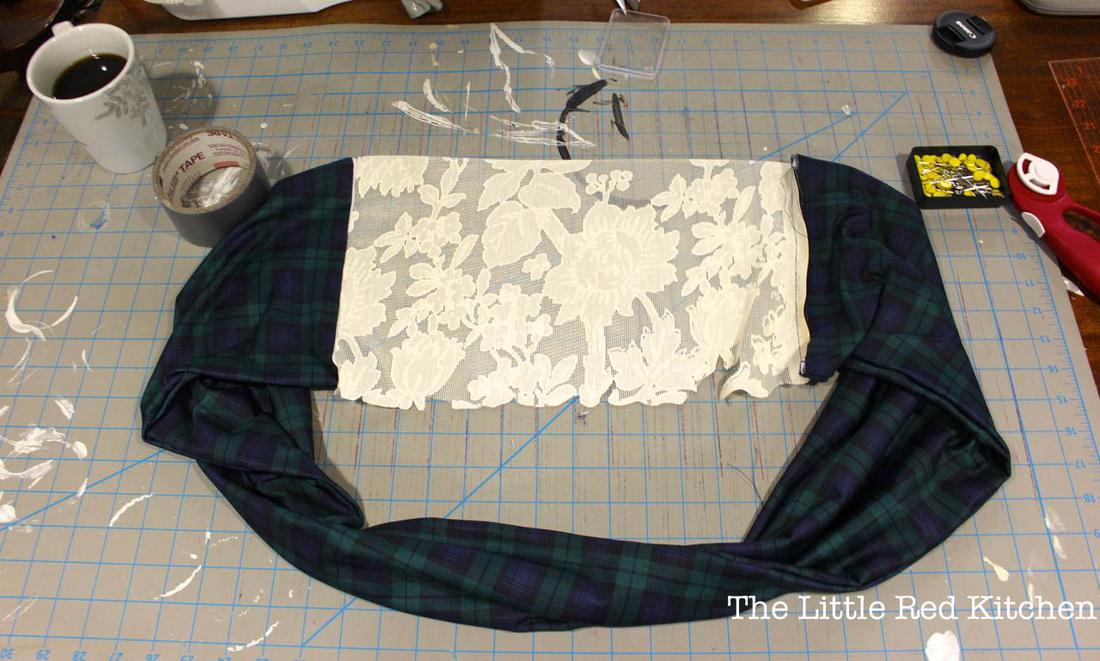
...and continuing to pull the "cuff" upwards around the fabric tube, until the ends meet at the top.
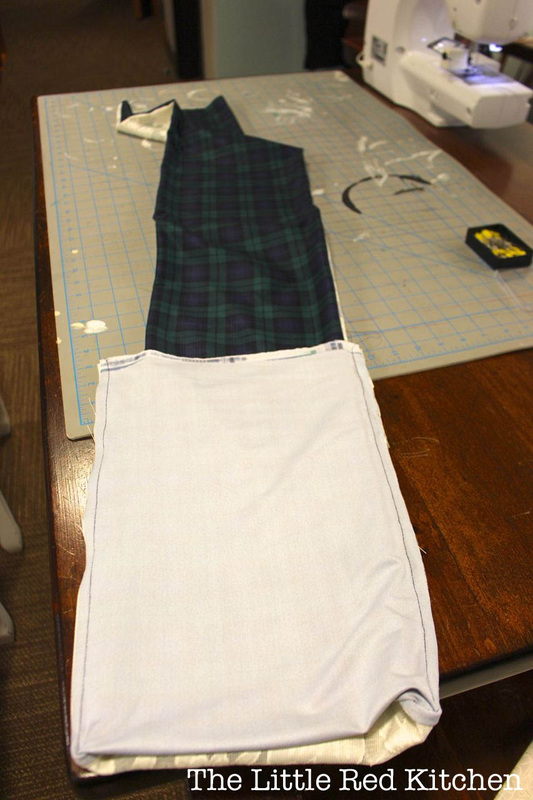
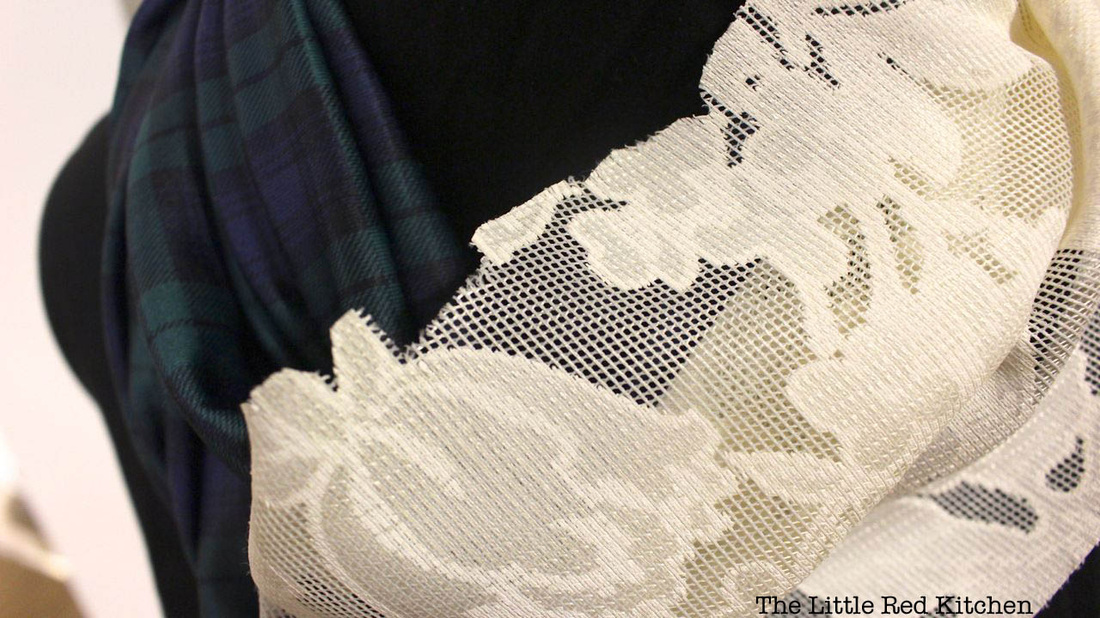
This way, as you can see, the right sides of the tartan fabric will end up together, and the right sides of the lace will end up together, at the end of the tube/long pocket you've created.
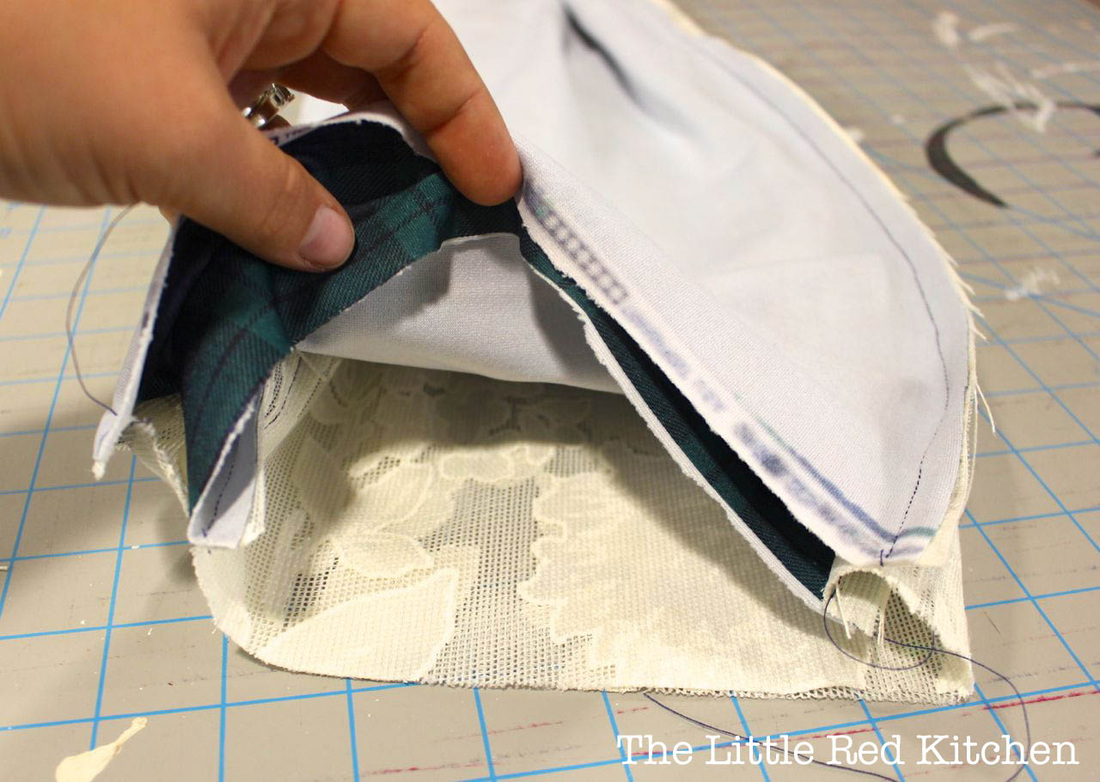
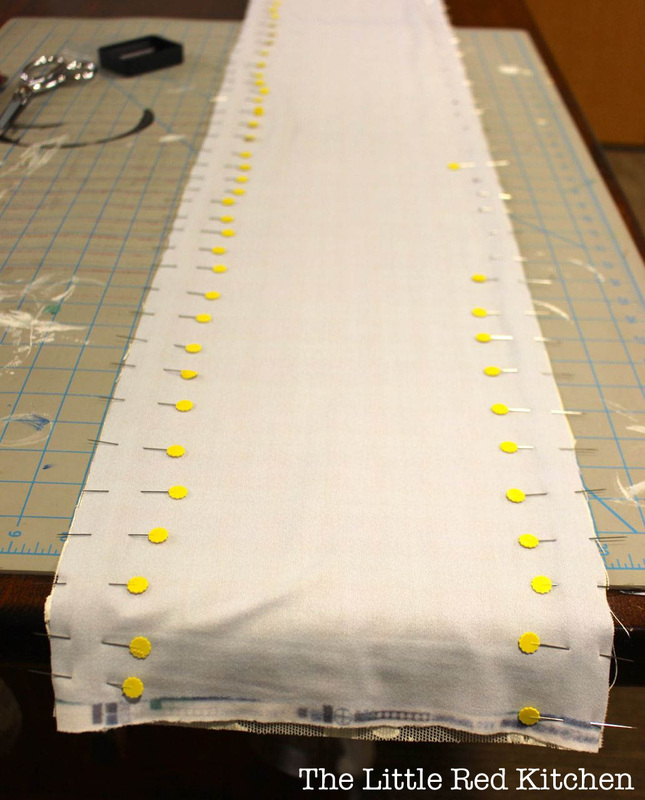
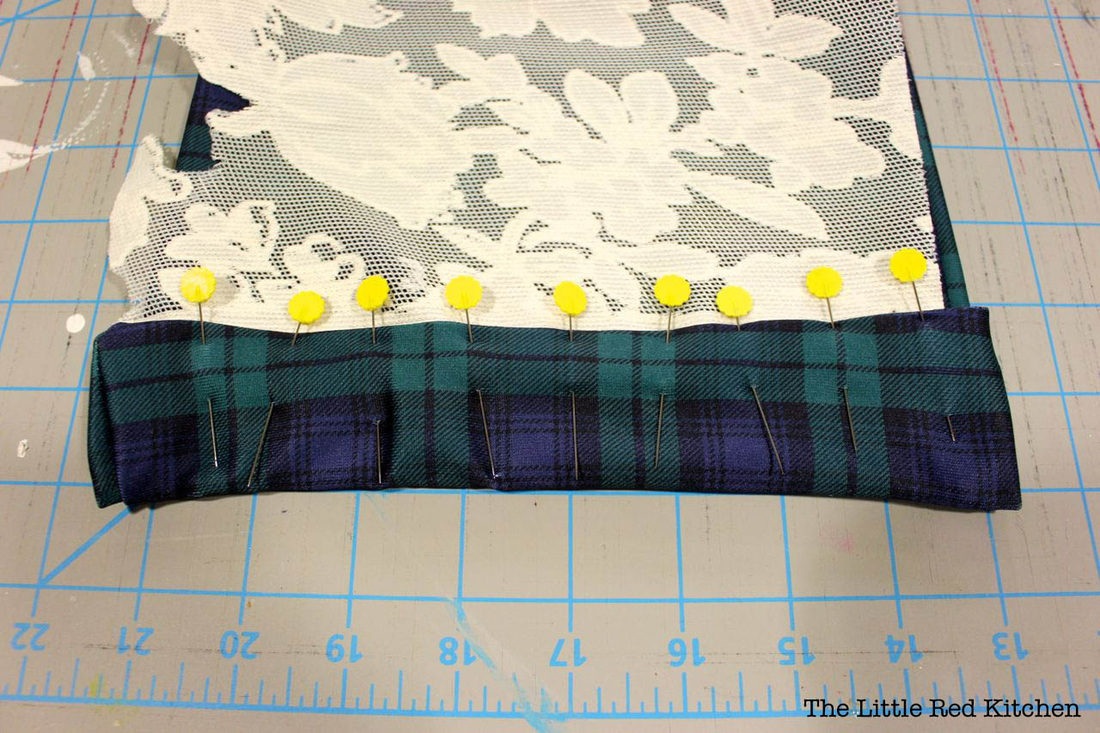
Step 4: Pin all the way around the edges (keeping fabrics with their respective right sides together), and leave a ~2 inch gap somewhere along the way. This gap will allow us to turn the scarf right-side out once we're done with this seam.
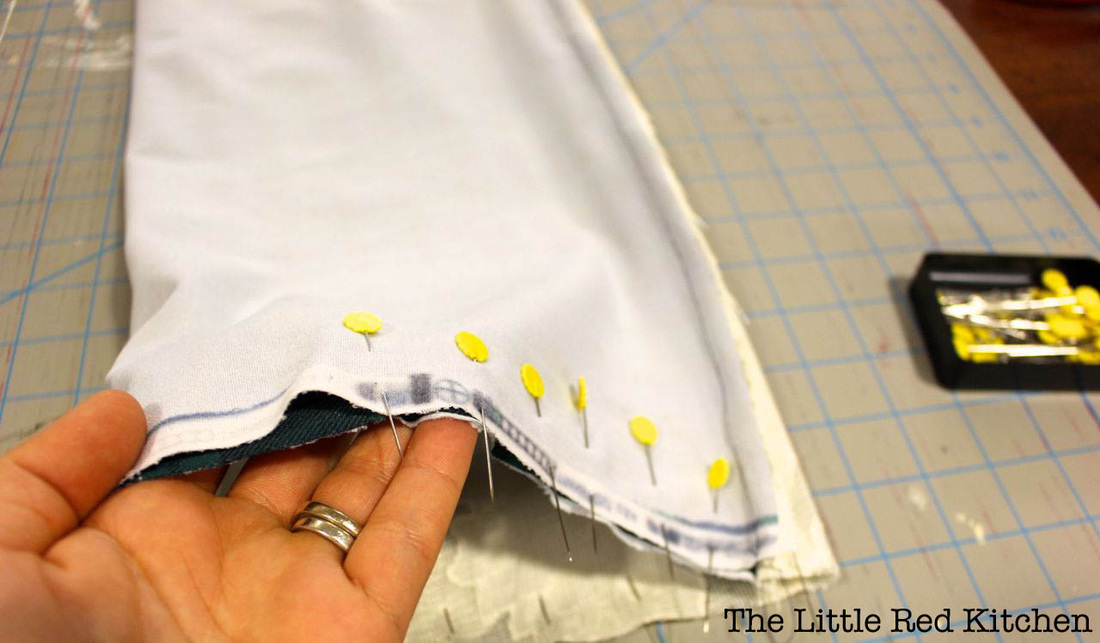
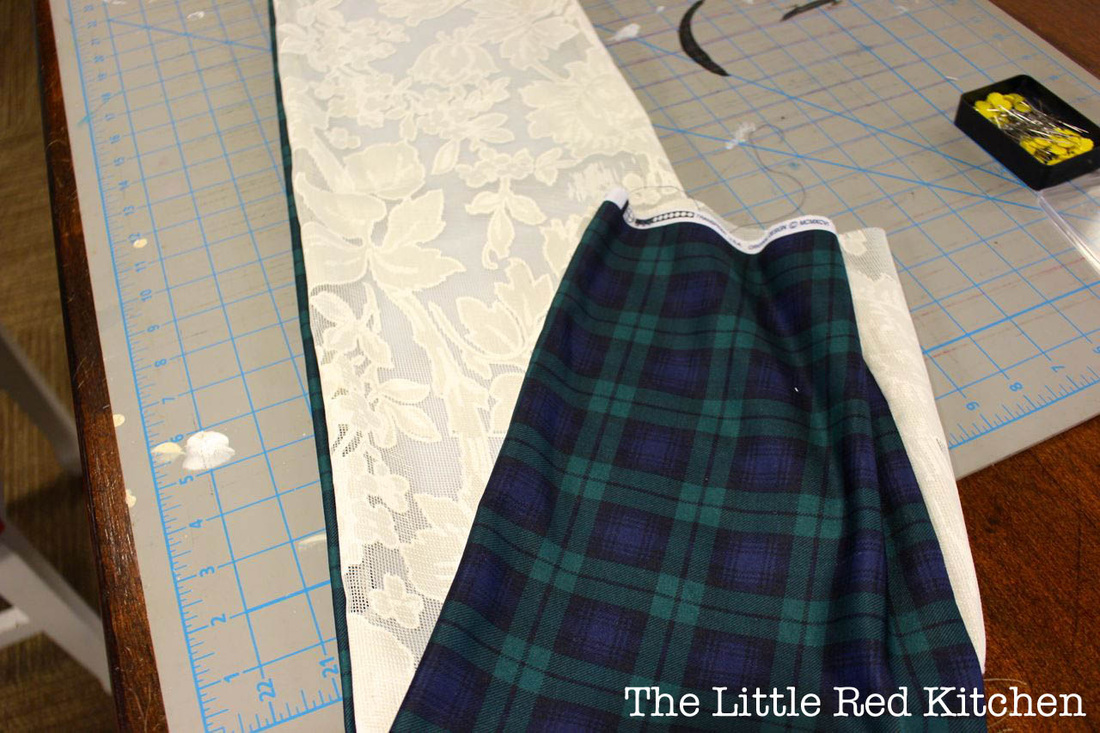
Step 5: Sew around this edge (minus the gap you've left), and turn the scarf right side out. Hand-stitch the gap closed, and you're all done!
Style #2: Tartan Scarf with Lace Connector
Next, I thought it might be fun to try my hand at making something a bit more similar to my original inspiration. The lace I chose isn't quite perfect for this style (the pattern is too big/ too spread out), but this tutorial will work just as well with other fabrics, too!
What you'll need:
1/4 - 1/2* yard 60'' jersey or rayon fabric, in the color of your choice
1/4 yard or 1 fat quarter 60'' lace fabric**
Coordinating thread
Pins
Sewing Machine
*The amount of fabric you'll need will depend on how well the folks at your local fabric supplier cut straight lines. If the yardage is cut well, you'll only need 1/4 yard of each, but I usually like to buy a little more anyway.
**The lace fabric I chose was a little stiff, which means it won't be as soft as others, but it will certainly hold its shape.
Step 1: Cut one 18''x60'' rectangle of your main (ex. tartan) fabric (or two 9''x60'' rectangles if you're like me and forget). Just as with my classic infinity scarf tutorial, you'll line up the fabric with right sides together and pin along the long side(s). Sew using coordinating thread and a 5/8'' seam allowance, then turn right-side out.
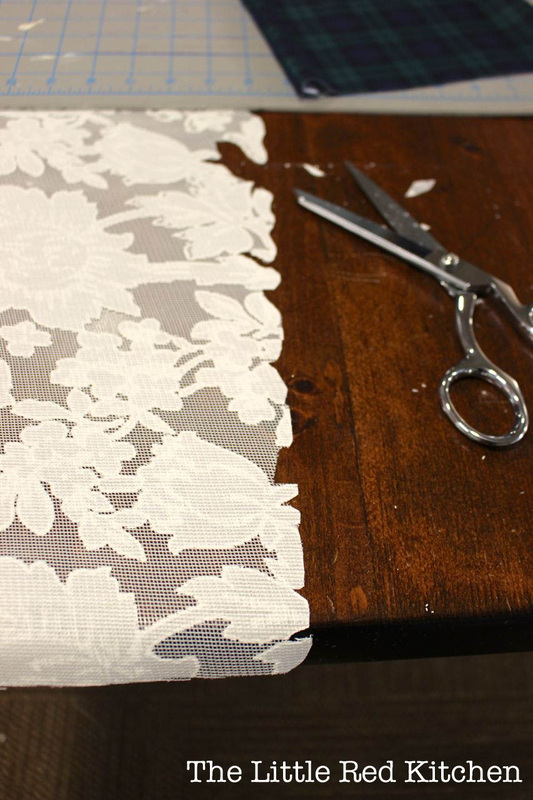
Step 2: (Optional) Trim one or both edges of your lace to add texture and visual interest. I followed the pattern of the lace somewhat, but again, methinks this wasn't the best fabric that I could have used.
Step 3: Lay the new tube of your main fabric (ex. tartan) out on your work area, and lay the lace piece on top. Match up the short sides of the lace and the top layer of the main fabric tube.
Step 4: Pin along the edge. As you can see, I only pinned the lace to the top layer of fabric that makes up the tube.
Step 5: Sew along this edge using coordinating thread and a 5/8'' seam allowance. Next, fold your scarf-in-progress in half, and repeat on the other end of the main-fabric tube.
You should end up with something like this! Ta-da!
Step 6: Now it's time to finish attaching the lace to the main fabric. Hopefully you can tell what I've done in these pictures!
Fold over the "free" side of the fabric tube at one end (again, half will be attached to the lace) and line it up with the attached portion of main fabric on the opposite side of the lace. Be sure to tuck in the seam from attaching the lace as you go. You're essentially hiding this seam and also hiding the raw edge of main fabric. Pin.
Fold over the "free" side of the fabric tube at one end (again, half will be attached to the lace) and line it up with the attached portion of main fabric on the opposite side of the lace. Be sure to tuck in the seam from attaching the lace as you go. You're essentially hiding this seam and also hiding the raw edge of main fabric. Pin.
Here are a few detail shots to help you make sense of what I just said: The left-hand side on each image is the edge that was pinned, while the right-hand side is the edge that I'd already sewn.
Step 7: Once you've pinned the raw edge under, sew using a 1/4'' seam allowance from the edge of the main fabric. Repeat on the other end, and you're done!
Thank you so much for reading, and please don't hesitate to ask if you need any clarification!
- Kaitlin
- Kaitlin


 RSS Feed